
Setting up a new Site Section
Webolytics Site Sections allows for you to create pages for a front end, that are grouped together by the section that they have been made in. There are different types of sections which all hold pages, however this allows for different treatment on a front end.
- Brochure/Content Section - A traditional format with a few pages, with varying front end functionality
- Blog Section - A listing section where pages are displayed via published time and/or Tag Values
- Archive/Repository Section - A listing section where pages are displayed via published time and/or Tag Values
- e-Commerce Section - A listing section where pages are displayed via published time and/or Tag Values and price
- Video Section - A listing section where pages are displayed via published time and/or Tag Values
Creating a CMS Section
From your site dashboard, click the view button on the top-right of the Site Sections block
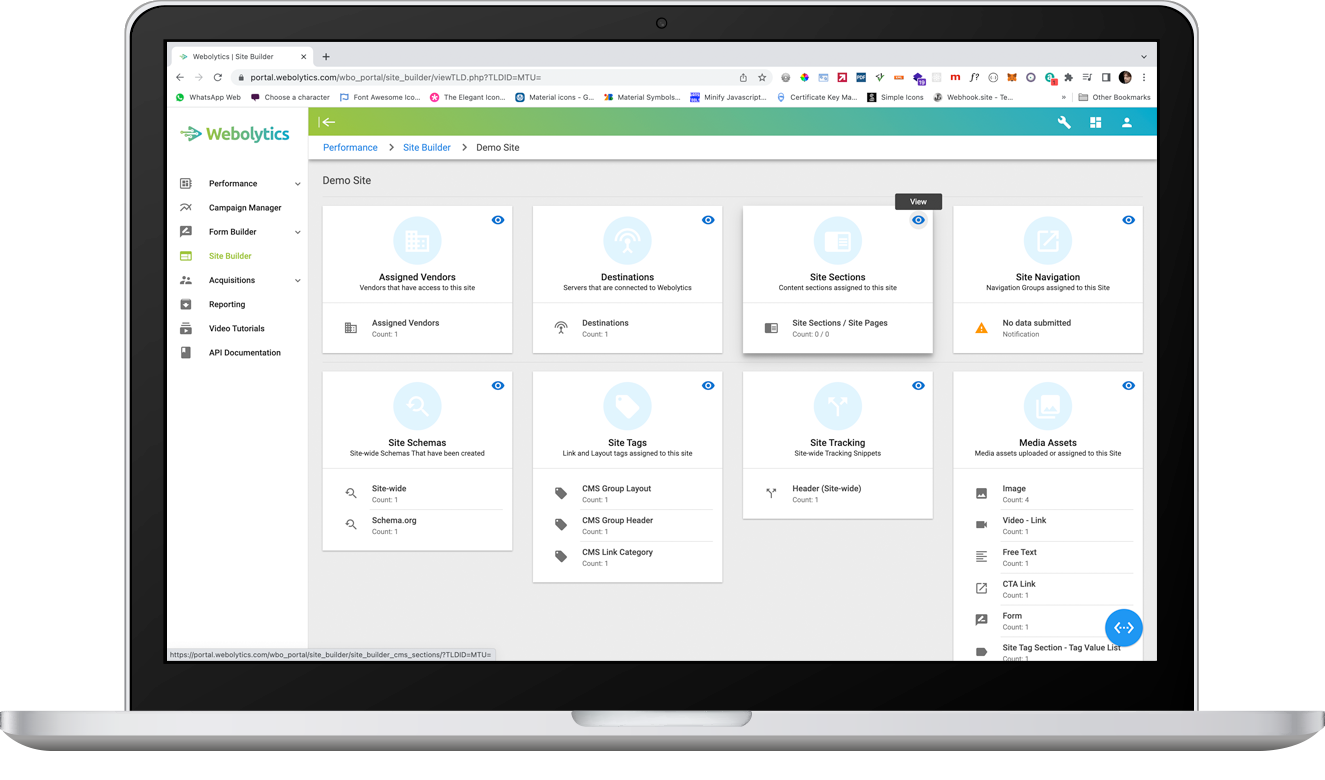
Once inside the Site Sections section, you will see a list of Sections that have been set up. If no tags are listed, you will see a notification that will say “Could not find CMS Section”
To add a new Site Section, click the blue button to the bottom-right of the page, and click on “Add CMS Section”
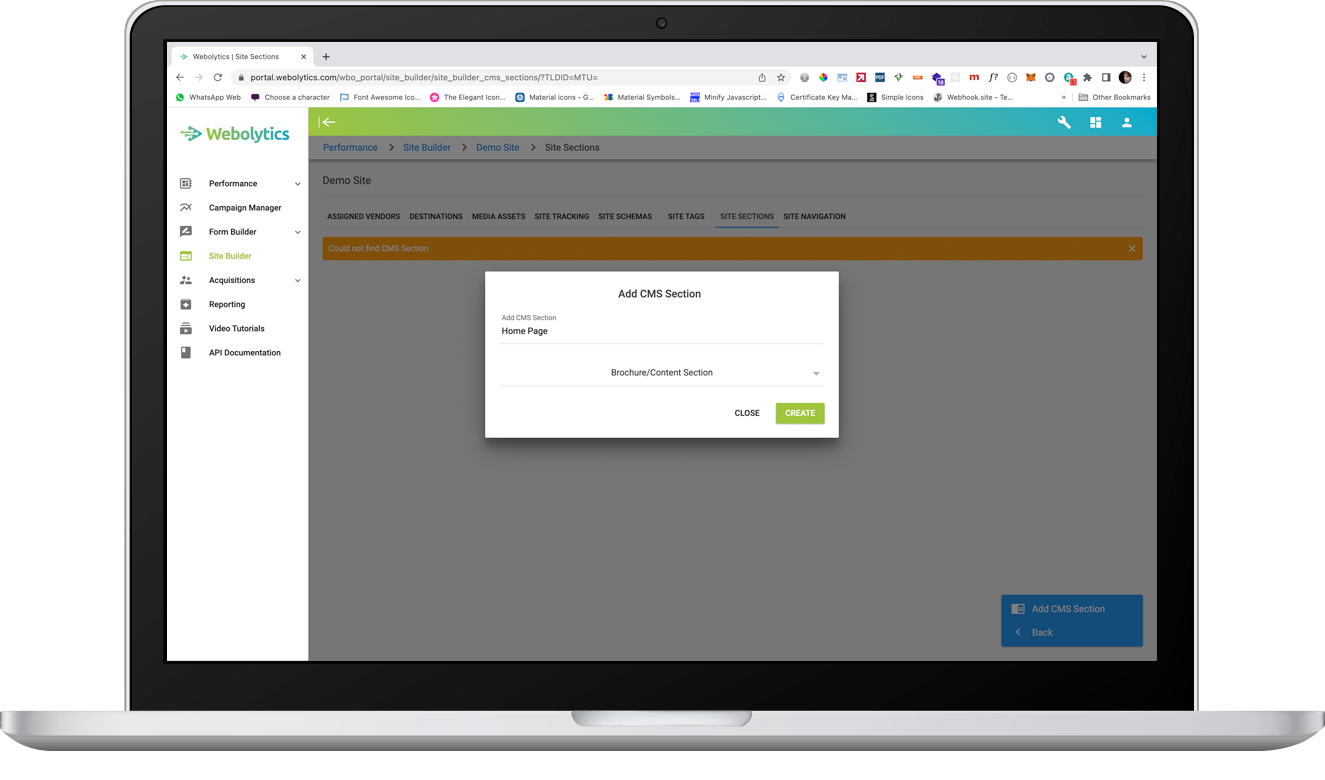
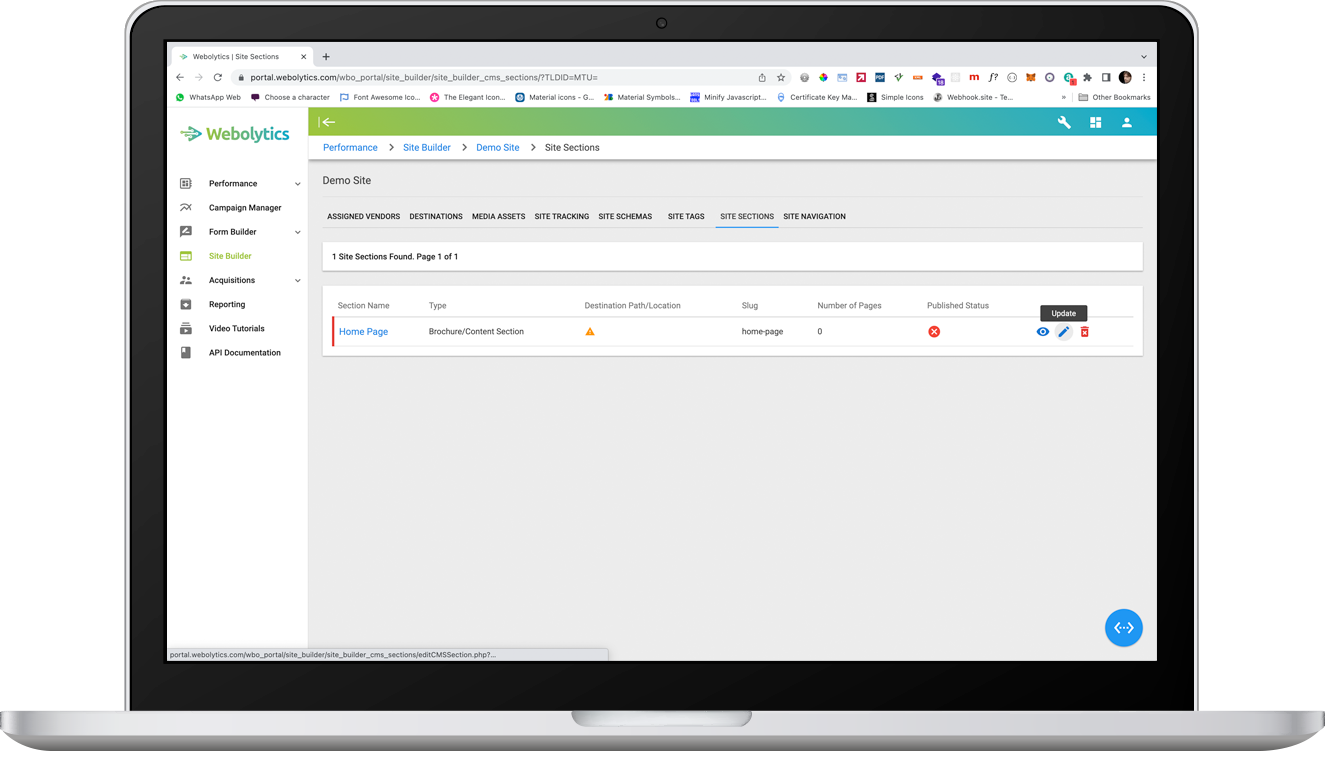
Once created, you will see the new section appear in the list on the page.
Once a Section has been created, it will require some more information to be added to complete its setup.
Editing a Section
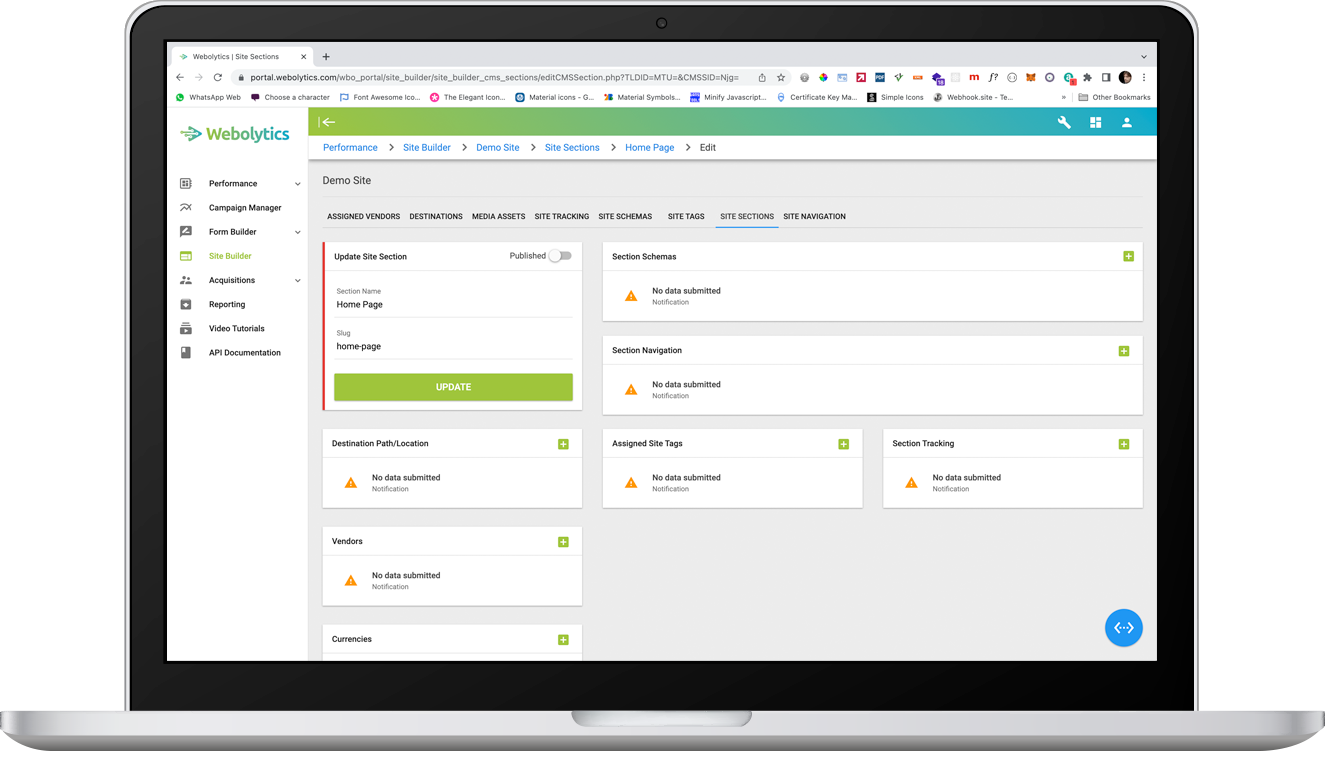
Click on the Update icon to the right of the section that you want to edit. This will take you into the Section set-up area. On this page, you are presented with multiple blocks, which all have a bearing on the setup of the section.
Destination Path/Location
This is the only mandatory criteria which is required for the Section to be active. The Destination is picked from the Destinations that have been set up for the Site.
Click the green “+” button on the top-right of the Destination Path/Location block.
Select the destination that you want to use for the Section, and click the green Tick. The Destination will now appear in the list in the Destination Path/Location block.
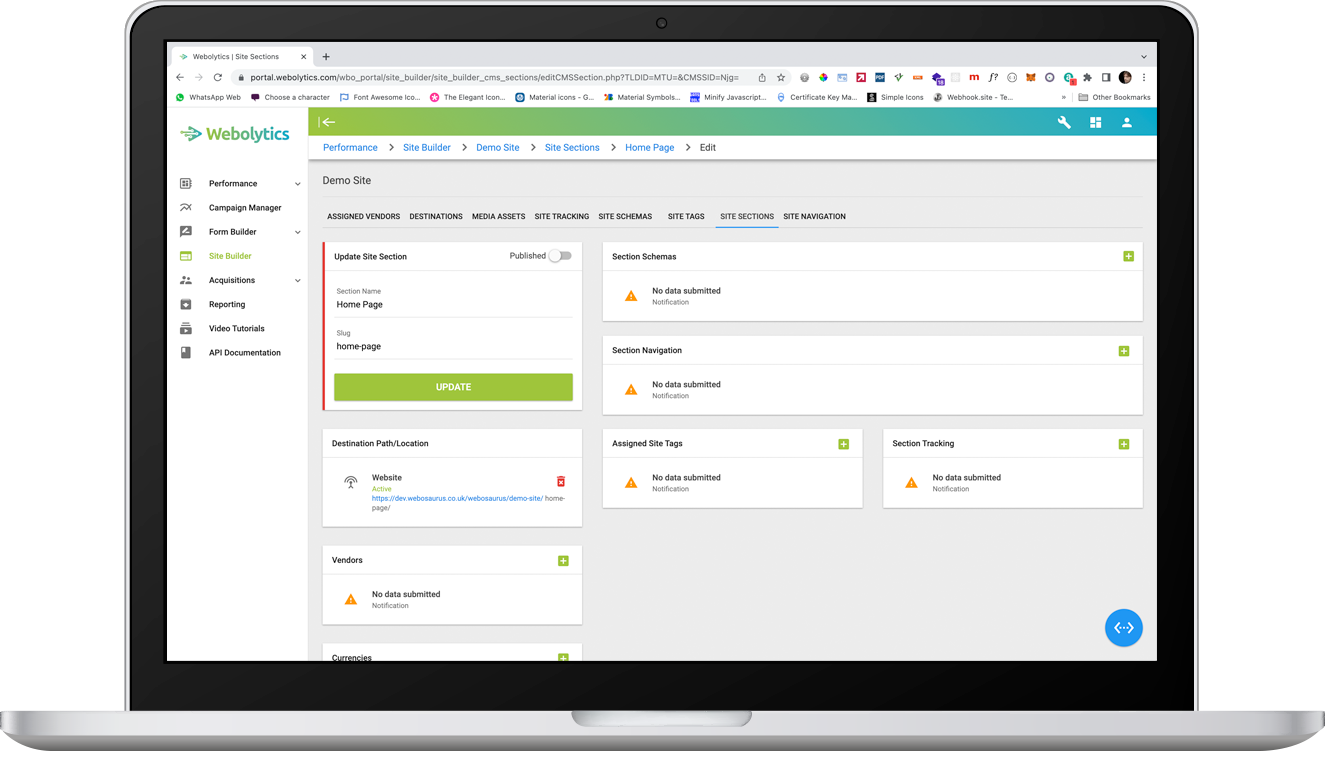
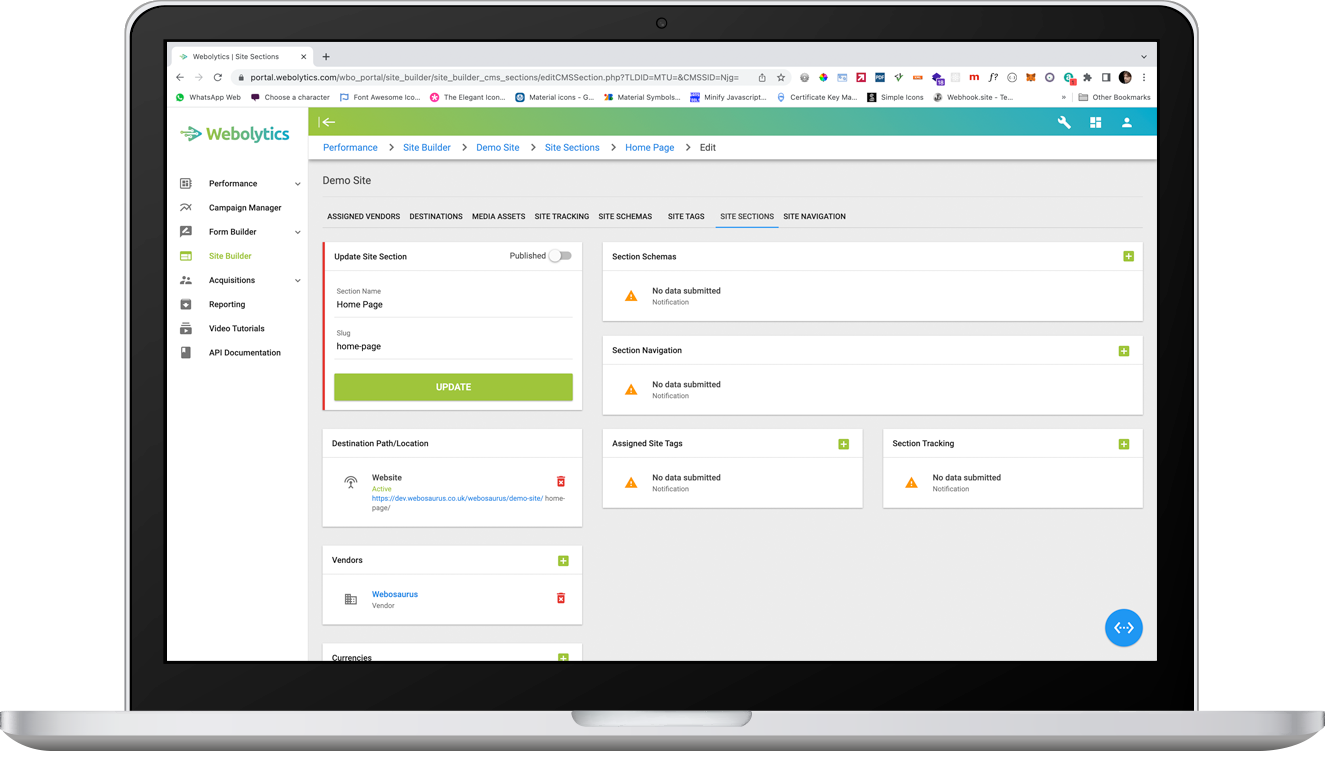
Vendors
If the section need access from specific users, this is controlled by the Vendors assigned to the Section. Any vendor who needs access to the Section needs to be assigned against it here.
Click the green “+” button on the top-right of the Vendors block.

Select the Vendor that you want to use for the Section, and click the green Tick. The Vendor will now appear in the list in the Vendors block.
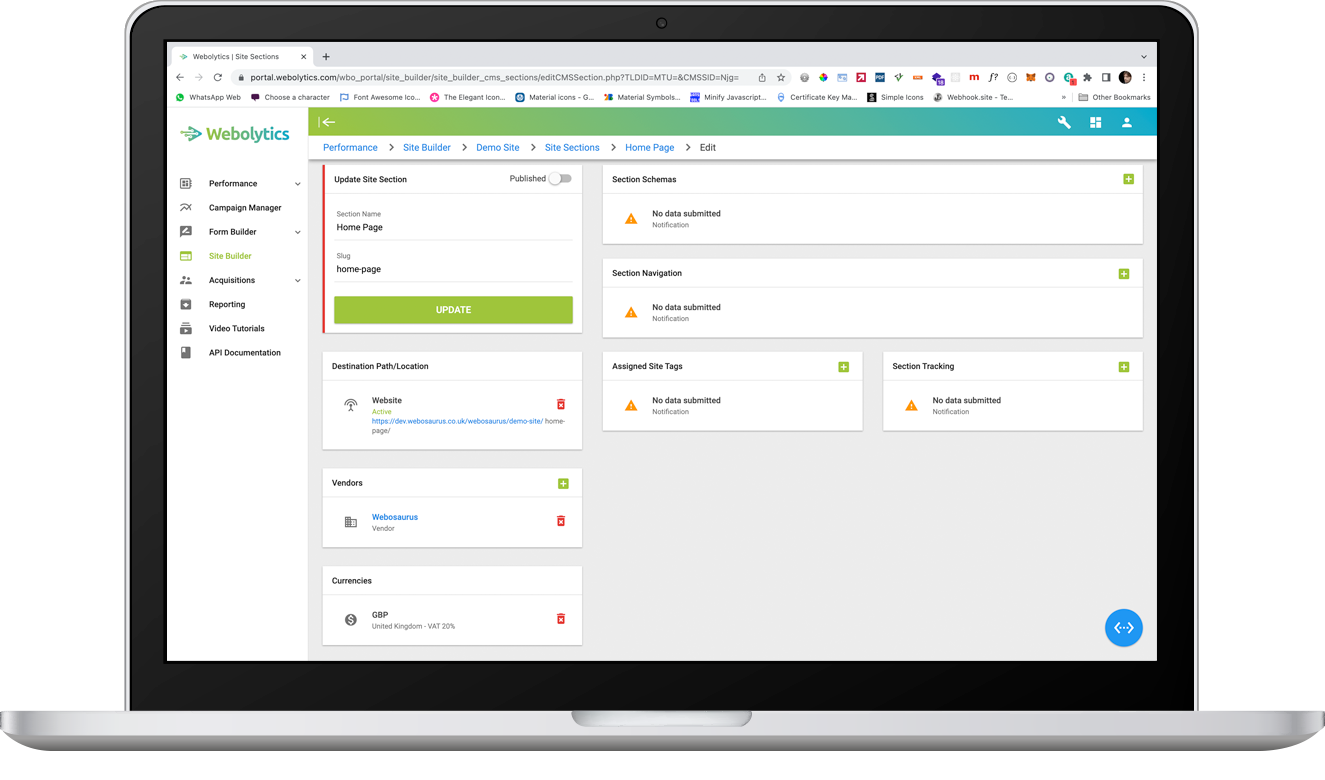
Currencies
If the section is set up with e-commerce in mind, or if a prices will need to be displayed on pages for any other reason, then a Base Currency will need to be assigned to the section. This ensures that the prices shown have the correct taxation, and whether to apply it, based on a user’s location if the front end allows for it.
Click the green “+” button on the top-right of the Currencies block.

Select the Currencies that you want to use for the Section, and click the green Tick. The Currency will now appear in the list in the Currencies block.
CMS Section Modules
CMS Section Modules allow for integrated and specialised or specific functionality for a CMS section. An example of this might be plugging into a 3rd party system for stock control of a shopping product. Each module is bespoke, and will be covered individually in their own resource document.
Section Schemas
Once a Section has been created has been set up initially, there are additional options that can be added to it, which are mainly relevant for SEO and site optimisation if the front end is serving a website.
Click the green “+” button on the top-right of the Section Schemas block.

Meta information that can be added to any given Section. This consist of the following options:
- Meta Information - Description - This is the meta description text that is intended for the header of a web page
- Meta Information - Title - This is the Title of the page
- Meta Information - Keywords - This is a comma-separated list of words and phrases which are contextually relevant to the front end
- Meta Information - canonical - This determine whether this is a master page for content. If this is not unique content, then the canonical link needs to be that of the original source of the content
- Meta Information - noFollow - Hides any links on the page form search engines
- Meta Information - noIndex - hides the page from search engines
- schema.org - sameAs - enables the page to be contextually linked to another online source (eg a Facebook page for the same brand)
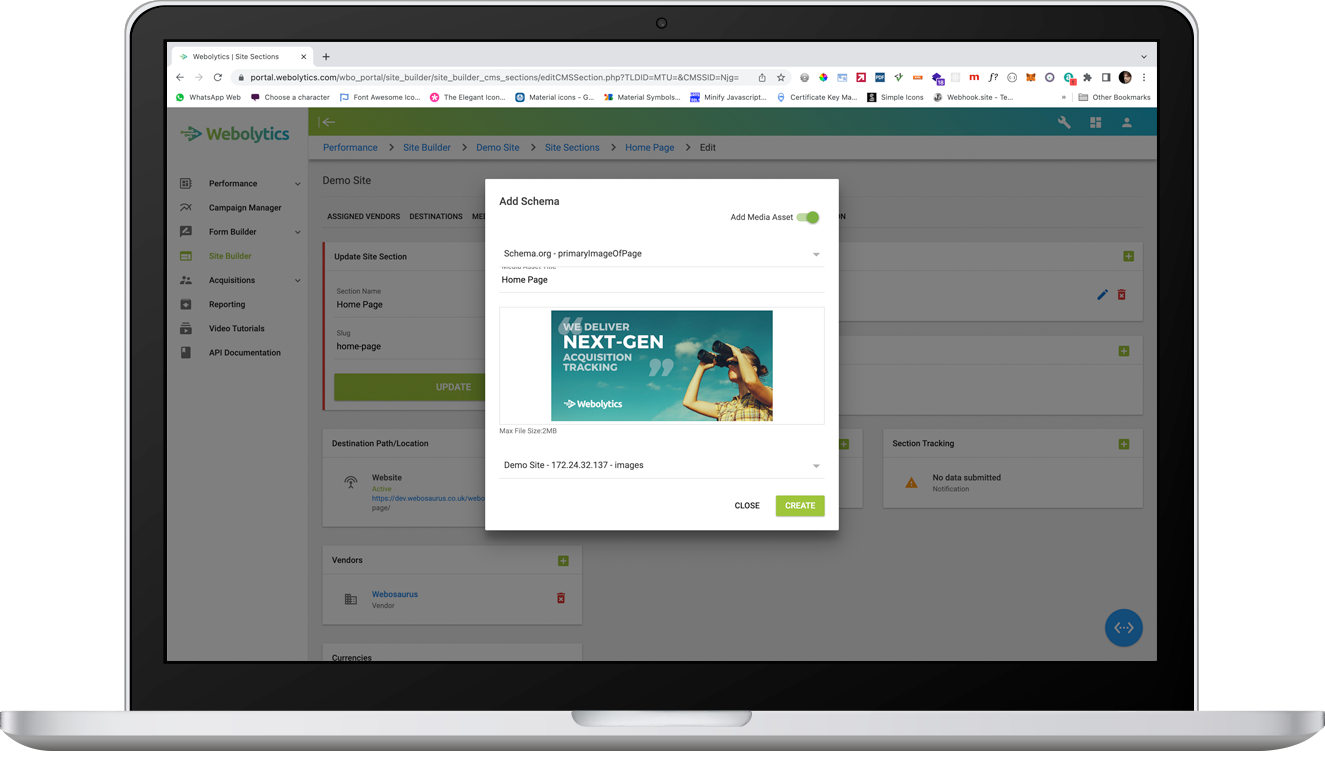
- schema.org - primaryImageOfPage - this is the primary image which search engines should use, when referencing the content form the page off-site
- Twitter - image - This is the image which twitter will look for, when referencing the page
- OG - image - the open graph format is used for image reference when inside portals such as Facebook
Select the type of meta information that you want to add, and fill in the form as appropriate
If the meta information added, is an image, then you will have the option to either select an existing image form the Media Asset Library, or to add a new media asset. To add a new media asset to the Media Asset library, check the “Add Media Asset” with to the top-right of the form. The Select box under the file upload window is defined by the folders that have been set up in the Destinations Section. If no destinations have been created, then this will need to be done first, as media assets are dependant on the destination being active and available.
Section Navigation
Any navigations that have been made that are relevant for this section only will need to be assigned directly against the section in order for them to be available.
Click the green “+” button on the top-right of the Section Navigation Tags block.

Select the Navigation that you want to use for the Section, and click the green Tick. The Tag will now appear in the list in the Assigned Site Tags block.
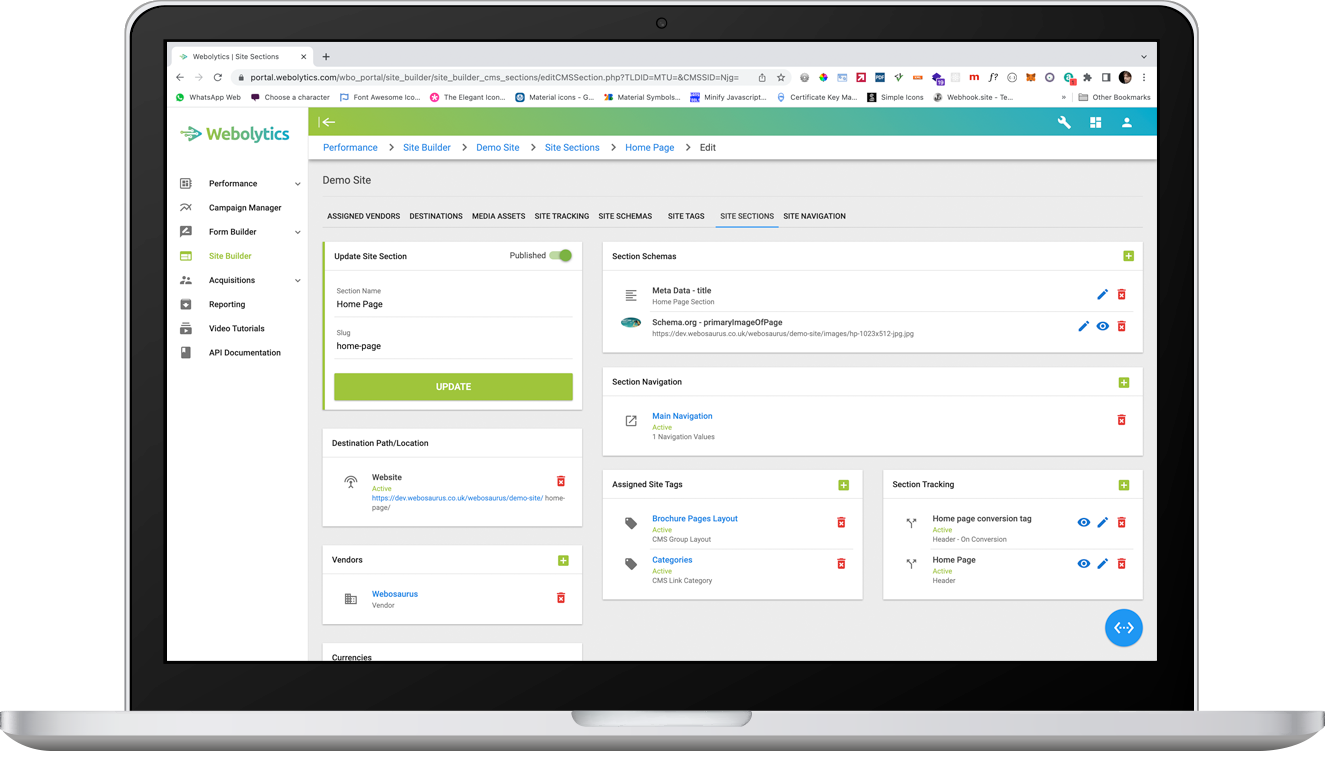
Assigned Site Tags
Any tags that have been created within the site will need to be assigned directly against the section in order for them to be available.
Click the green “+” button on the top-right of the Assigned Site Tags block.

Select the Assigned Site Tags that you want to use for the Section, and click the green Tick. The Navigation will now appear in the list in the Section Navigation block.
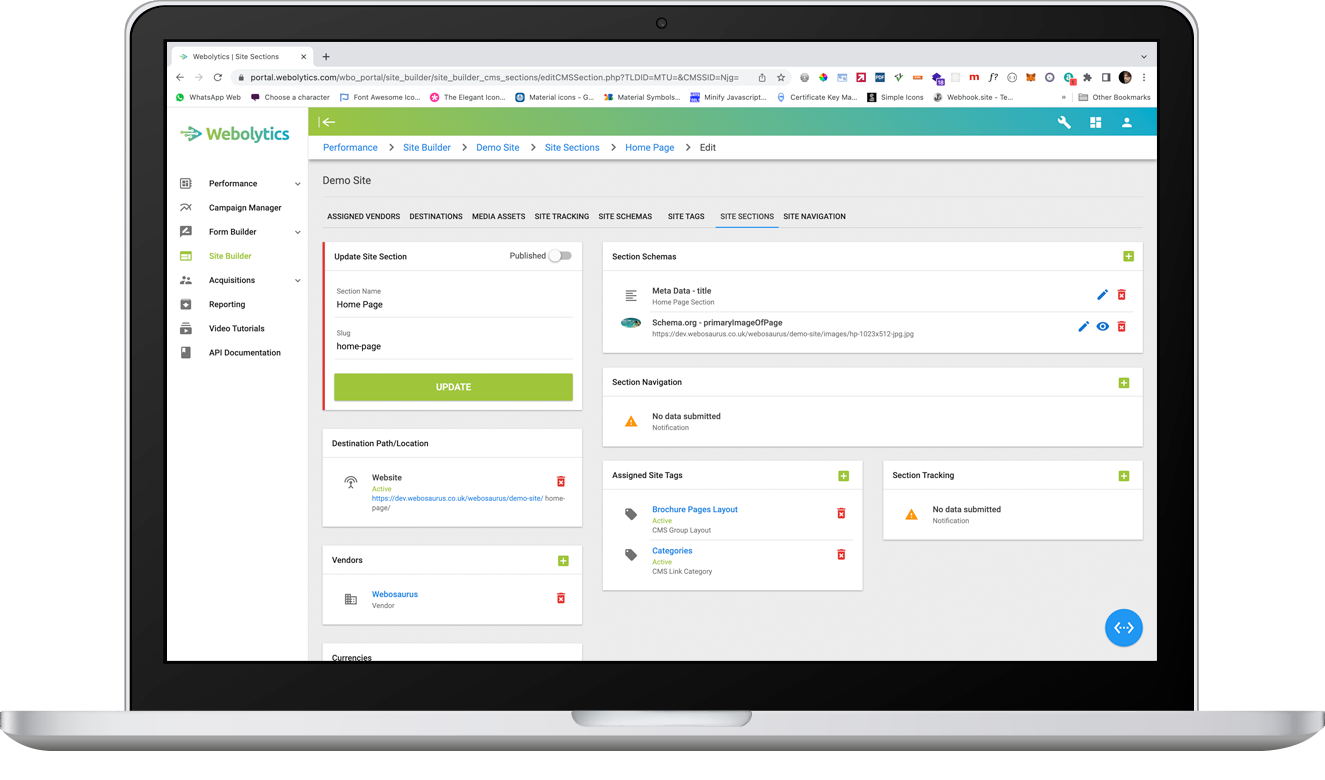
Section Tracking
Section Tracking allows for tracking snippets from other sources (such as google tag manager) to be called against the site that are specific for this section only, and not covered by the Site Tracking.
Click the green “+” button on the top-right of the Assigned Site Tags block

Fill in the form as appropriate and click Create.
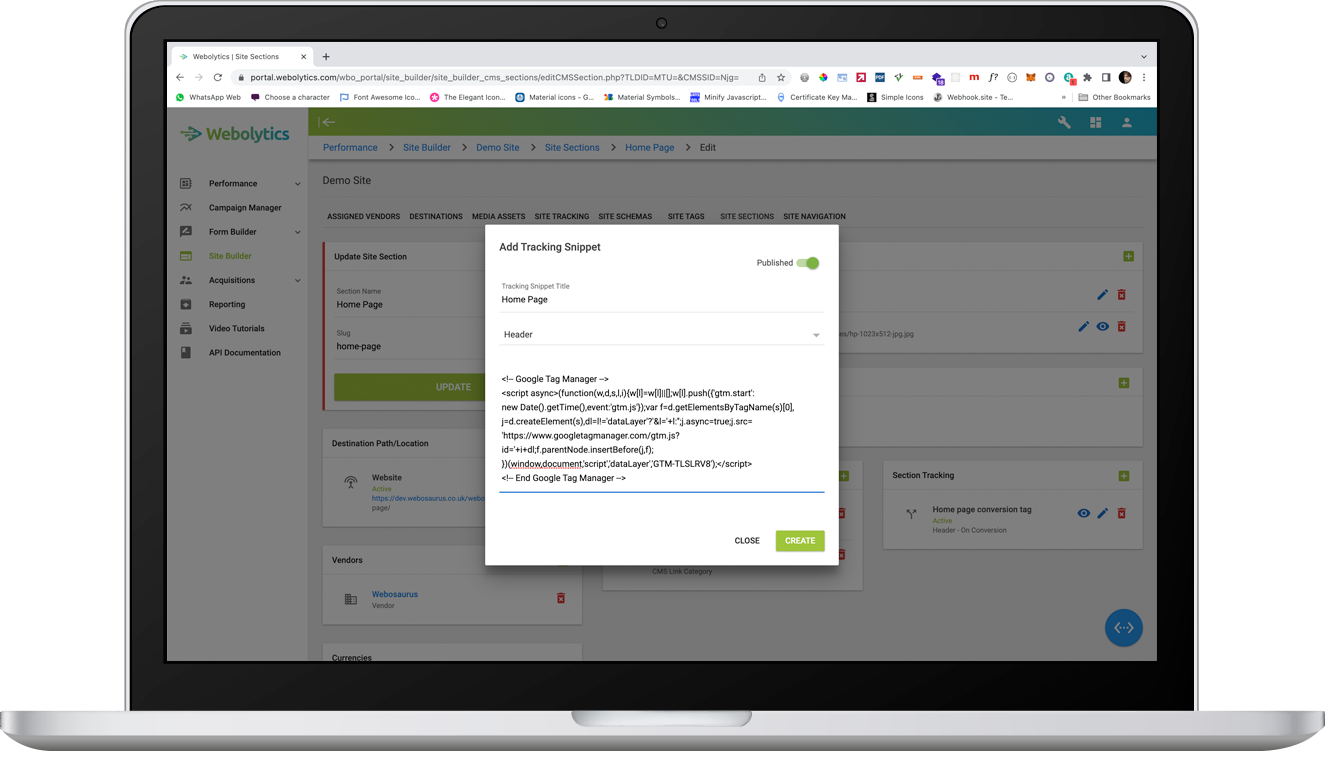
The tracking snippet will now appear on the page list.
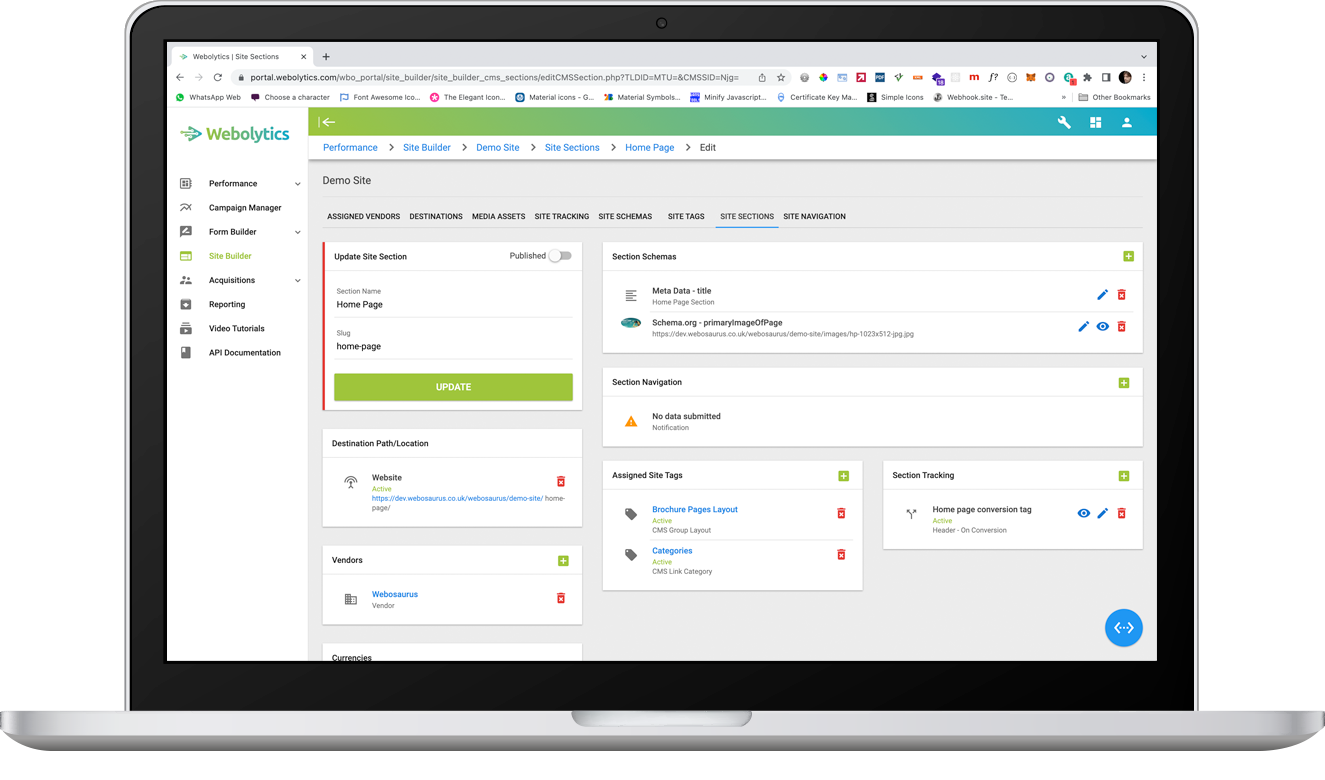
Once the Section is set up as you require it to be, you can start adding pages to the section. Click here to view a tutorial that will run through the process of setting up a page.