Setting up a new page
Pages are the foundation of most content delivery from Webolytics. They essentially are collections of content from the Media Assets library that is delivered to a consumer via a front end in a specific context and format. Pages contain 3 panels to allow for control of content delivery.
- Page Layout - This allows for arrangement of content. Layout Tags are assigned from this panel.
- Page Content - This is where Content from the Media Assets is assigned against the page.
- Page Meta Information - This allows for assignment of data which is not necessarily there for a consumer, but to aid the optimisation of the page, and accessibility to the page.
Creating a Page
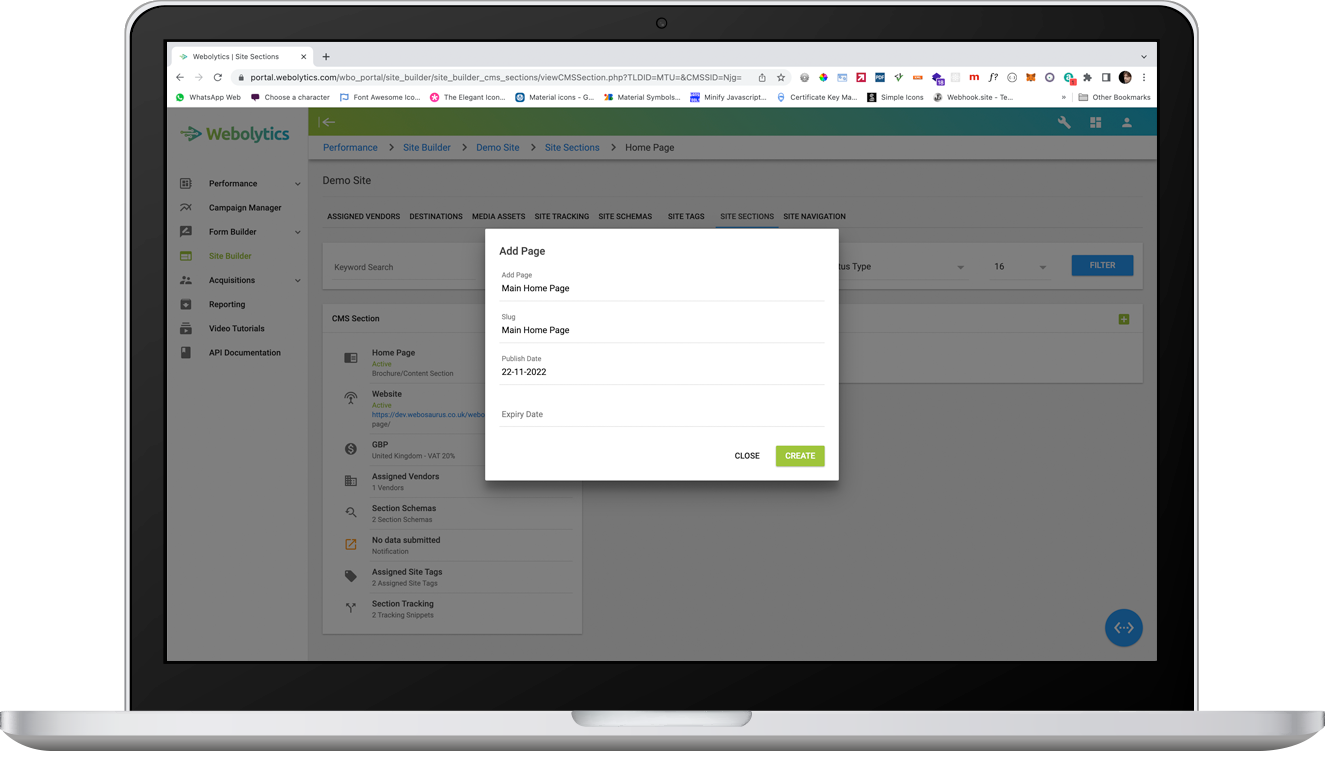
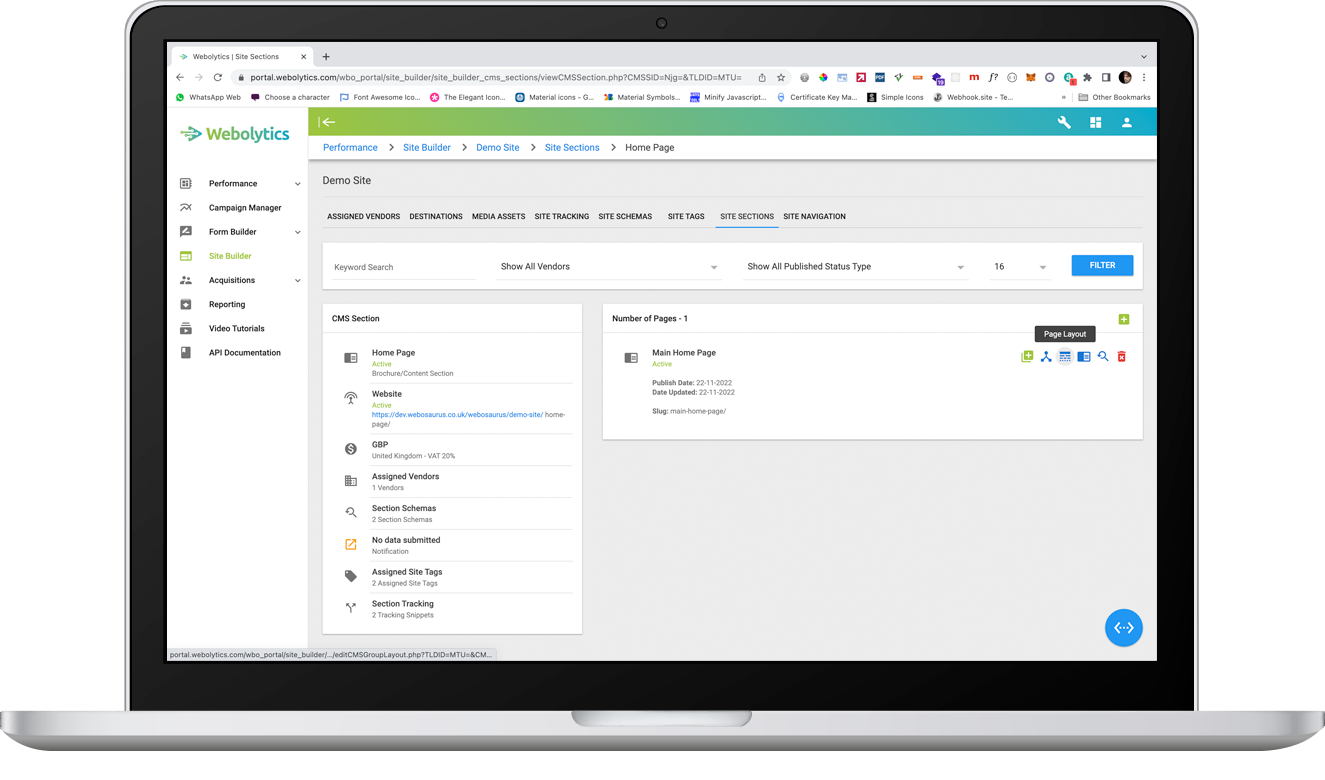
From inside the Site Section , click the the green “+” button on the top-right of the Pages block

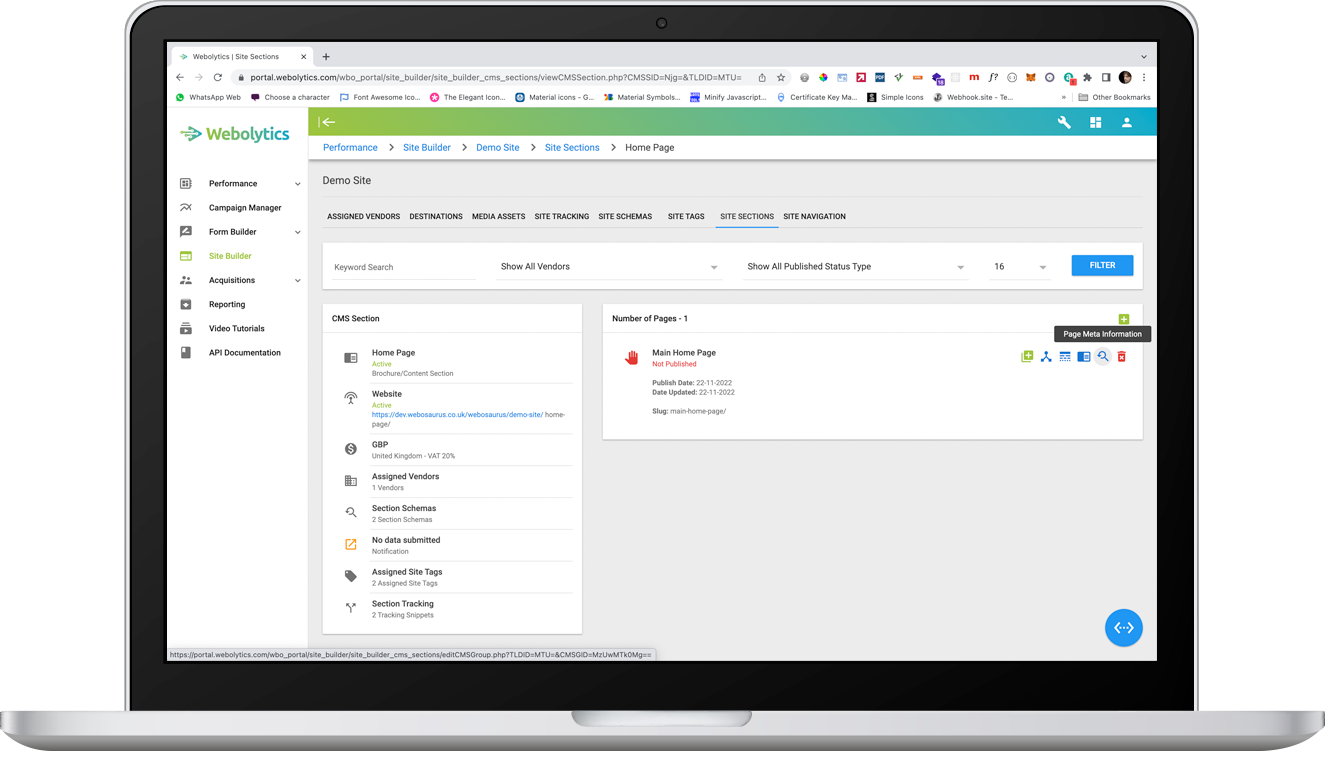
On the form that appears, give your page a desired name, provide a slug for it (this will be screened to make sure it is safe for a URL on submission) and provide a published date. The expiry date is optional, and can be used, if the page only has a certain shelf-life. The slug will be used to form the URL structure for the front end. Once done click “Create”. Once created, you will see you new Link Tag in the list on the page.
Once a page has been created has been set up initially, it is now ready to be populated with relevant content. Below will run through the 3 panels that allow for the creation of page content and functionality.
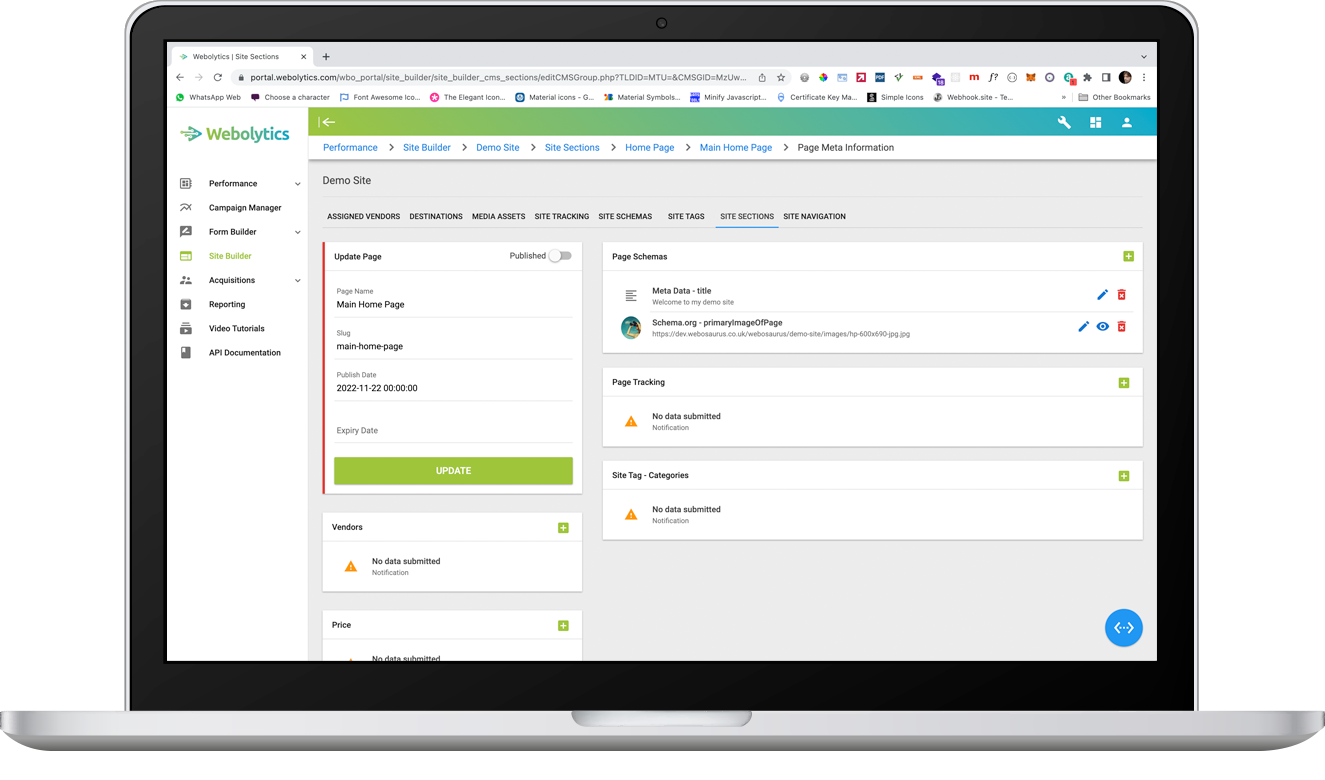
Editing Page Meta Information
From inside the Section, click the Page Meta Information icon to the right of the page that you want to update/amend.
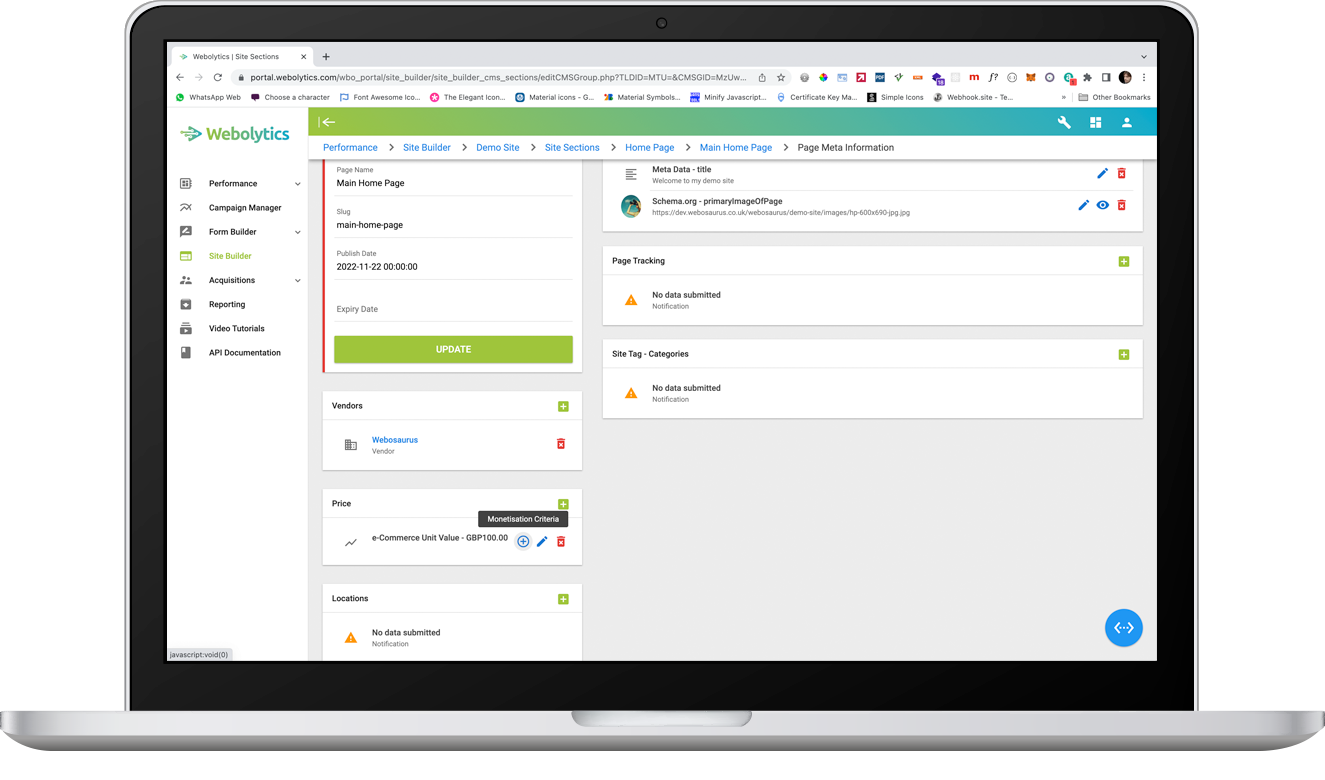
On the following screen, you are presented with multiple blocks, which all have a bearing on the setup of the page.
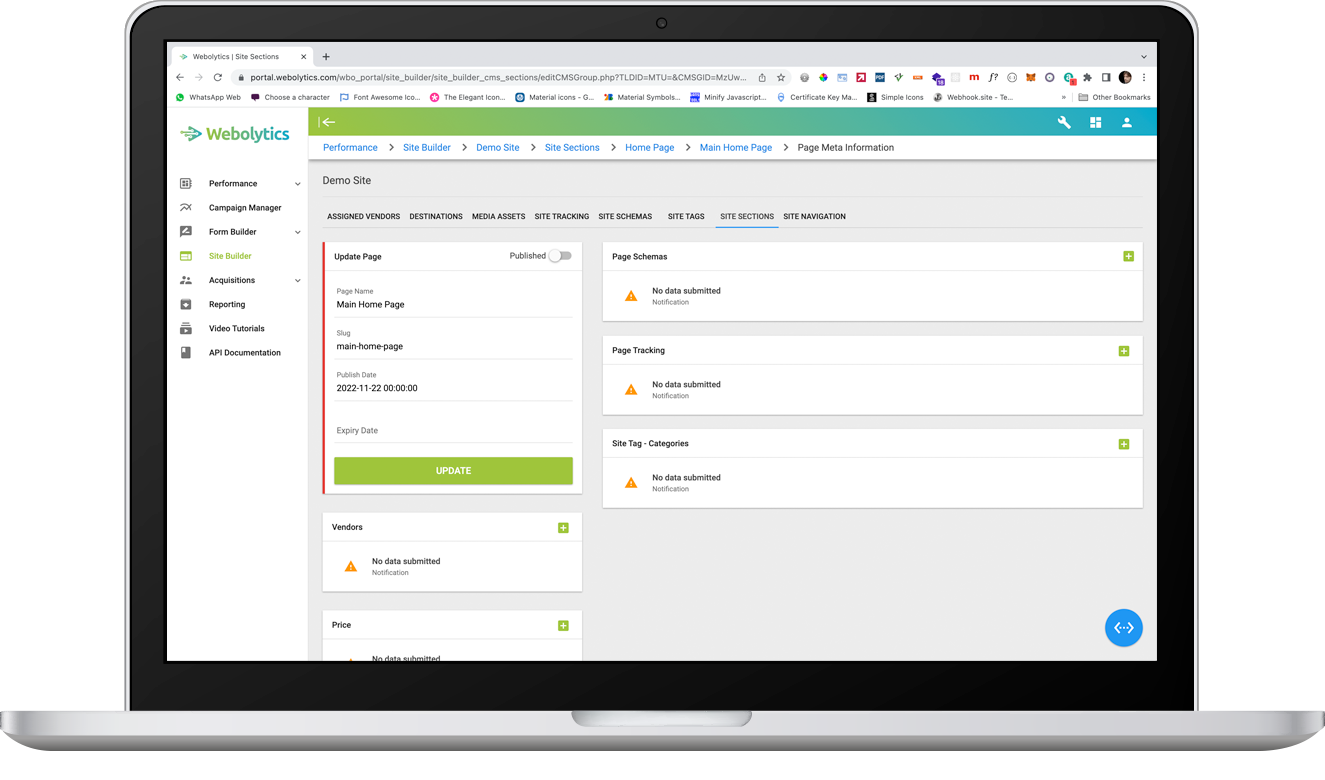
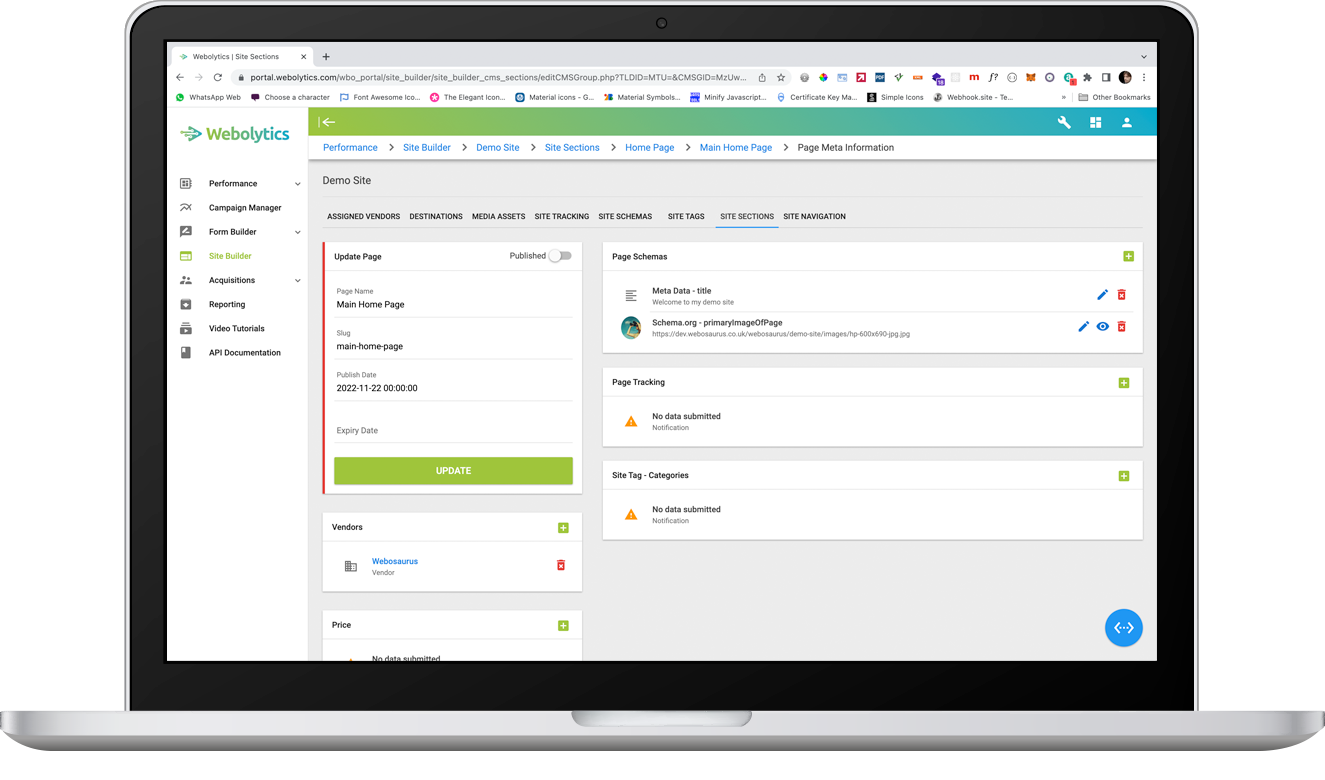
Vendors
If the page needs access from specific users, this is controlled by the Vendors assigned to the page. Any vendor who needs access to the page needs to be assigned against it here.
Click the green “+” button on the top-right of the Vendors block.
Select the Vendor that you want to use for the page, and click the green Tick. The Vendor will now appear in the list in the Vendors block.
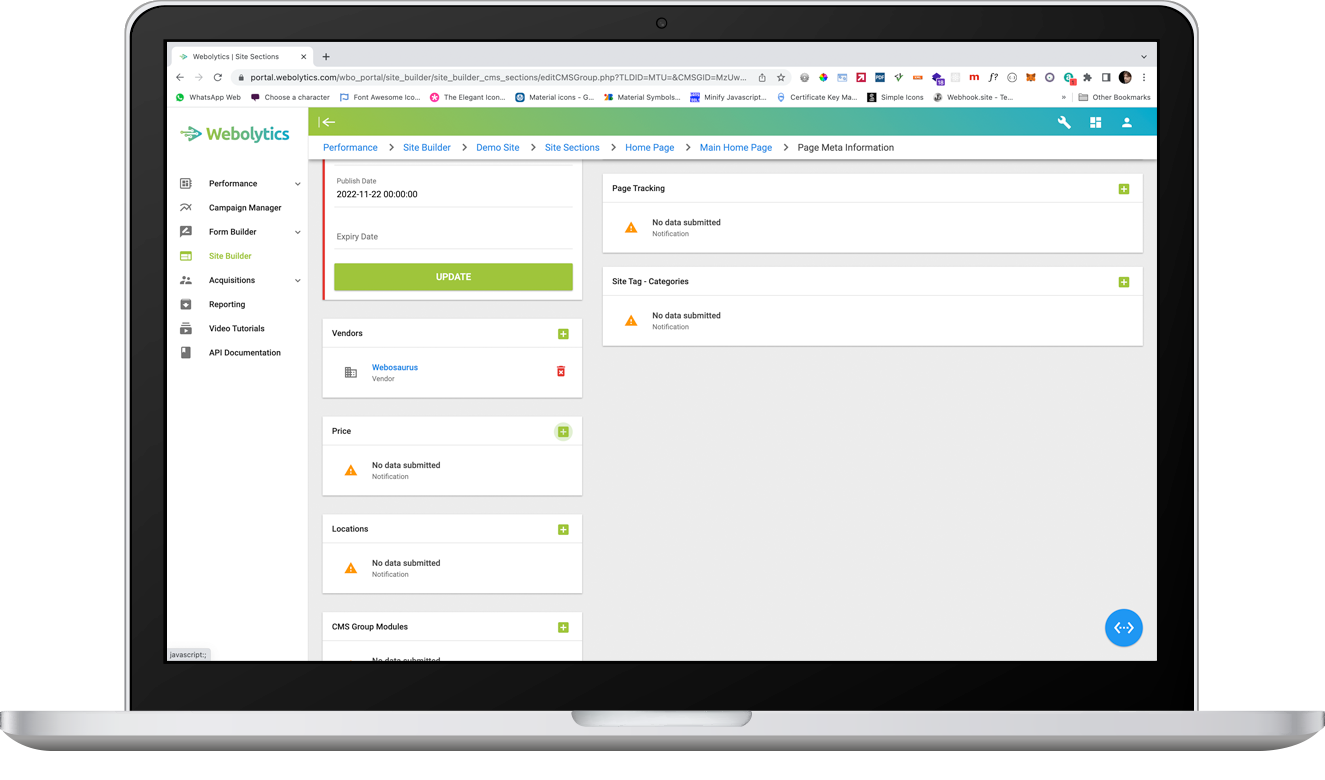
Price
If the page is set up with e-commerce in mind, or if a price will need to be displayed on the page for any other reason, then a Price will need to be assigned to the page.
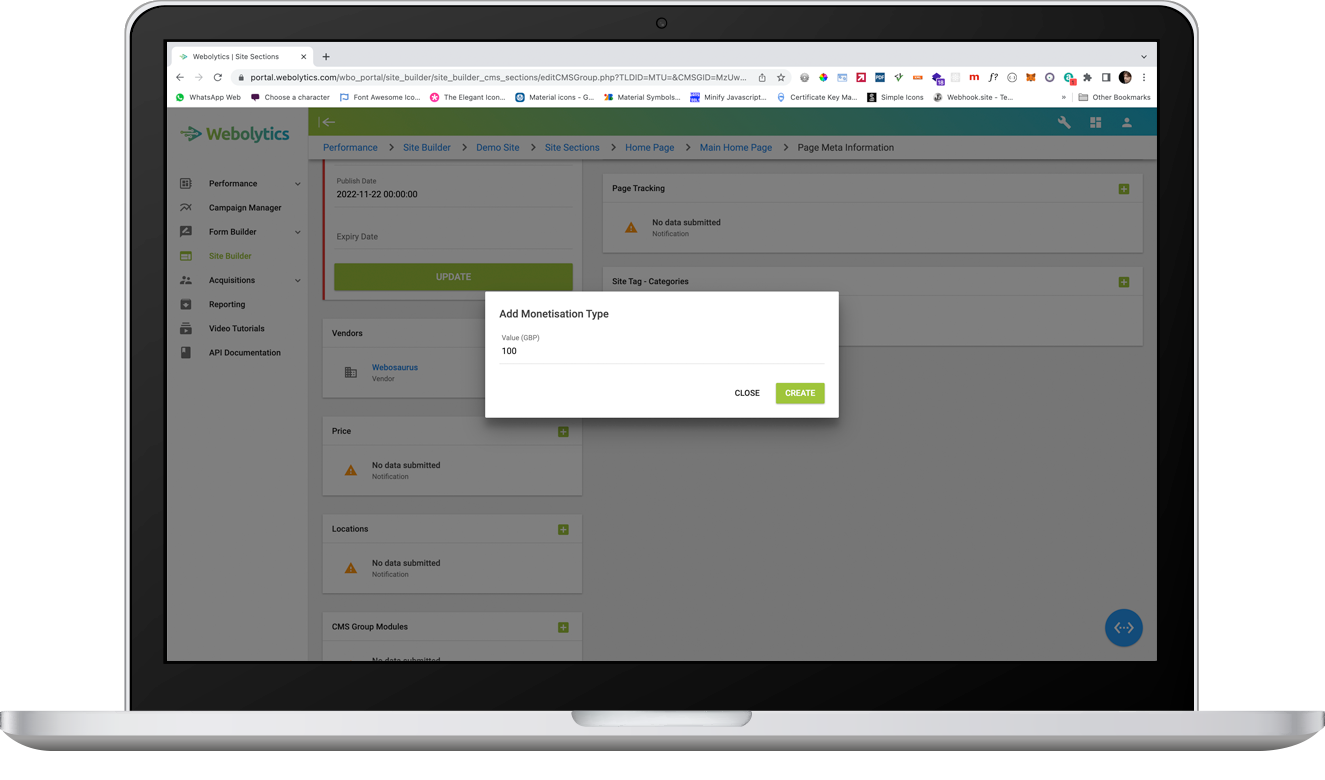
Click the green “+” button on the top-right of the Price block.
Fill in the amount and click Create. The Price will now appear in the list in the Prices block
Once a Price has been created, it can also have countries assigned to it for regional pricing.
Click on “Monetisation Criteria” to the right of the price that want to edit
Click on the tick next to each country that you want to appear as a region that this price is accepted for, and once done click Close at the bottom of the modal window.
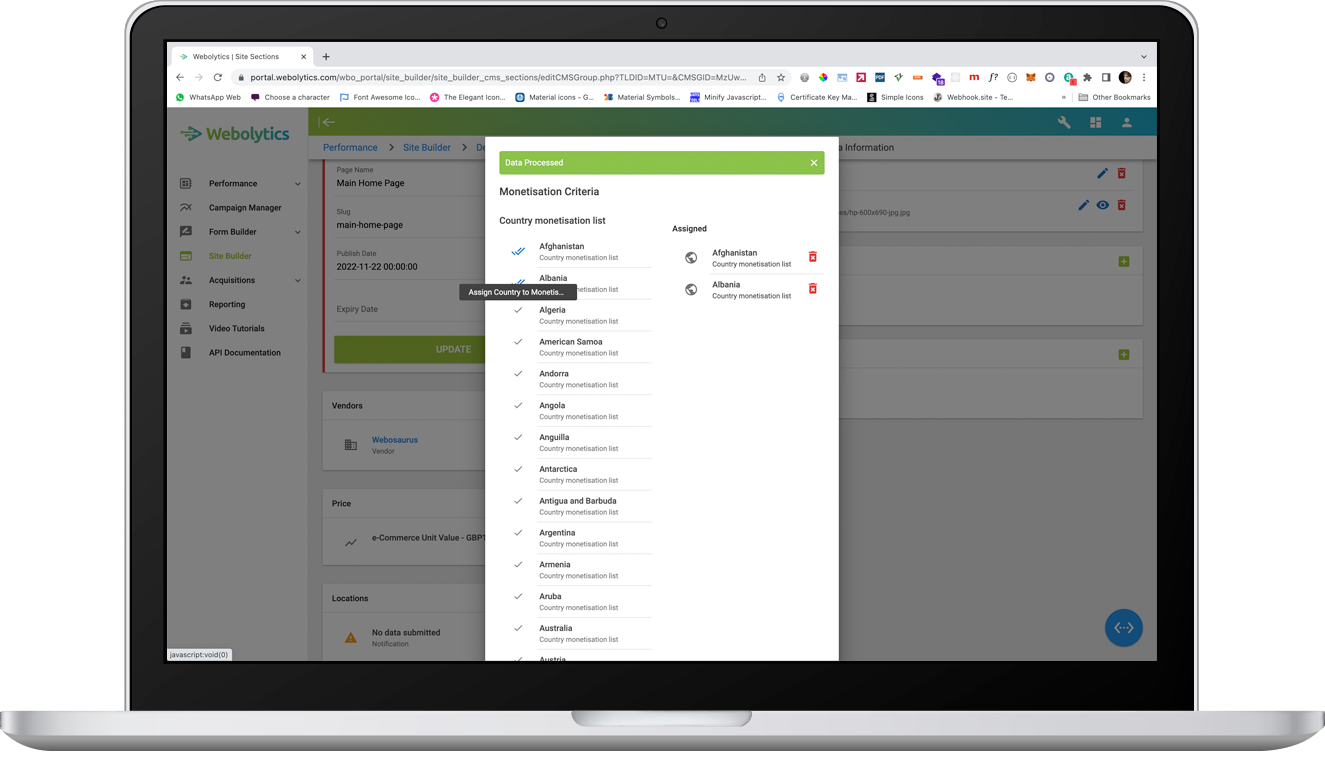
When the window is closed, you will see that the price has countries assigned against it in the price listing

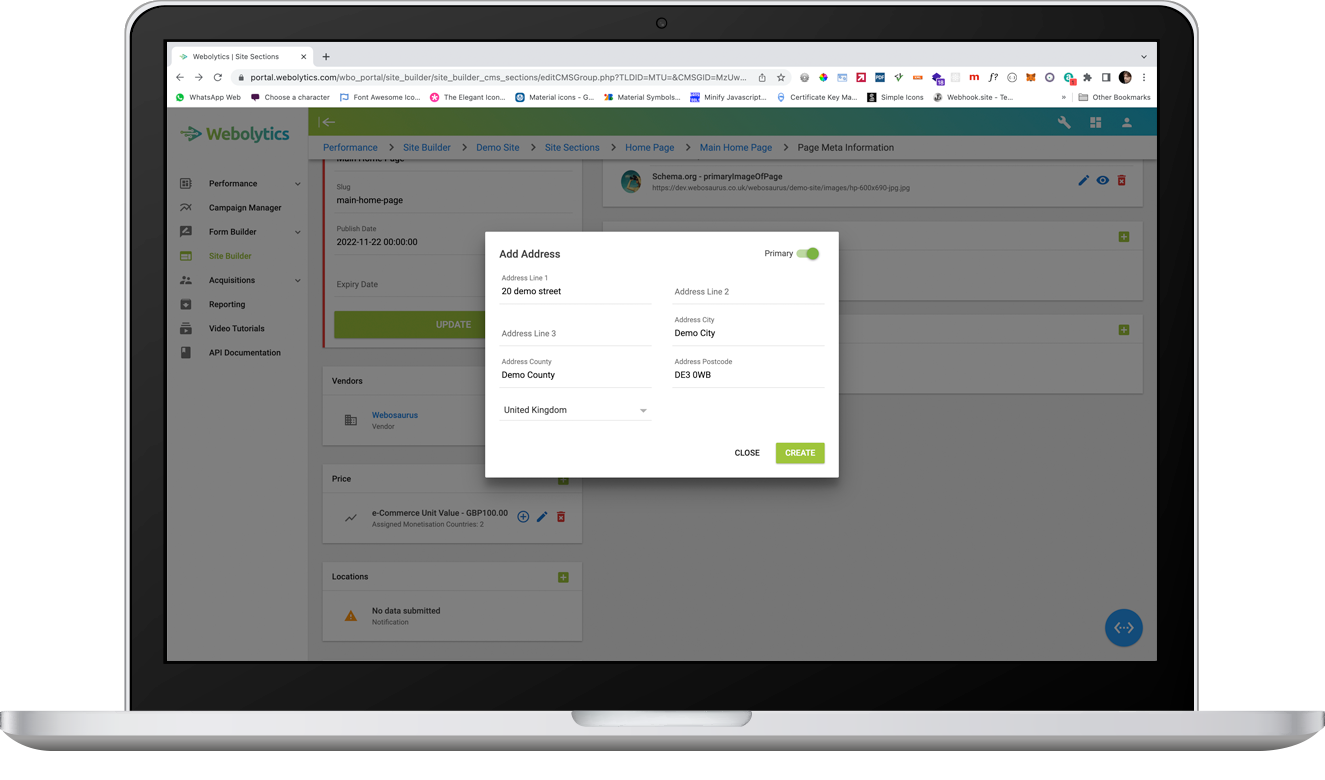
Locations
If the page requires a specific location, such as a listing for a College Campus Course, then an address can be added to the page for locational context.
Click the green “+” button on the top-right of the Locations block.
Fill in the amount and click Create. The Price will now appear in the list in the Prices block
CMS Group Modules
CMS Group Modules allow for integrated and specialised or specific functionality for a CMS section. An example of this might be plugging into a 3rd party system for stock control of a shopping product. Each module is bespoke, and will be covered individually in their own resource document.
Page Schemas
Once a page has been created has been set up initially, there are additional options that can be added to it, which are mainly relevant for SEO and site optimisation if the front end is serving a website.
Click the green “+” button on the top-right of the Page Schemas block.
Meta information that can be added to any given page. This consist of the following options:
- Meta Information - Description - This is the meta description text that is intended for the header of a web page
- Meta Information - Title - This is the Title of the page
- Meta Information - Keywords - This is a comma-separated list of words and phrases which are contextually relevant to the front end
- Meta Information - canonical - This determine whether this is a master page for content. If this is not unique content, then the canonical link needs to be that of the original source of the content
- Meta Information - noFollow - Hides any links on the page form search engines
- Meta Information - noIndex - hides the page from search engines
- schema.org - sameAs - enables the page to be contextually linked to another online source (eg a Facebook page for the same brand)
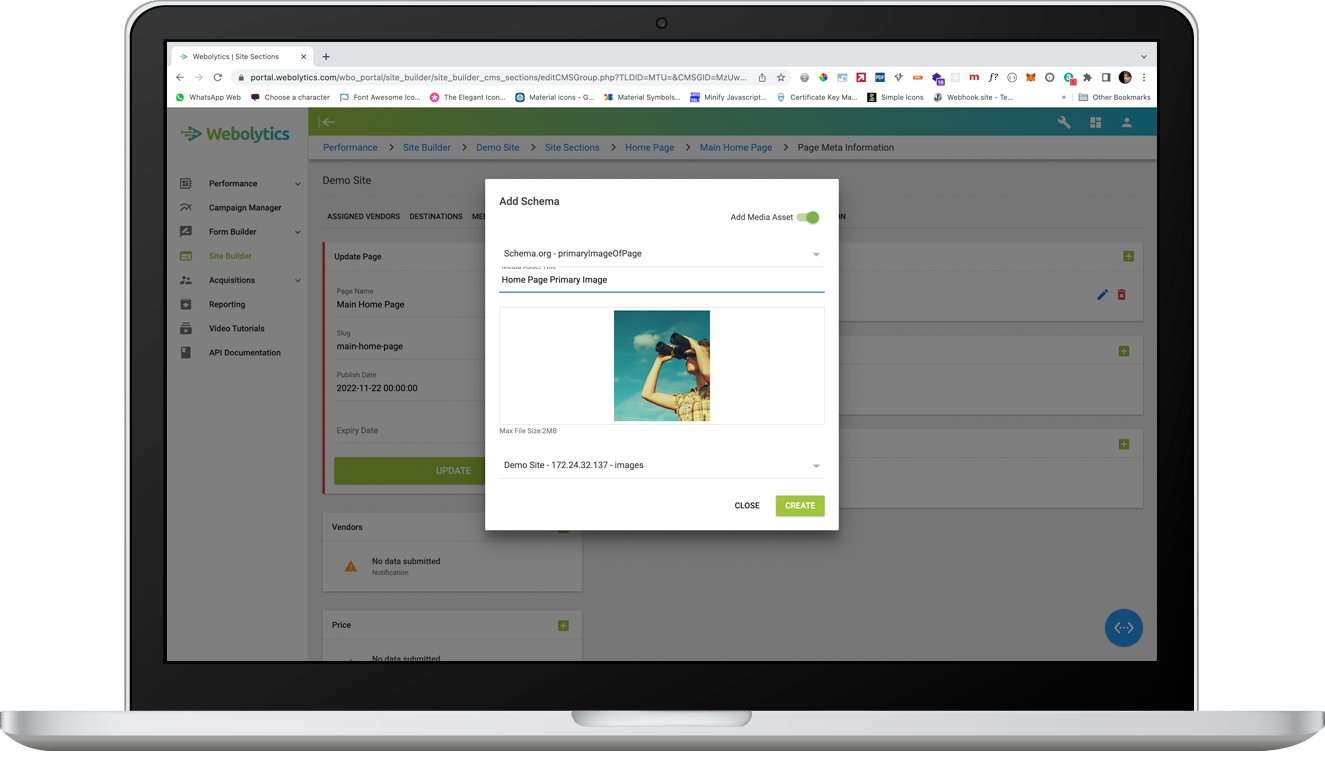
- schema.org - primaryImageOfPage - this is the primary image which search engines should use, when referencing the content form the page off-site
- Twitter - image - This is the image which twitter will look for, when referencing the page
- OG - image - the open graph format is used for image reference when inside portals such as Facebook
Select the type of meta information that you want to add, and fill in the form as appropriate
If the meta information added, is an image, then you will have the option to either select an existing image form the Media Asset Library, or to add a new media asset. To add a new media asset to the Media Asset library, check the “Add Media Asset” with to the top-right of the form. The Select box under the file upload window is defined by the folders that have been set up in the Destinations Section. If no destinations have been created, then this will need to be done first, as media assets are dependant on the destination being active and available.
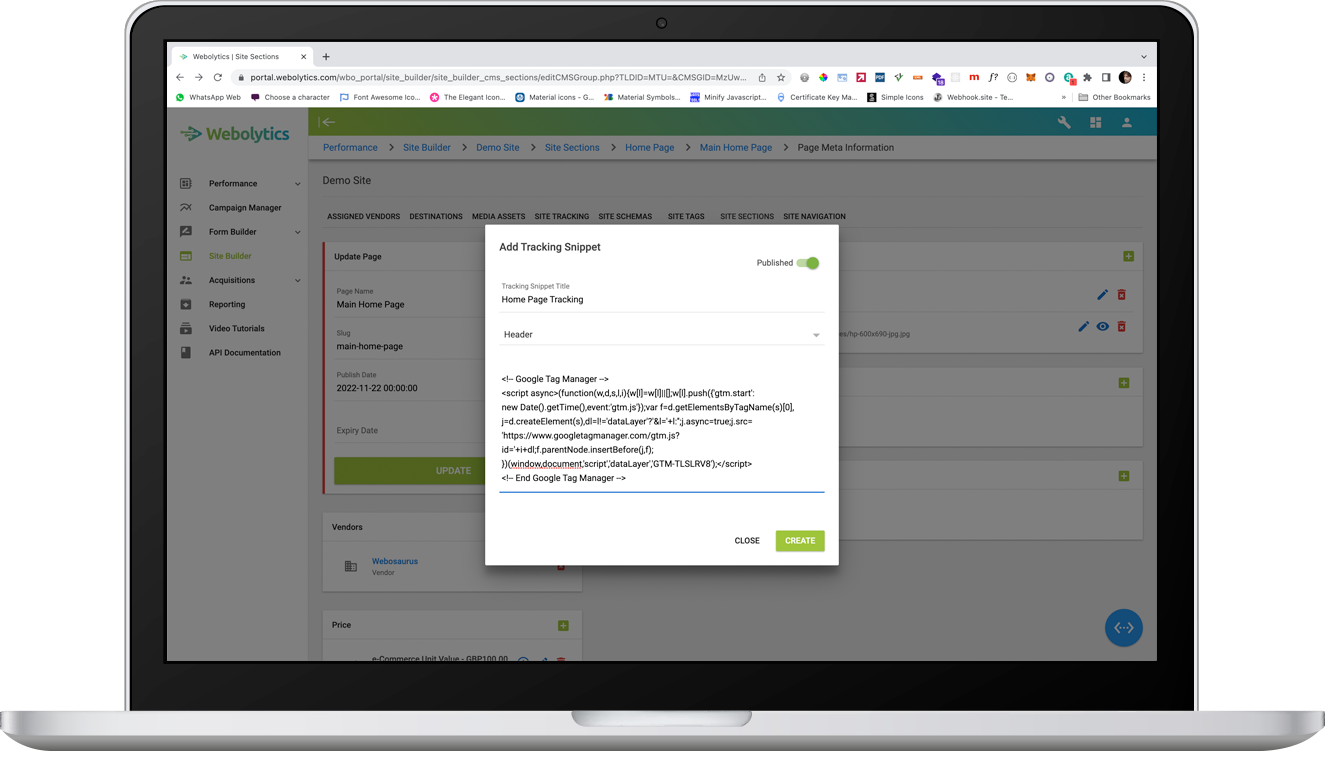
Page Tracking
Section Tracking allows for tracking snippets from other sources (such as google tag manager) to be called against the site that are specific for this section only, and not covered by the Site Tracking.
Click the green “+” button on the top-right of the Page Tracking block.
Fill in the form as appropriate and click Create. The tracking snippet will now appear on the page list
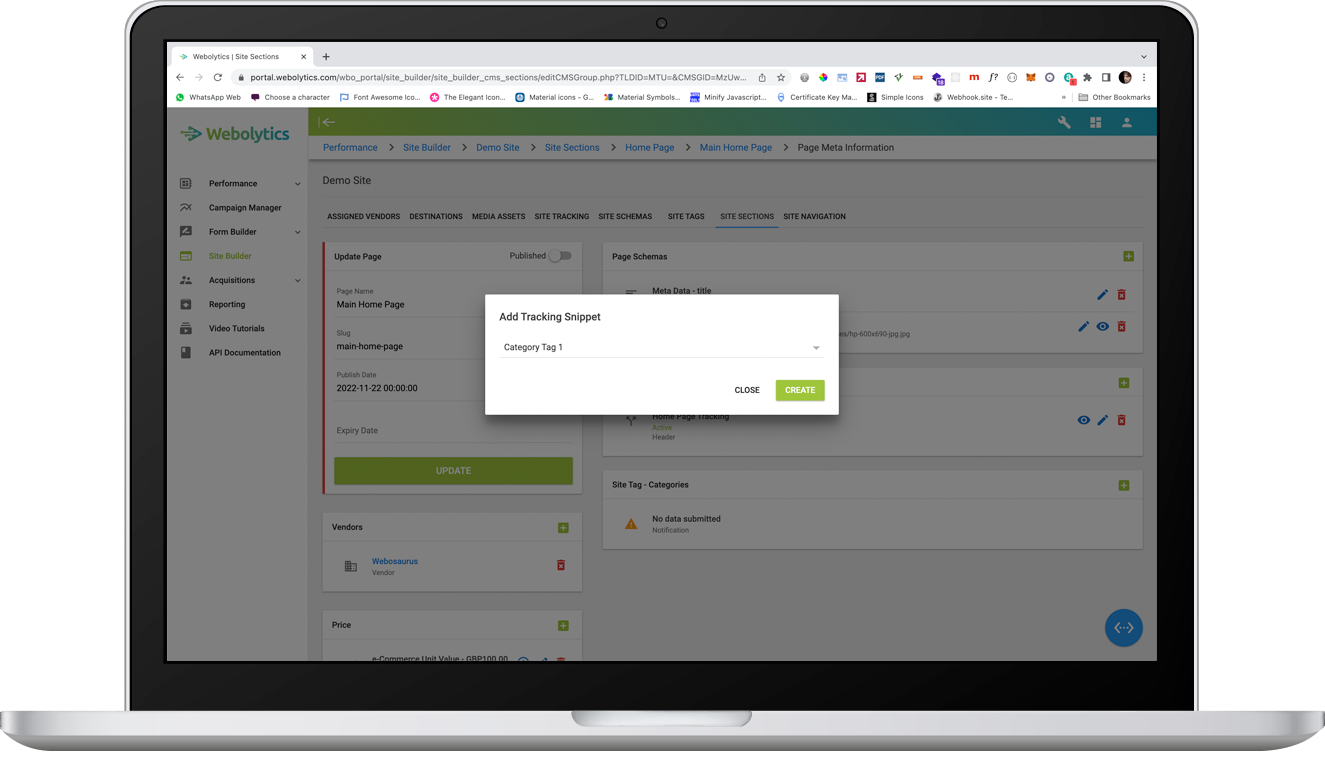
Site Tags - Various
Any Link Tag Section that have been assigned against the section which the page was made in. To assign one of those values against the page
Click the green “+” button on the top-right of the Site Tag block
Select the Tag That you eat to assign and click Create. The tag will now appear on the page list
Editing Page Content
From inside the Section, click the Page Content icon to the right of the page that you want to update/amend.
Click the green “+” button on the top-right of the Currencies block.
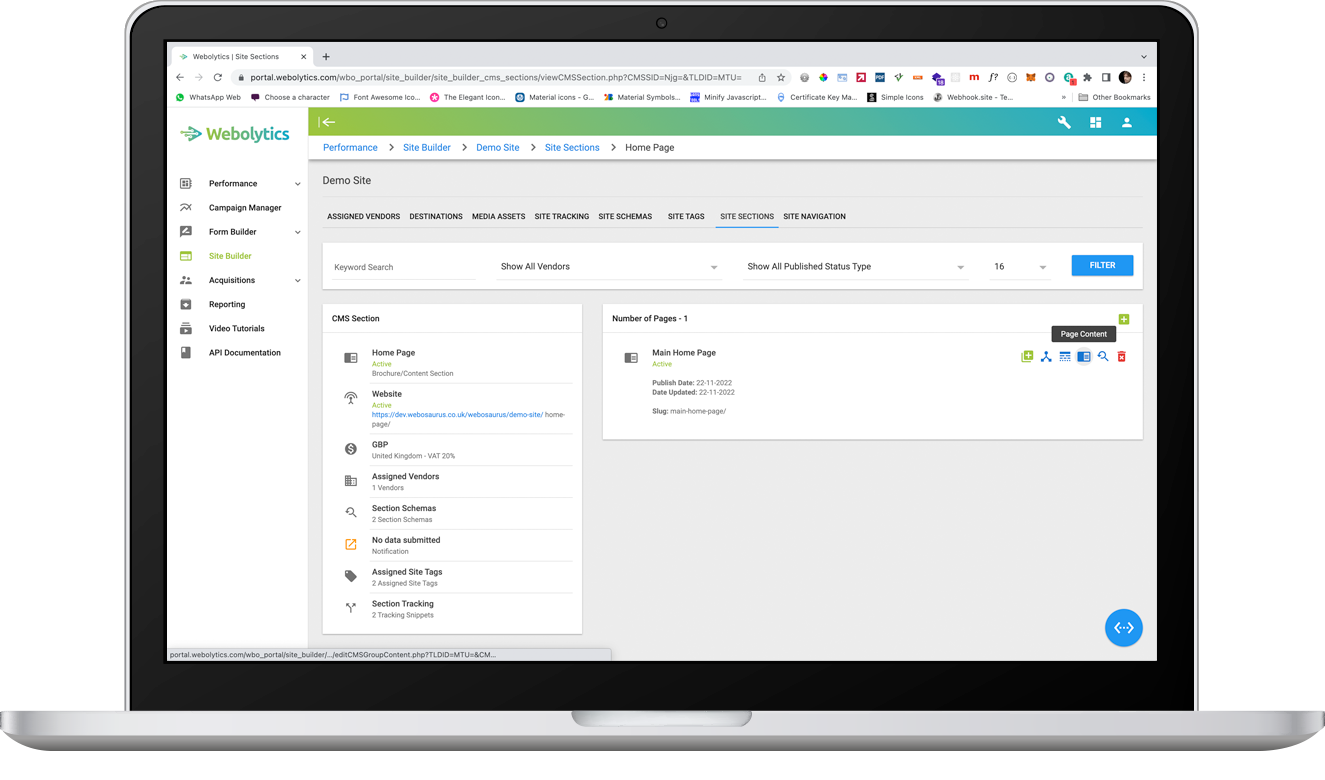
On the following screen, you will be presented with page information on the left, and content on the right. If no content has been added, then the right will appear empty.
Content is grouped together within Rows. This allows for flexible organisation and distribution across the page. Any amount of content can be contained within any given row.
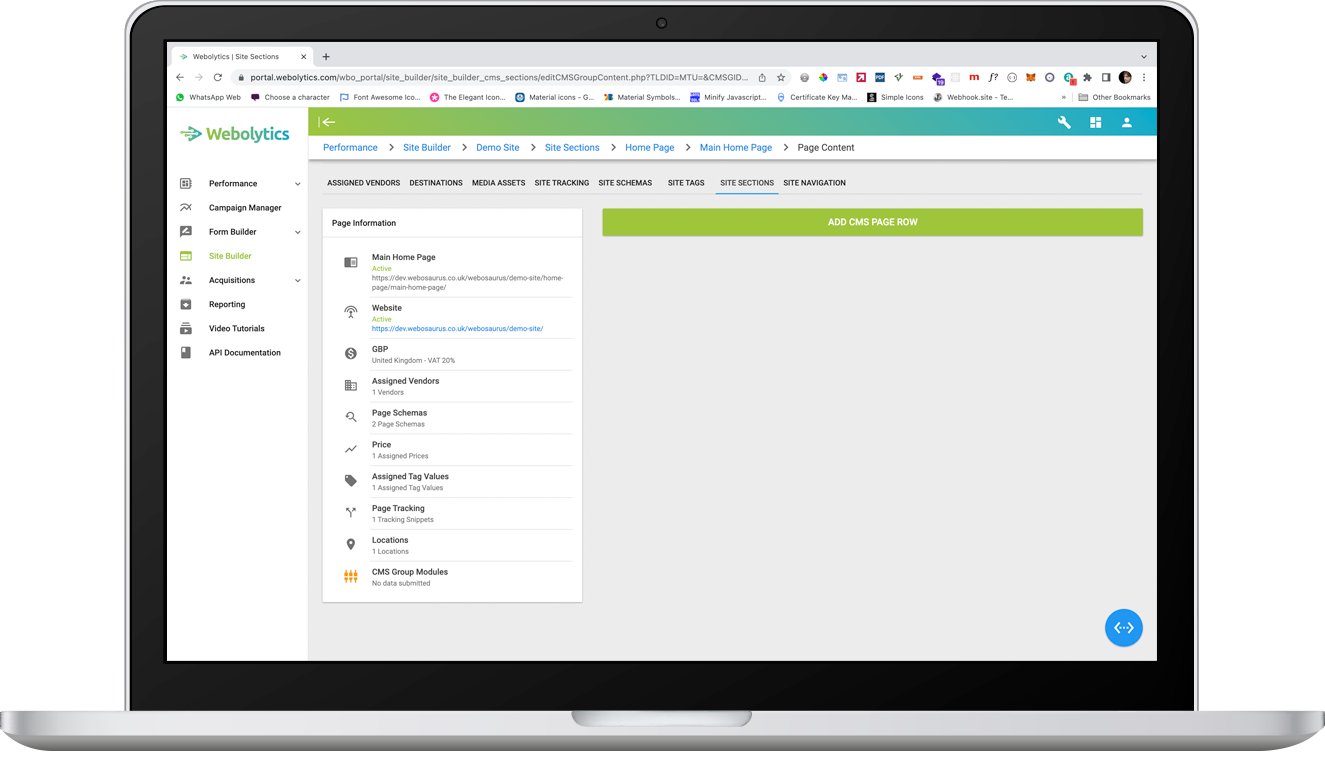
Adding a new Row
Click “Add CMS Page Row” at the top-right of the page
Give the row a name and click Create
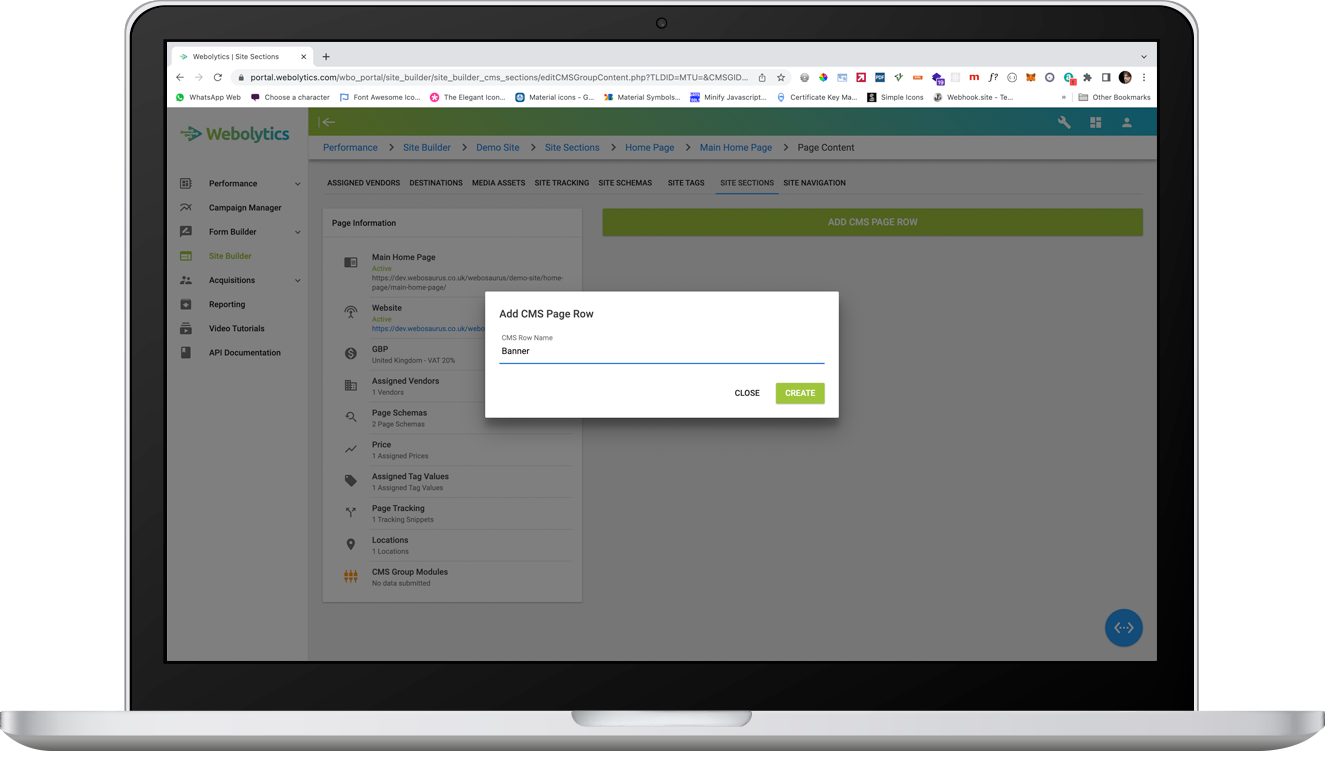
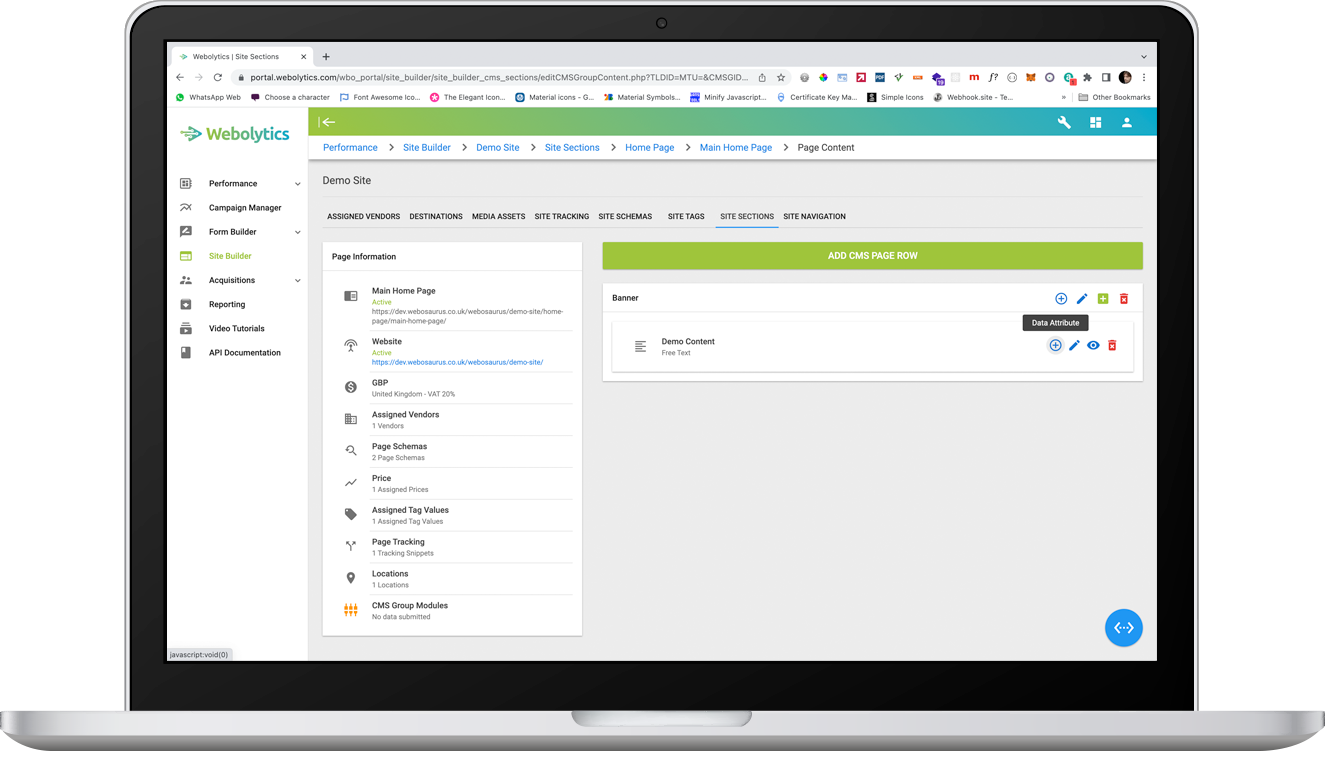
Your new row will now appear on the right side of the page
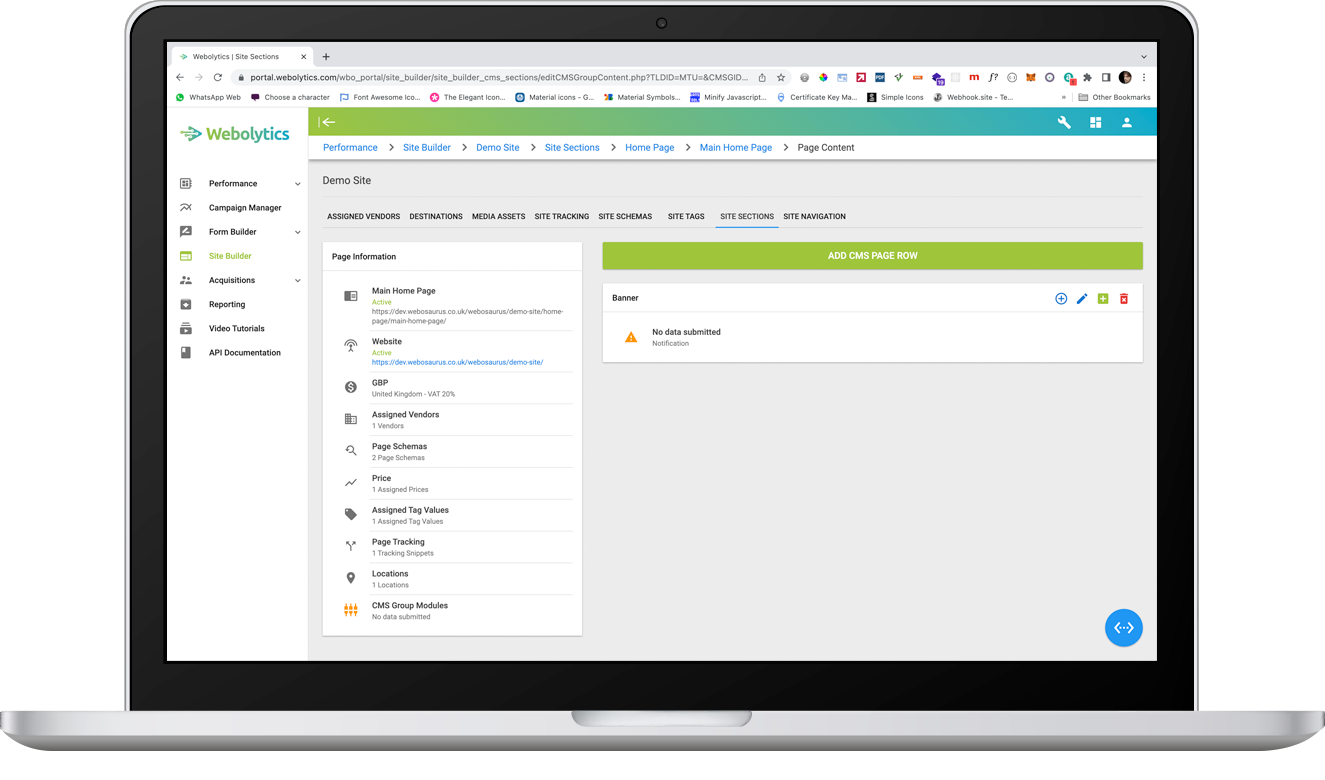
Once a row has been created, Data Attributes can be assigned against it.
Data attributes enable for front-end specific data to be sent with the row. An example could be if the front end is utilising bootstrap as a framework, the class of “row” could be assigned to it, so can be rendered in accordance with bootstrap.
The type of data that can be sent are as follows:
- CSS Style
- CSS Class
- Data-attribute
To add a data attribute to a Row, click the Data Attribute icon to the top-right of the row

On the form on the left, select which type of data attribute you want to add, and then provide it with a value and label. Once completed, click the green tick to the left of the form.
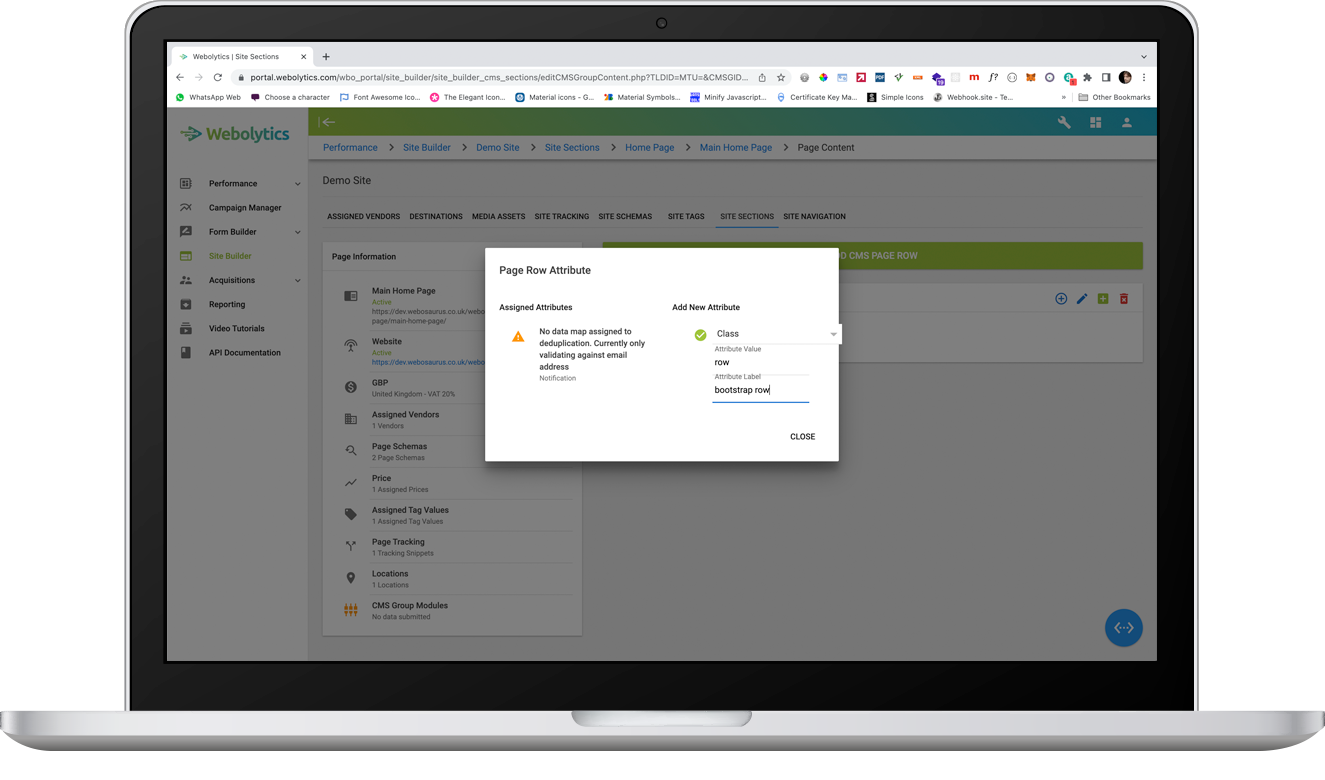
Your data attribute is now assigned against the row.

Adding Content to a Row
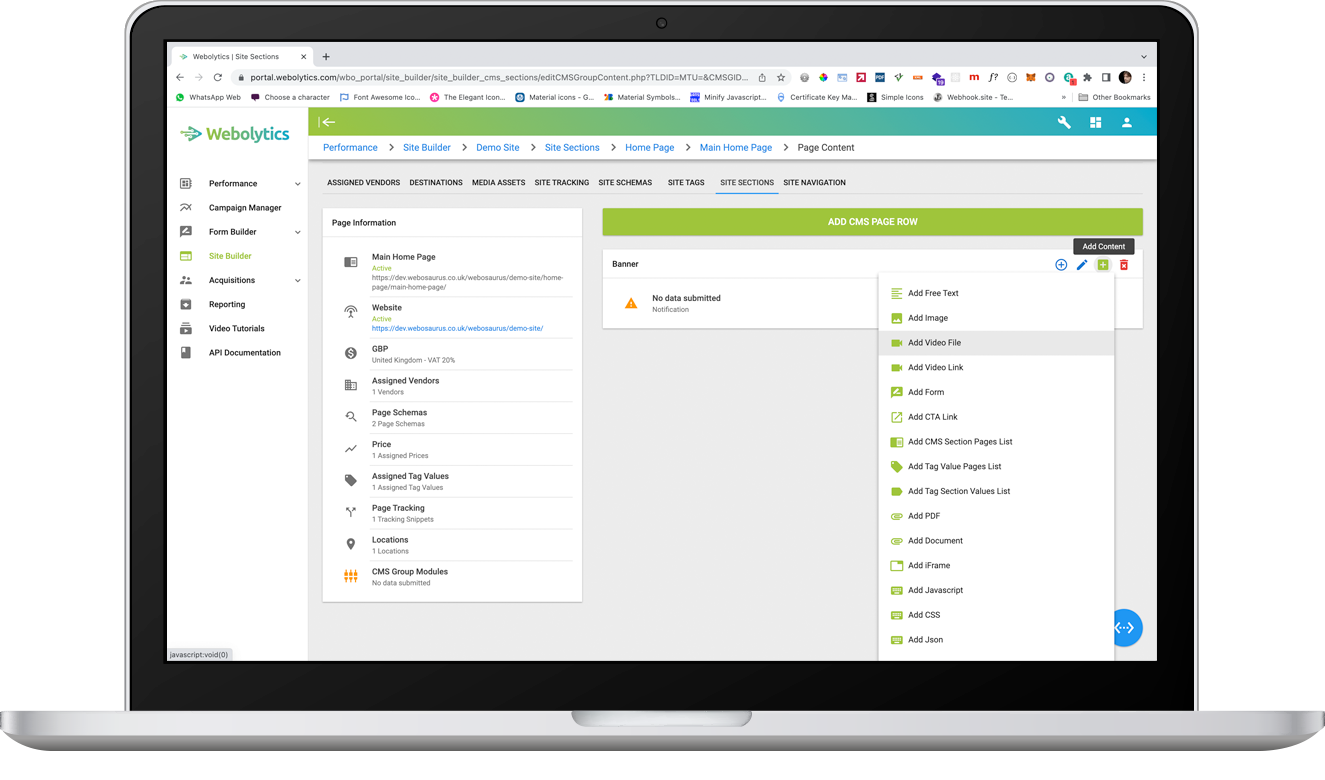
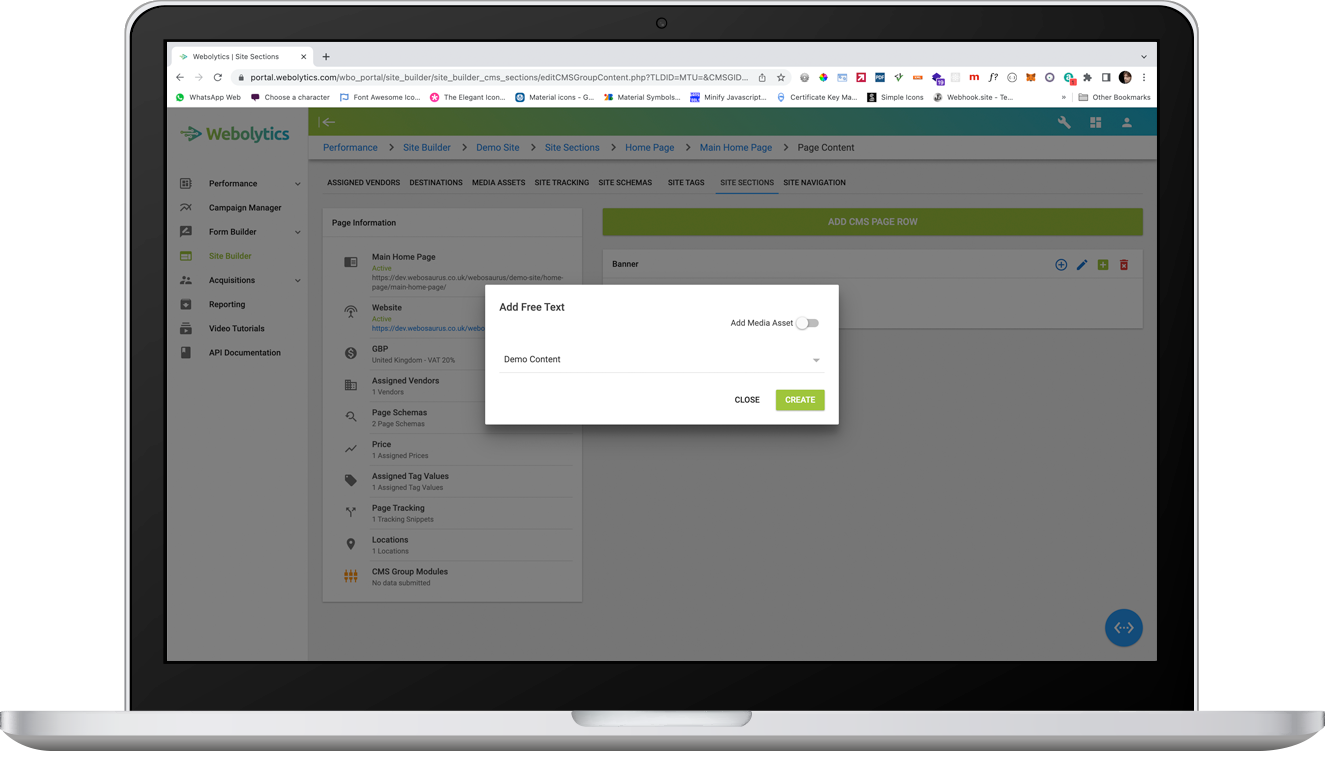
Click “Add Content” at the top-right of the row that you want the content to be assigned against
Select the type of content that you want to add to the row from the available options:
- Free Text
- Image
- Video File
- Video Link
- Webolytics Form
- CTA Link
- CMS Section Pages list
- Tag Value Pages List
- Tag Section Values List
- Word Document
- iFrame
- Javascript File
- Json File
- CSS File
Refer To the Media Assets Documentation for more information about the types of content
Select the type of content that you want to add, and fill in the form as appropriate. You can either re-use existing content, or add new content directly to the page. New content will also be added to the Media Library.
If the content added is a file, then you will have the option to either select an existing image form the Media Asset Library, or to add a new media asset. To add a new media asset to the Media Asset library, check the “Add Media Asset” with to the top-right of the form. The Select box under the file upload window is defined by the folders that have been set up in the Destinations Section. If no destinations have been created, then this will need to be done first, as media assets are dependant on the destination being active and available.
Once content has been created, Data Attributes can be assigned against it.
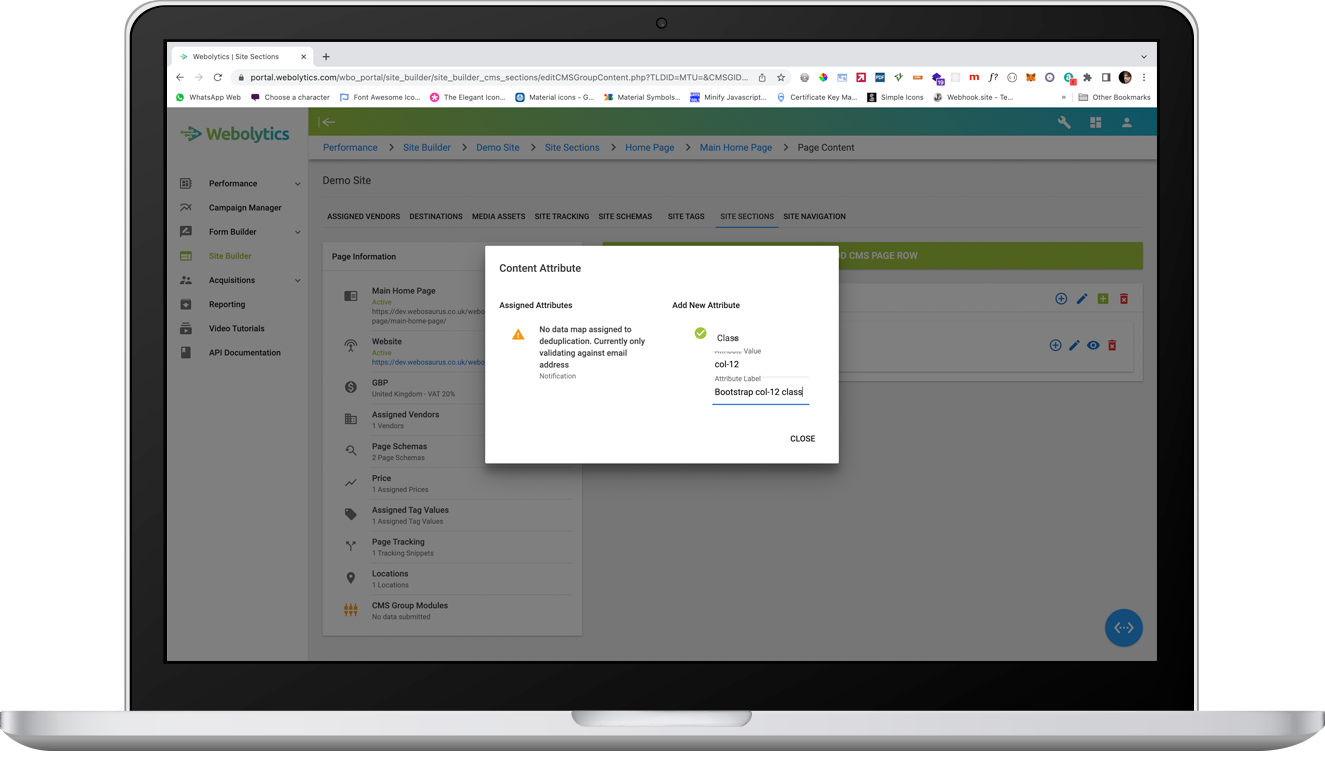
Data attributes enable for front-end specific data to be sent with the row. An example could be if the front end is utilising bootstrap as a framework, the class of “col-12” could be assigned to it, so can be rendered in accordance with bootstrap.
The type of data that can be sent are as follows:
- CSS Style
- CSS Class
- Data-attribute
To add a data attribute to content, click the Data Attribute icon to the right of the content
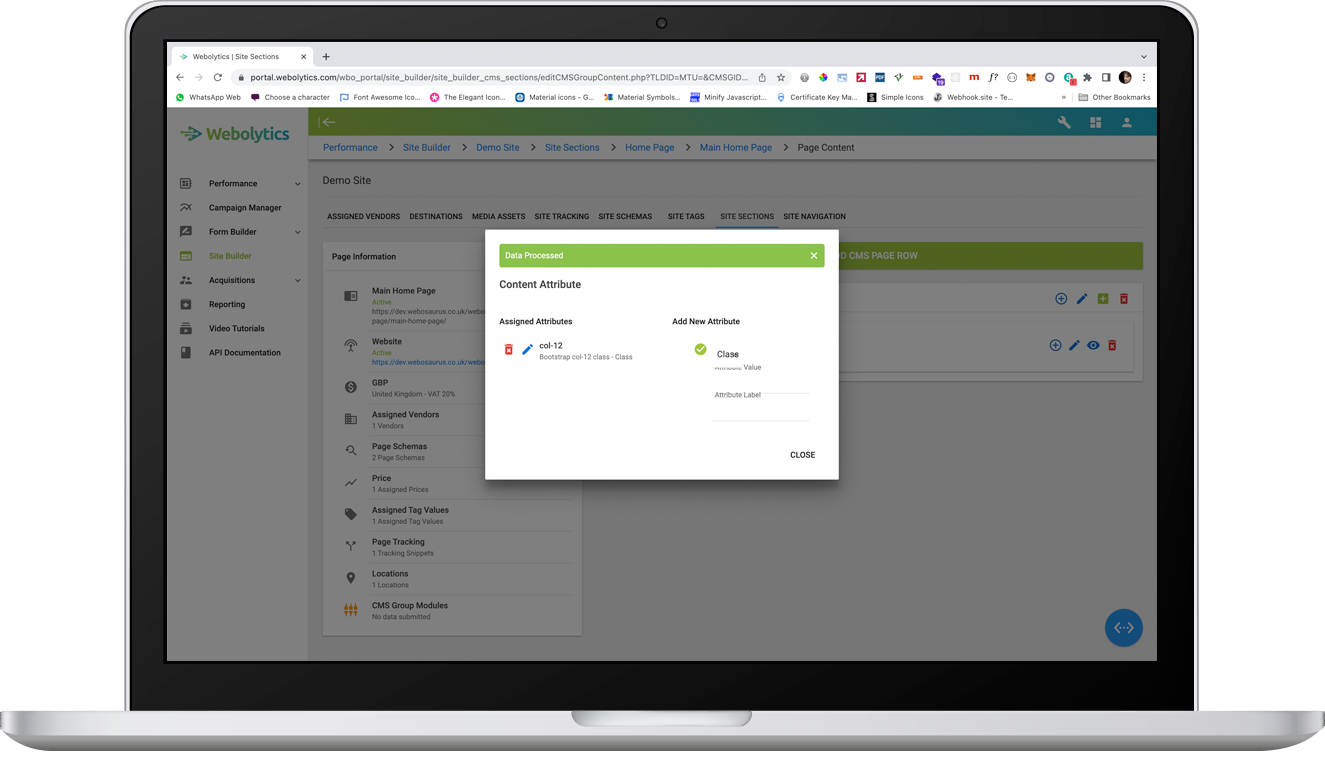
On the form on the left, select which type of data attribute you want to add, and then provide it with a value and label. Once completed, click the green tick to the left of the form.
Your data attribute is now assigned against the content
Editing Page Layout
From inside the Section, click the Page Layout icon to the right of the page that you want to update/amend
On the following screen, you will be presented with page information on the left, and a list of content rows on the right. If no row has been added, then the right will appear empty.
If no layout tags have been assigned, the you can re-organise the existing rows via drag-and-drop functionality.
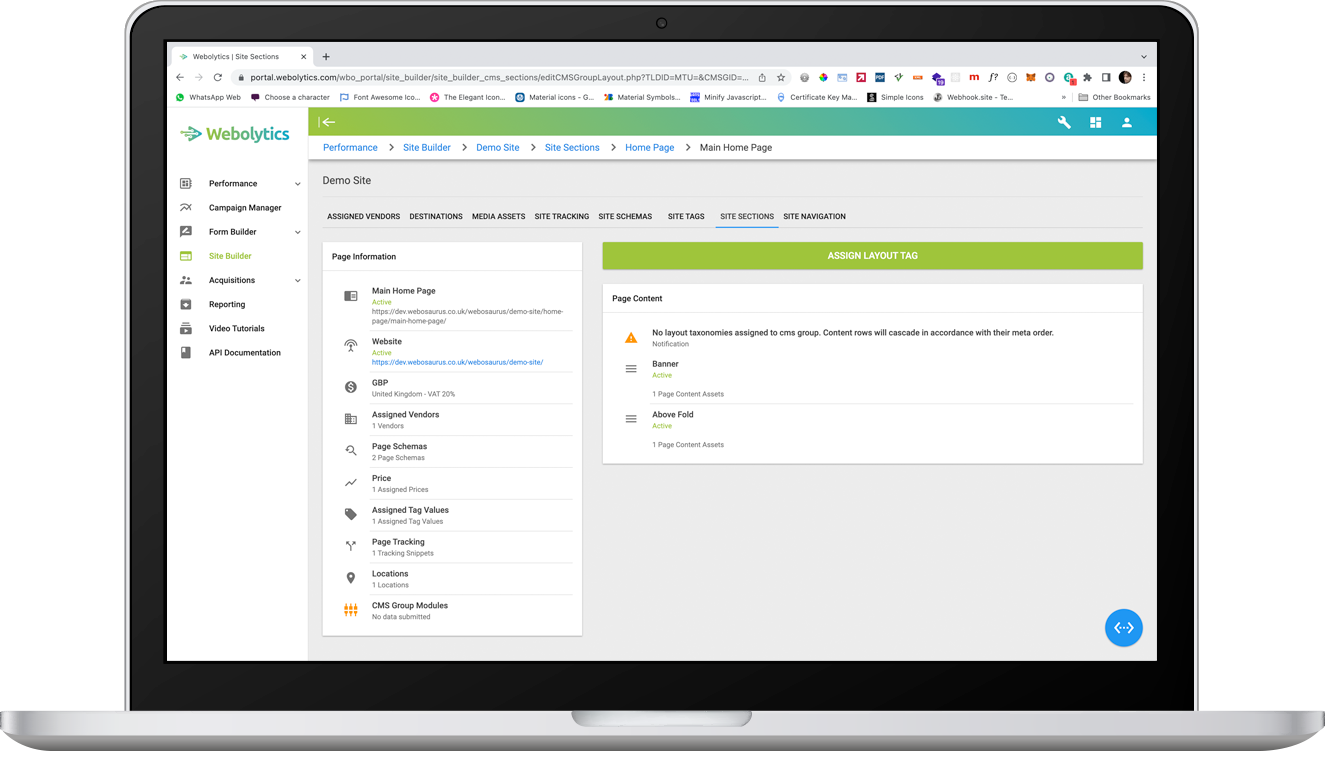
To Assign Layout Tags to the content click Assign Layout Tag at the top-right of the page
Fill in the form as appropriate, and click Create.
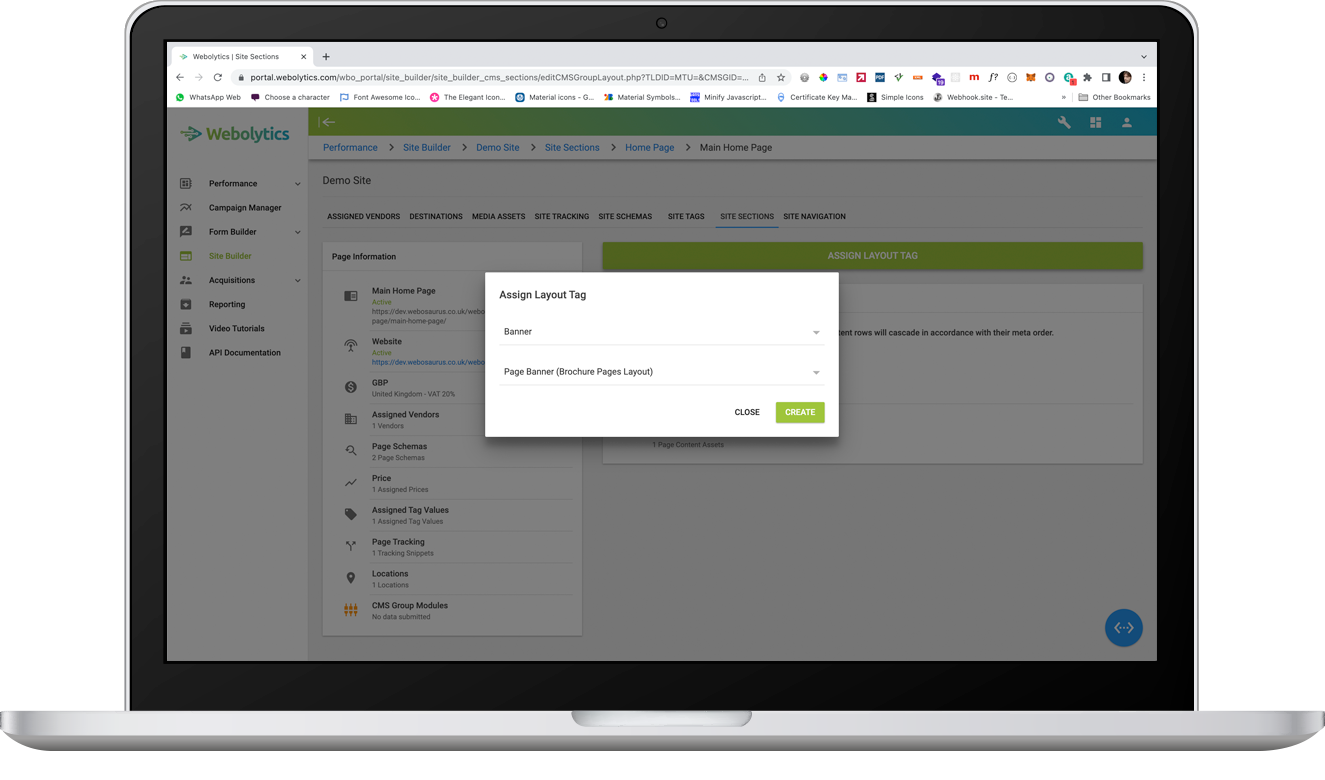
Your Row will now be assigned against a Layout Tag.
Any rows not assigned against a layout tag can still be accessed on the front end if required

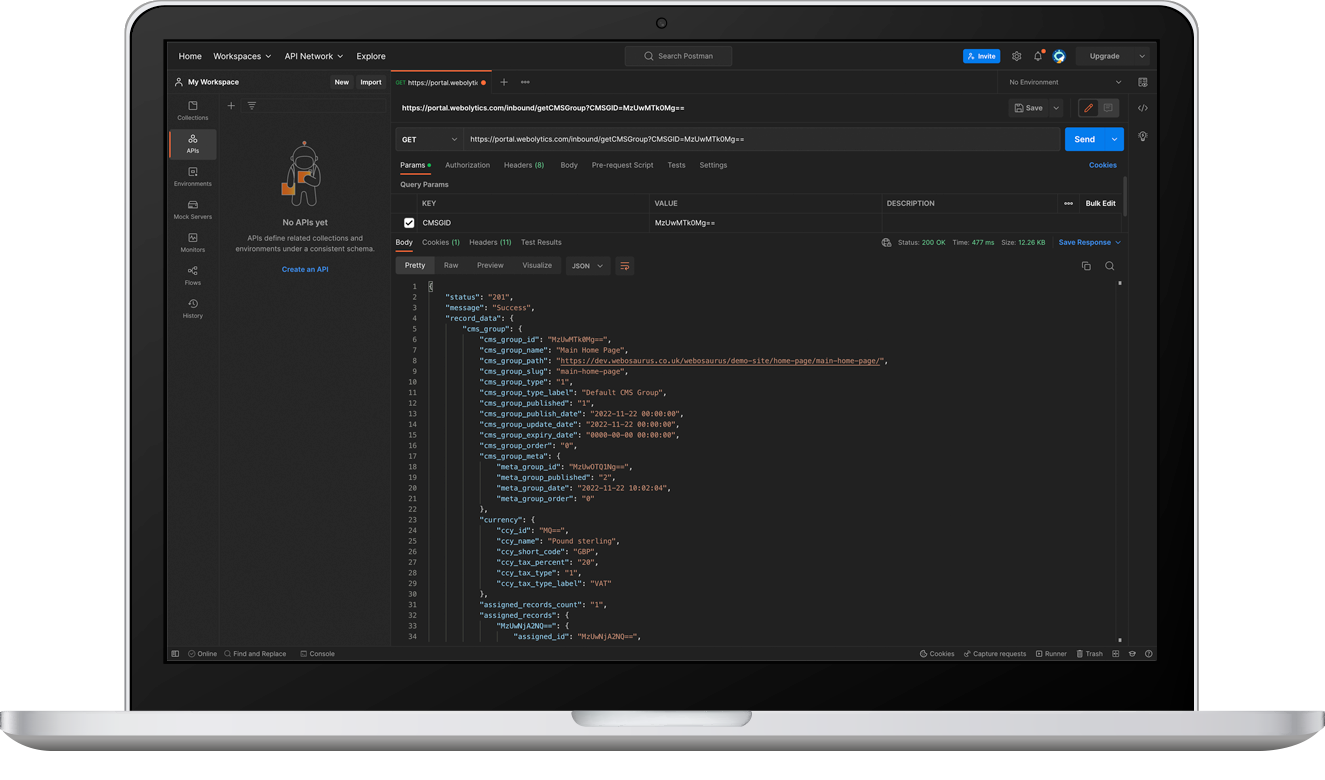
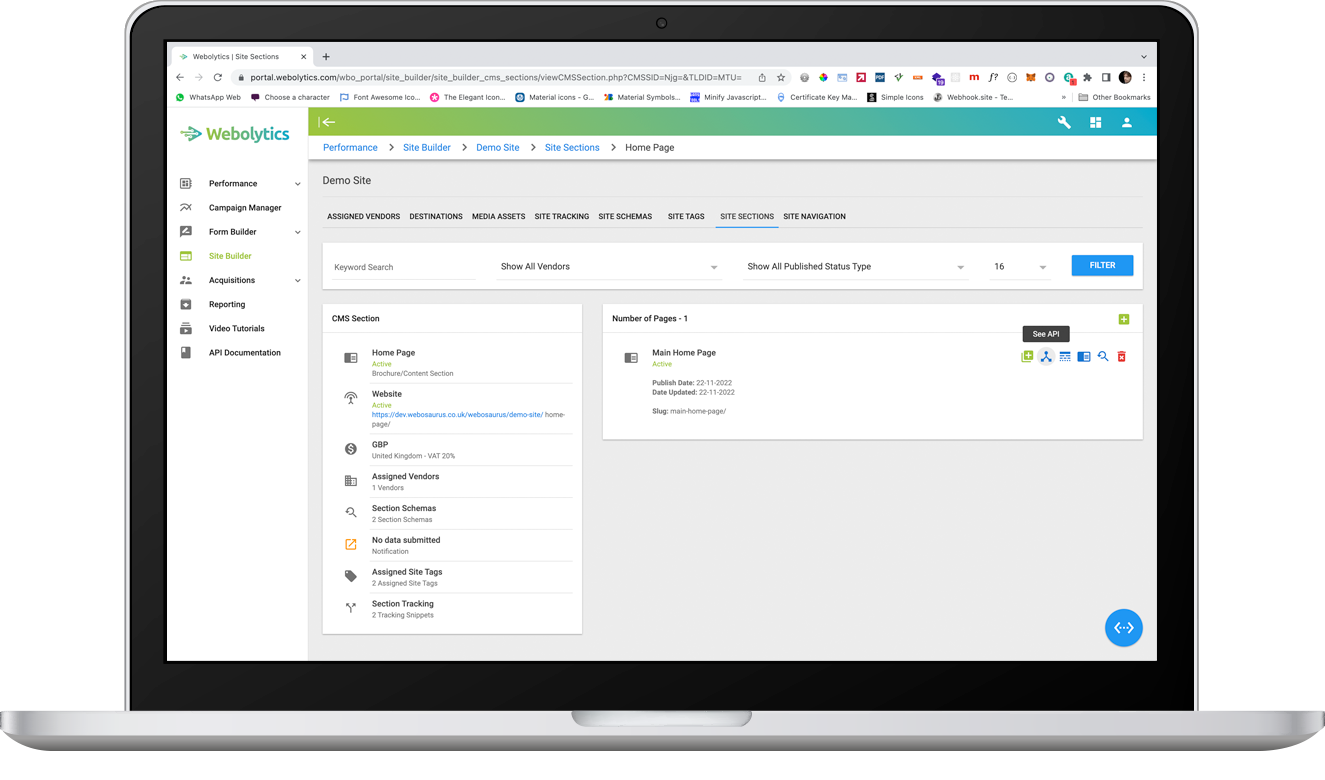
See API
If you want to see what Webolytics is outputting, or want a direct link to the API, then you can do this from the Site Section
From inside the Section, click the See API icon to the right of the page that you want to view
On the following modal, you will be presented with a link to the page API. This can be copied from the window to be viewed in a program of your choosing (eg: chrome or postman)