Media Assets
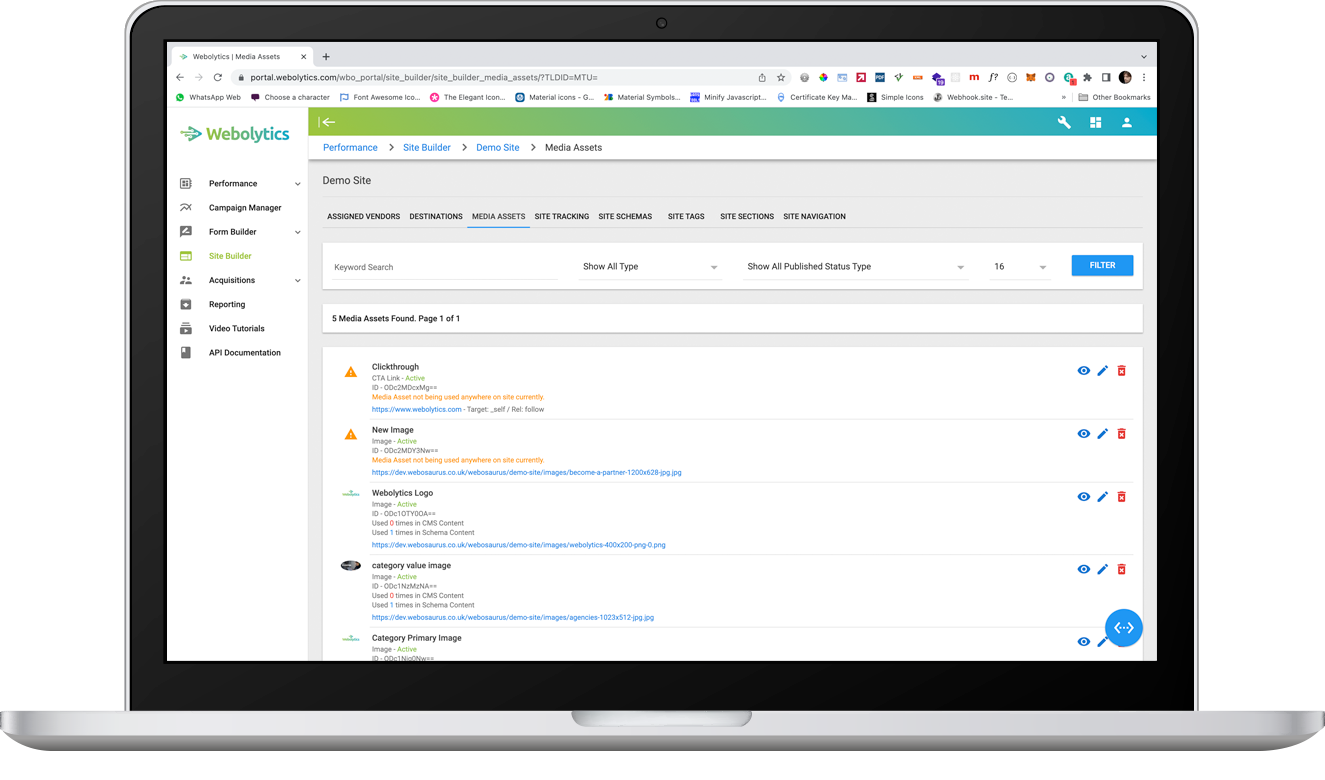
The Media assets is a central repository for all files and content within the site. Any content within the media assets library can be re-used across sections/pages/tags/schema as desired
Creating a new Media Asset:
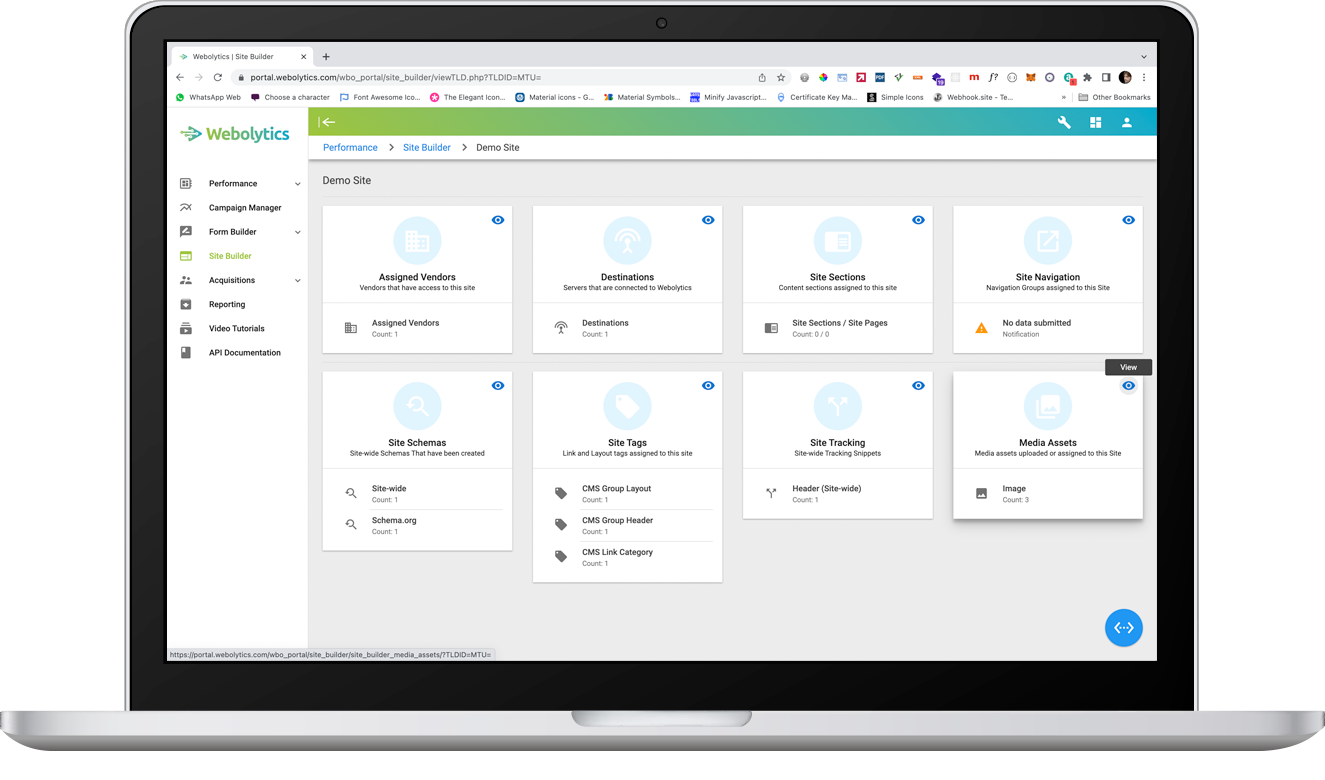
From your site dashboard, click the view button on the top-right of the Media Assets block
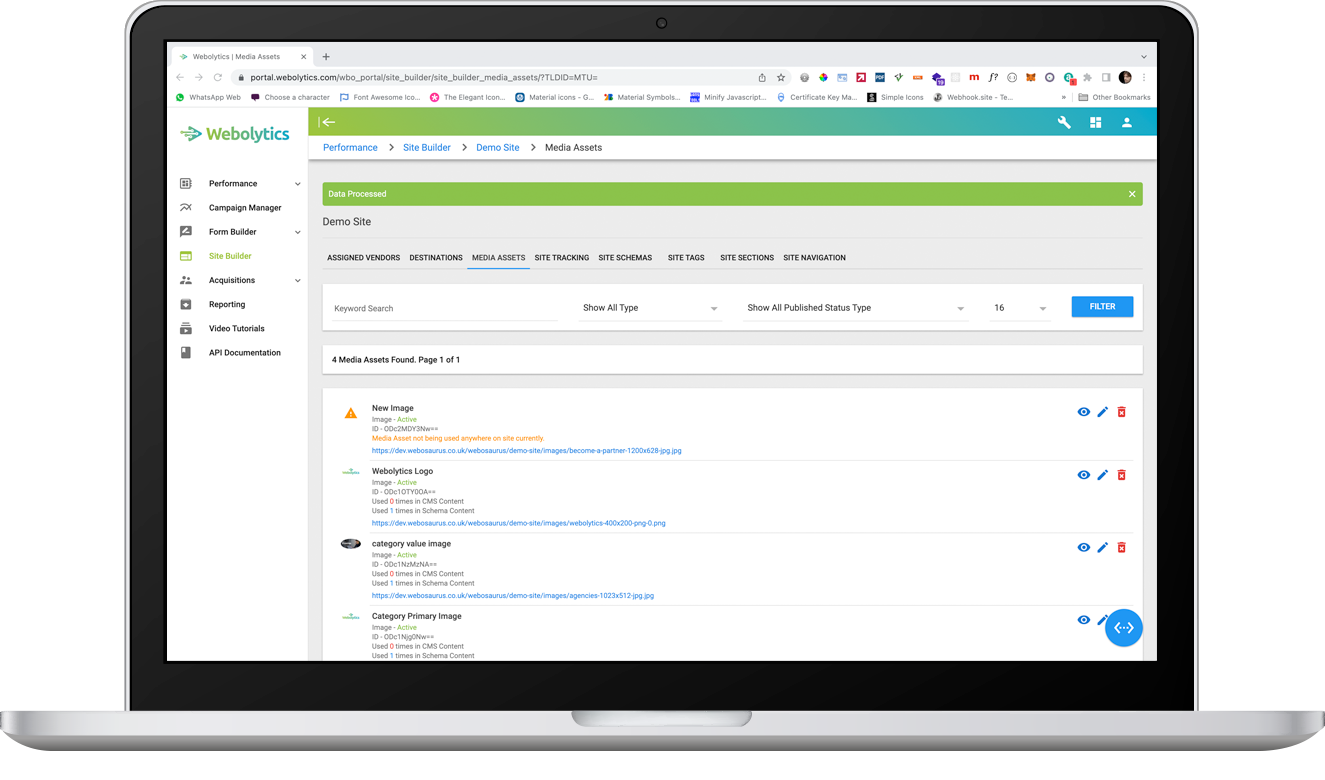
From inside the Media Assets section, click the blue button to the bottom-right of the page, and click on one of the following options:
Add File
Upload a file to the site
Add CTA Link
Add a Call-to-action (CTA) link to be used throughout the site.
Add Form
Add a Webolytics form to a site.
Add iFrame
Add an iFrame to a site.
Add Free Text
Add a piece of content to be used throughout the site.
Add CMS Section Pages List
Add a list of pages from a specific CMS Section be used throughout the site.
Add Tag Value Pages List
Add a list of CMS Pages from a specific Tag Value be used throughout the site.
Add Tag Section Values List
Add a list of Tag Values from a specific Tag Section be used throughout the site.
The process for adding each type of media asset follows below
Add File
From inside the Media Assets section, click the blue button to the bottom-right of the page, and click on “Add File”
Files that can be added to the Media Asset library can consist of the following options:
- Video File (MP4)
- Image File (GIF/PNG/JPG)
- Favicon
- Javascript
- CSS
- Json
- HTML
- XML
- Word Document
- CSV
Select the type of file that you want to add, and fill in the form as appropriate.
The Select box under the file upload window is defined by the folders that have been set up in the Destinations Section. If no destinations have been created, then this will need to be done first, as media assets are dependant on the destination being active and available.

Click Create on the form to add the file to the Media Asset library. You should now see the new Media Asset in the list on the page. It will also have a Warning against it to let you know that is is not currently assigned to any page of schema value throughout the site
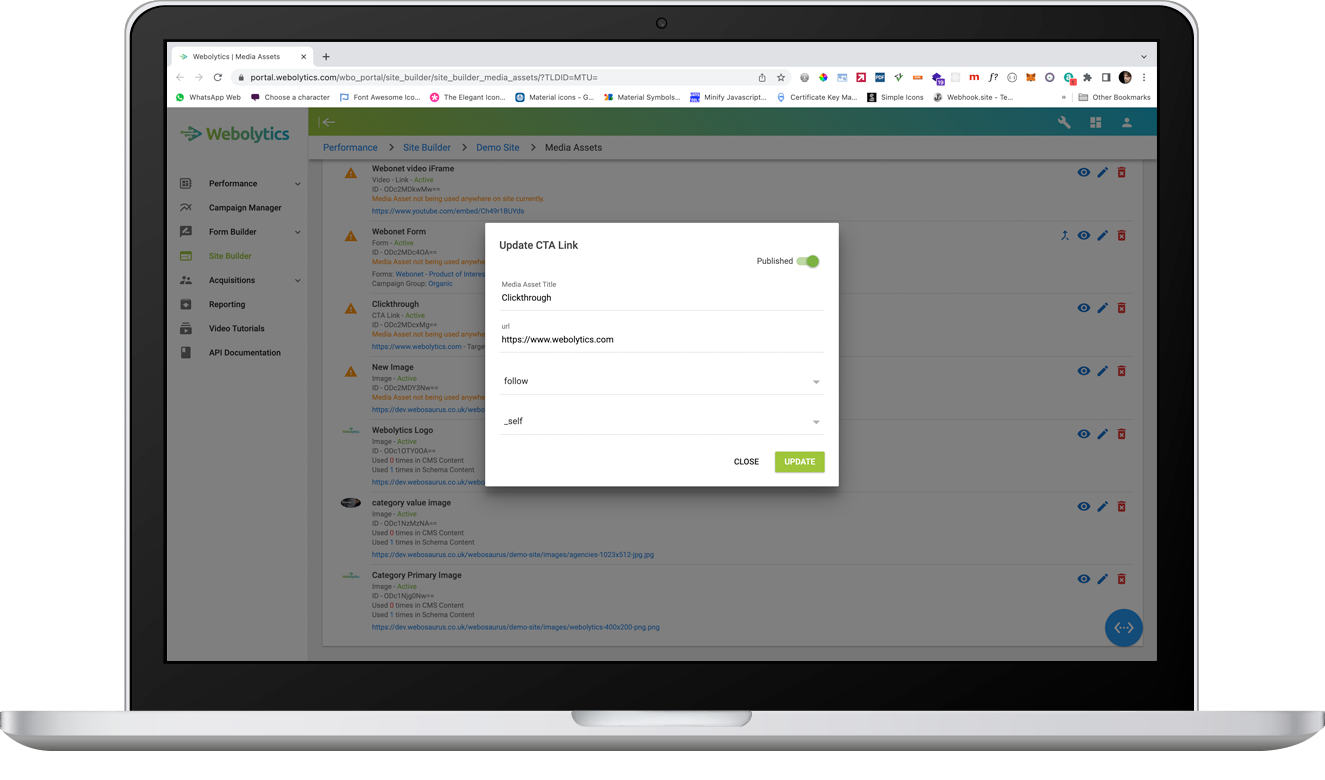
Click Create on the form to add the CTA Link to the Media Asset library. You should now see the new Media Asset in the list on the page. It will also have a Warning against it to let you know that is is not currently assigned to any page of schema value throughout the site
Add Form
From inside the Media Assets section, click the blue button to the bottom-right of the page, and click on “Add Form”.
Fill in the form as appropriate. You will have to choose the form you want to use from the forms available to you in webolytics, and also the Campaign Group that you want the lead to go into when submitted from the front end.
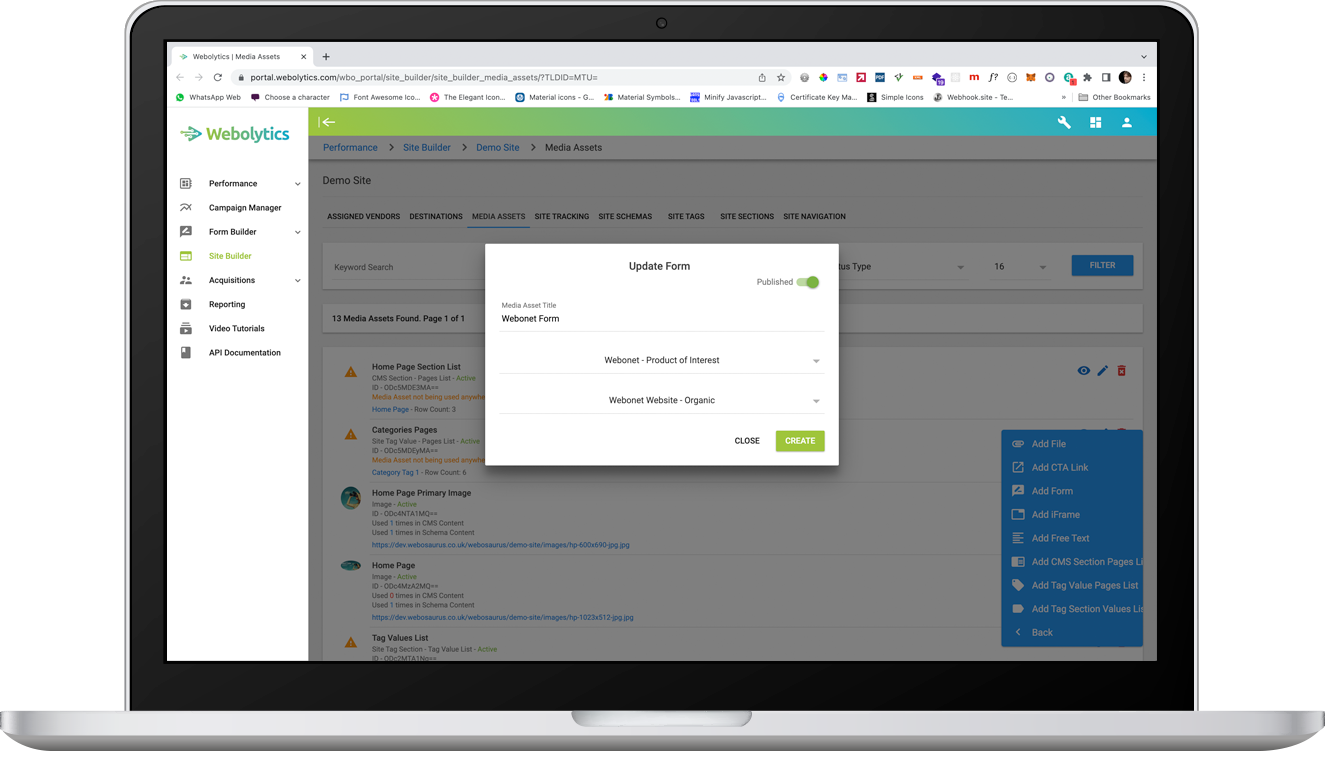
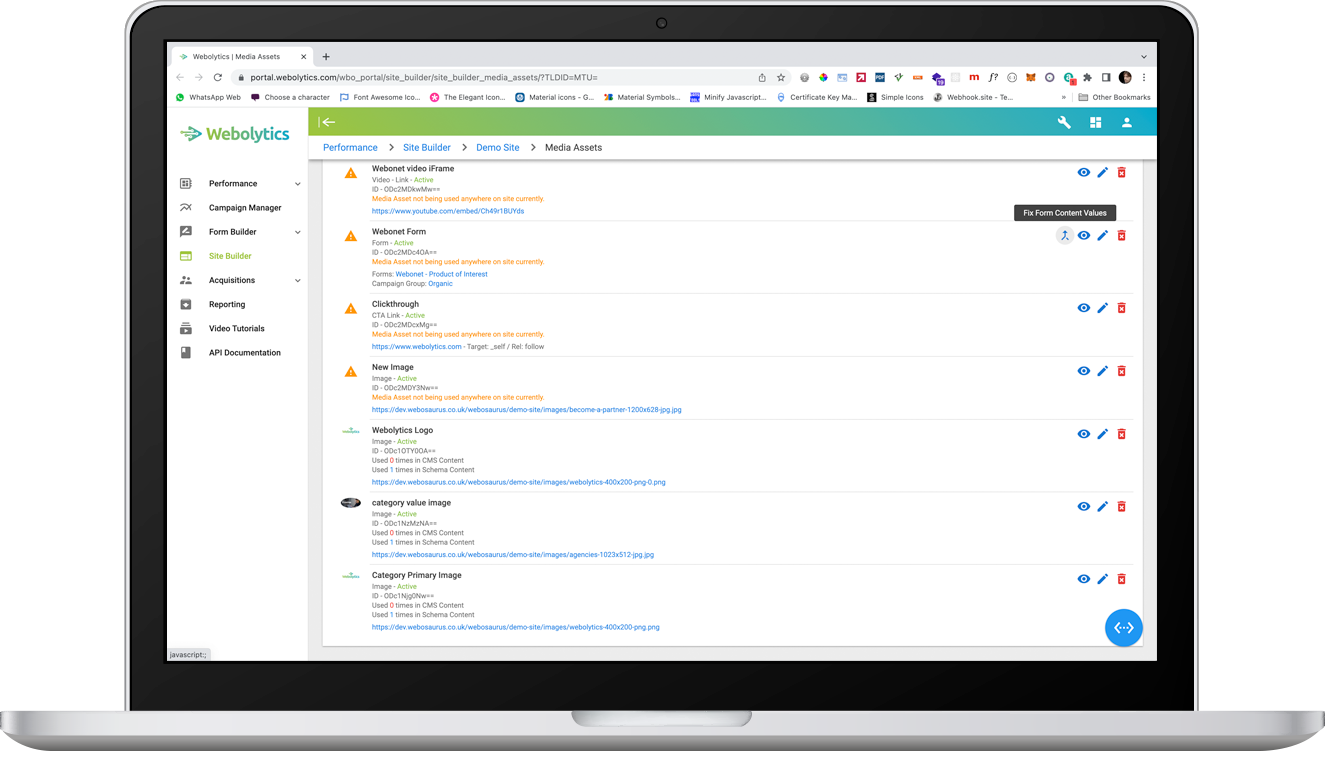
Click Create on the form to add the Form to the Media Asset library. You should now see the new Media Asset in the list on the page. It will also have a Warning against it to let you know that is is not currently assigned to any page of schema value throughout the site
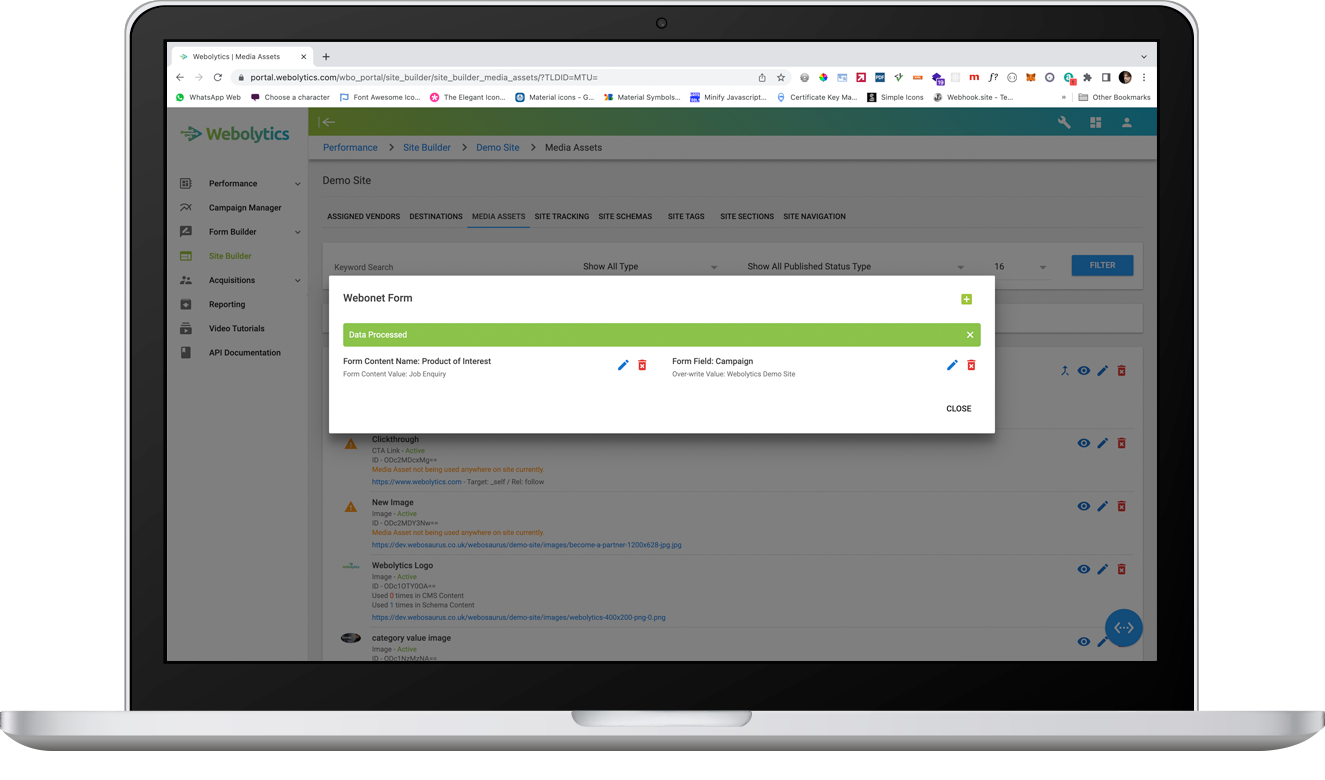
Once the form Media Asset has been created, you also have the option to tailor some of the values from the form. For example, if you want to use one generic form, with a lot of options in a select field, but want a new media asset with the same form, but only limited options available from the select field, then you can do this via Media Asset Library.
Click on “Fix Form Content Values” to the right of the form that you want to amend.
On the modal window, select which type of content that you want to Fix into place by clicking on the green “+” button to the top-right of the modal.
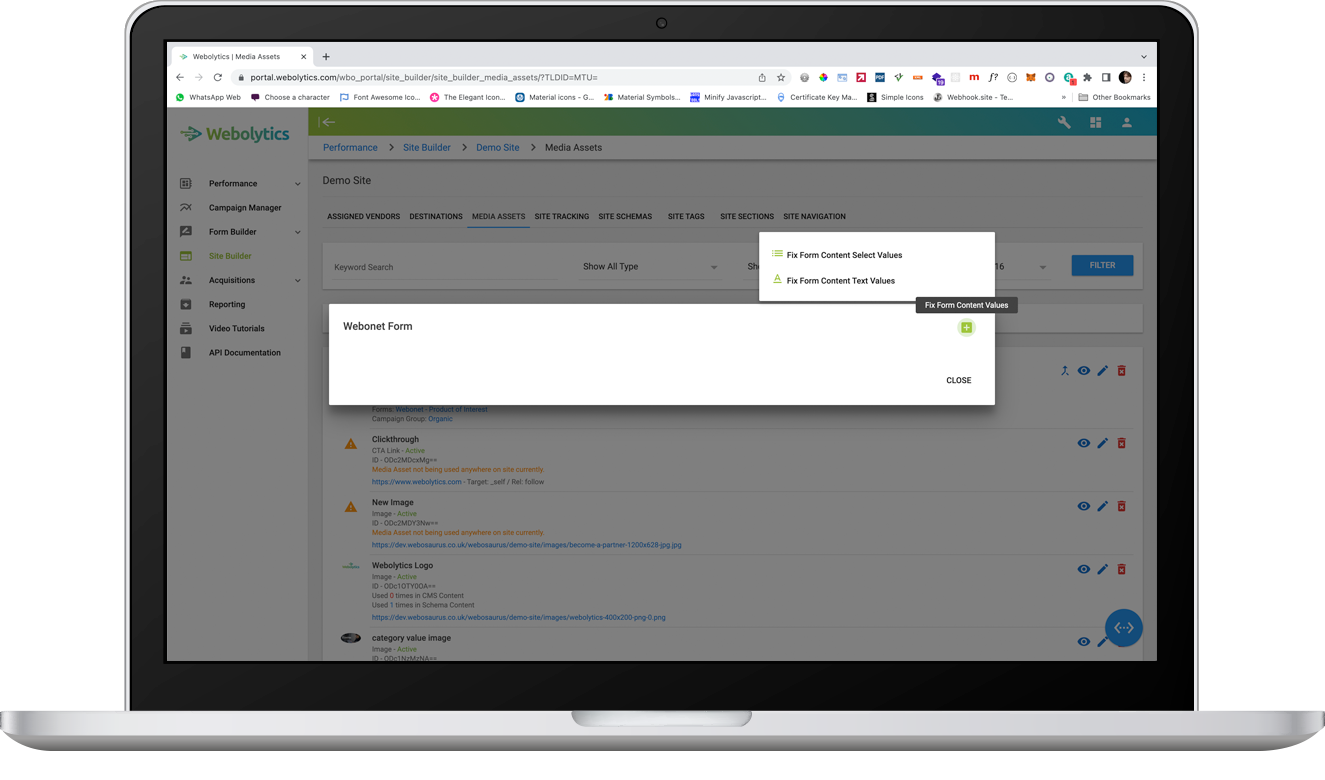
Fix the values into place that you desire, and once completed, click “Close” at the bottom-right of the modal.
Add iFrame
From inside the Media Assets section, click the blue button to the bottom-right of the page, and click on “Add iFrame”
Fill in the form as appropriate. You can choose whether this is a traditional iframe, or an embedded video form another platform, such as Youtube. Enter the url of the iframe only. There is no need to add the tags from the source as well.
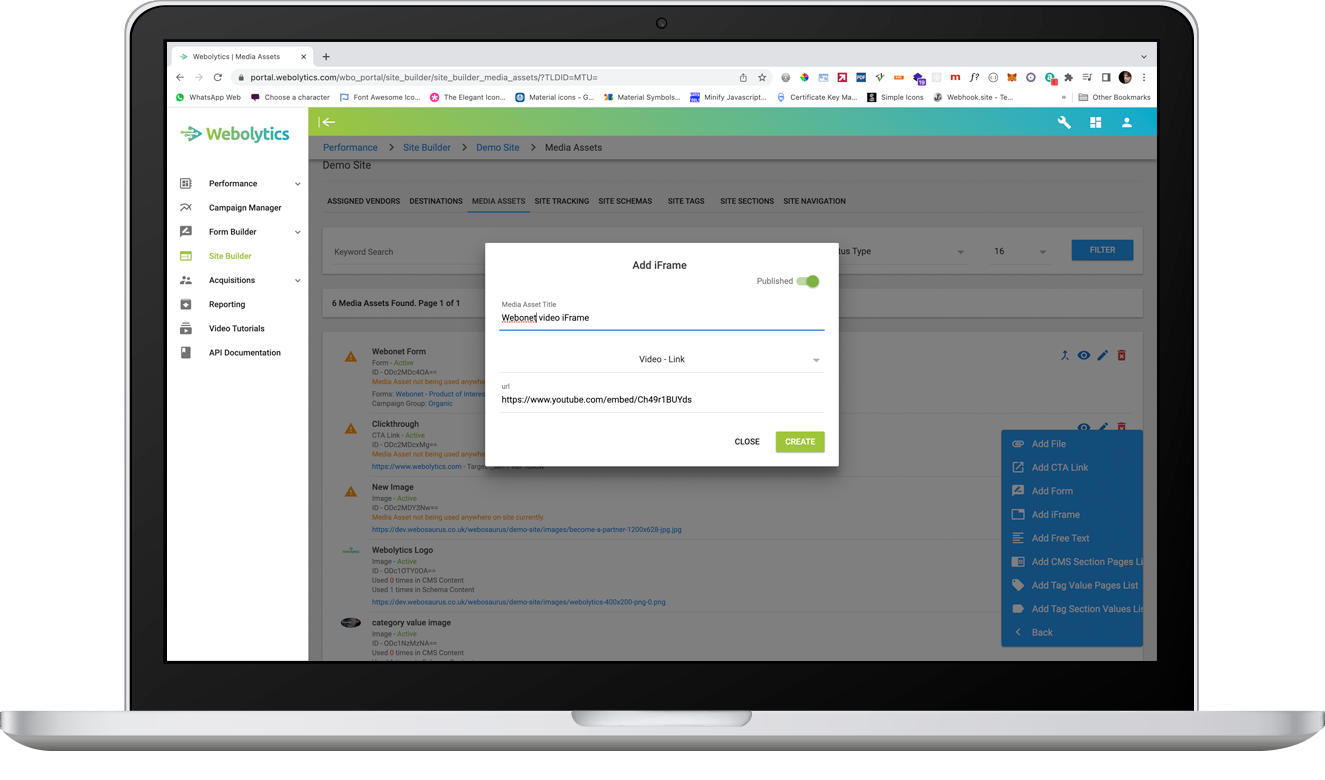
Click Create on the form to add the iFrame to the Media Asset library. You should now see the new Media Asset in the list on the page. It will also have a Warning against it to let you know that is is not currently assigned to any page of schema value throughout the site.
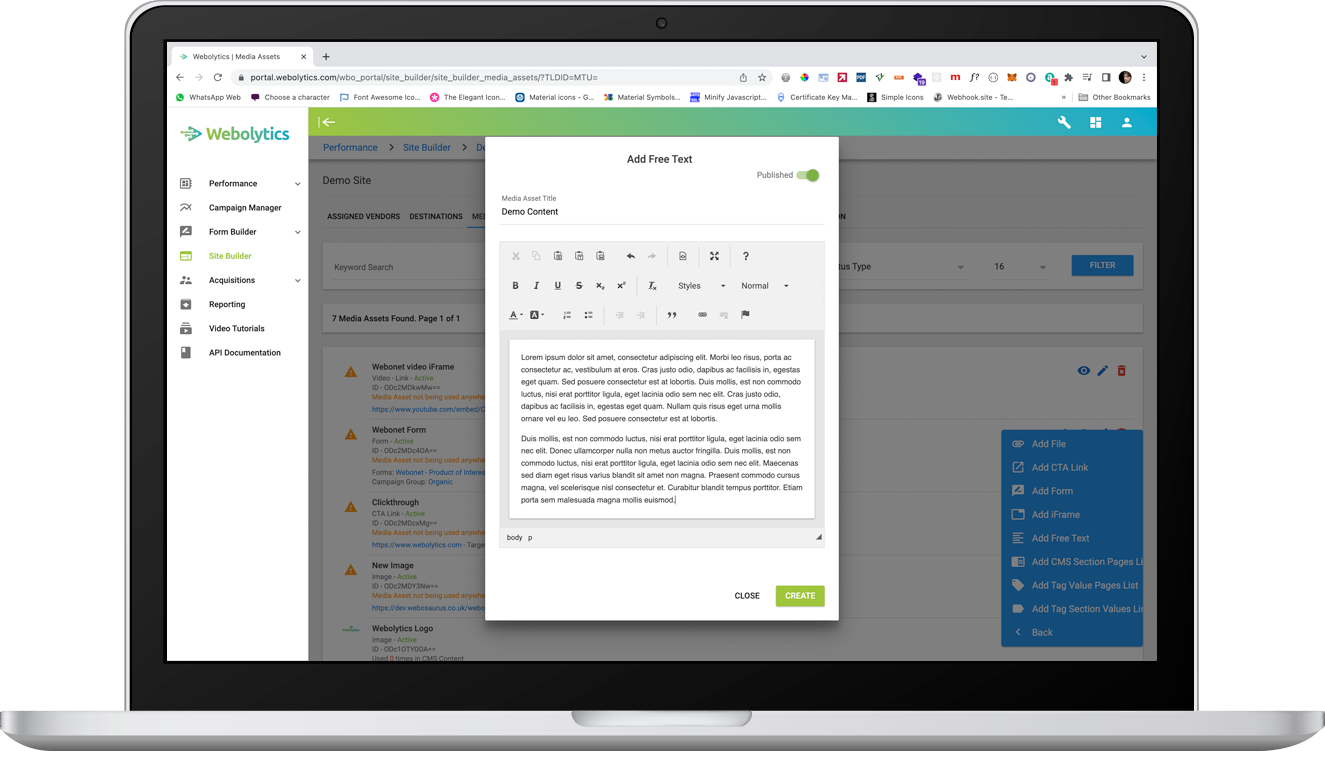
Add Free Text
From inside the Media Assets section, click the blue button to the bottom-right of the page, and click on “Add Free Text”
Fill in the form as appropriate. Click Create on the form to add the iFrame to the Media Asset library. You should now see the new Media Asset in the list on the page. It will also have a Warning against it to let you know that is is not currently assigned to any page of schema value throughout the site
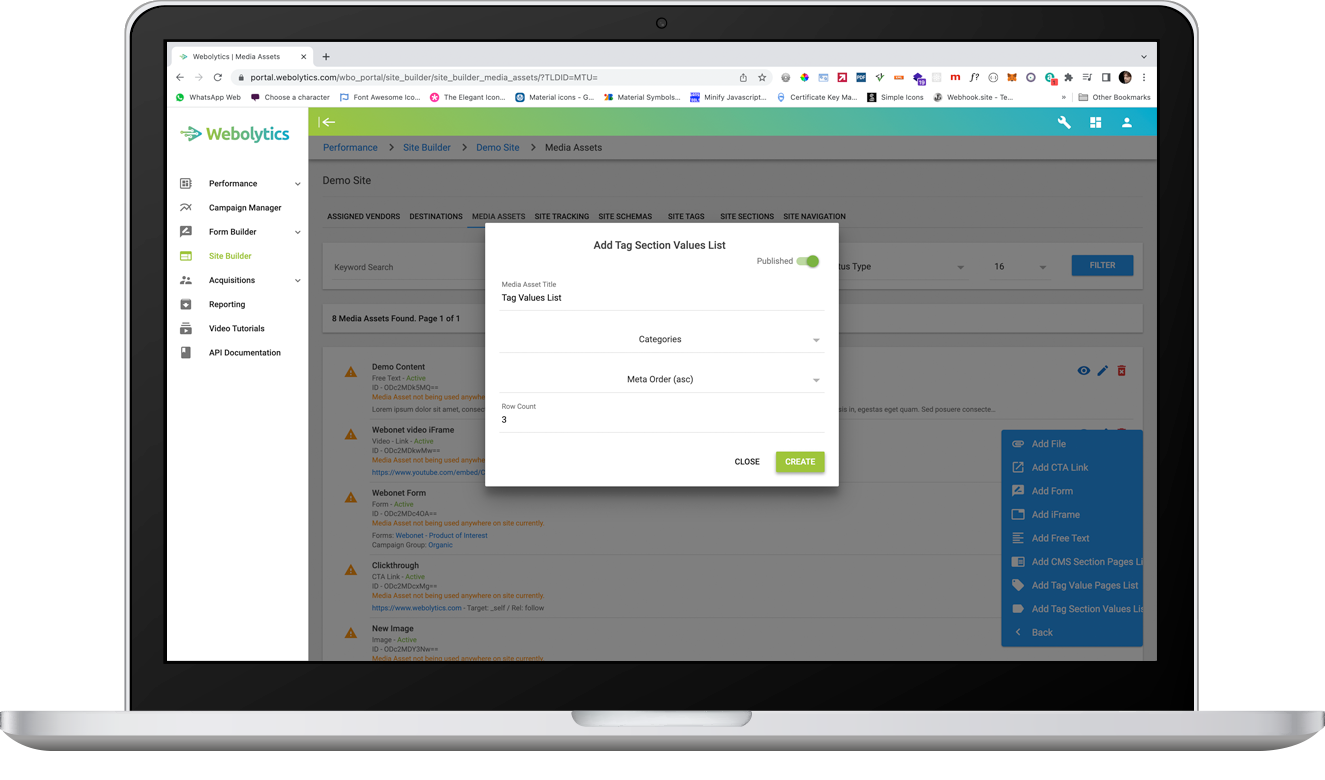
Add Tag Section Values List
From inside the Media Assets section, click the blue button to the bottom-right of the page, and click on “Add Tag Section Values List”
Fill in the form as appropriate. Click Create on the form to add the Tag Section Values List to the Media Asset library. You should now see the new Media Asset in the list on the page. It will also have a Warning against it to let you know that is is not currently assigned to any page of schema value throughout the site
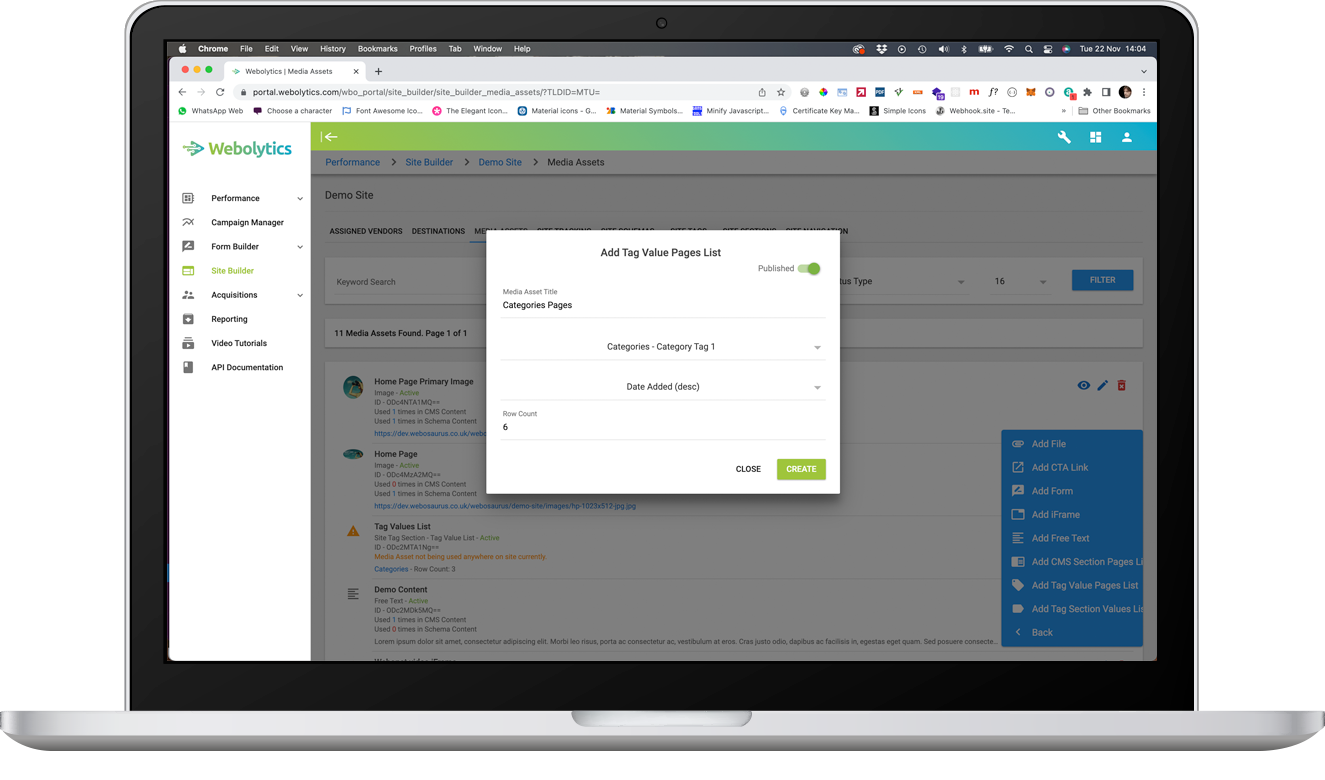
Add Tag Value Pages
From inside the Media Assets section, click the blue button to the bottom-right of the page, and click on “Add Tag Value Pages List”
Fill in the form as appropriate. Click Create on the form to add the Tag Value Pages List to the Media Asset library. You should now see the new Media Asset in the list on the page. It will also have a Warning against it to let you know that is is not currently assigned to any page of schema value throughout the site
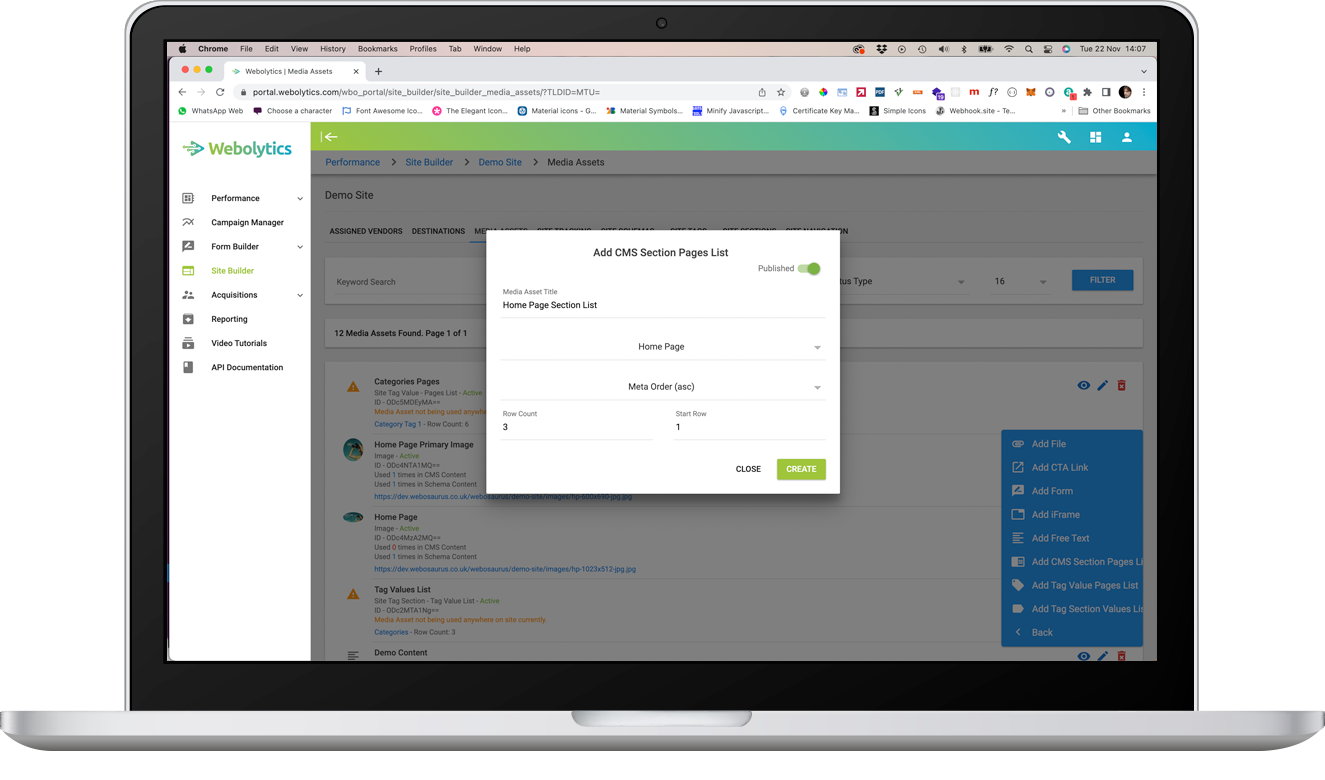
Add CMS Section Pages
From inside the Media Assets section, click the blue button to the bottom-right of the page, and click on “Add CMS Section Pages List”
Fill in the form as appropriate. Click Create on the form to add the CMS Section List to the Media Asset library. You should now see the new Media Asset in the list on the page. It will also have a Warning against it to let you know that is is not currently assigned to any page of schema value throughout the site