Site Navigation
The Navigation section enables you to create navigations for user journeys and accessibility.
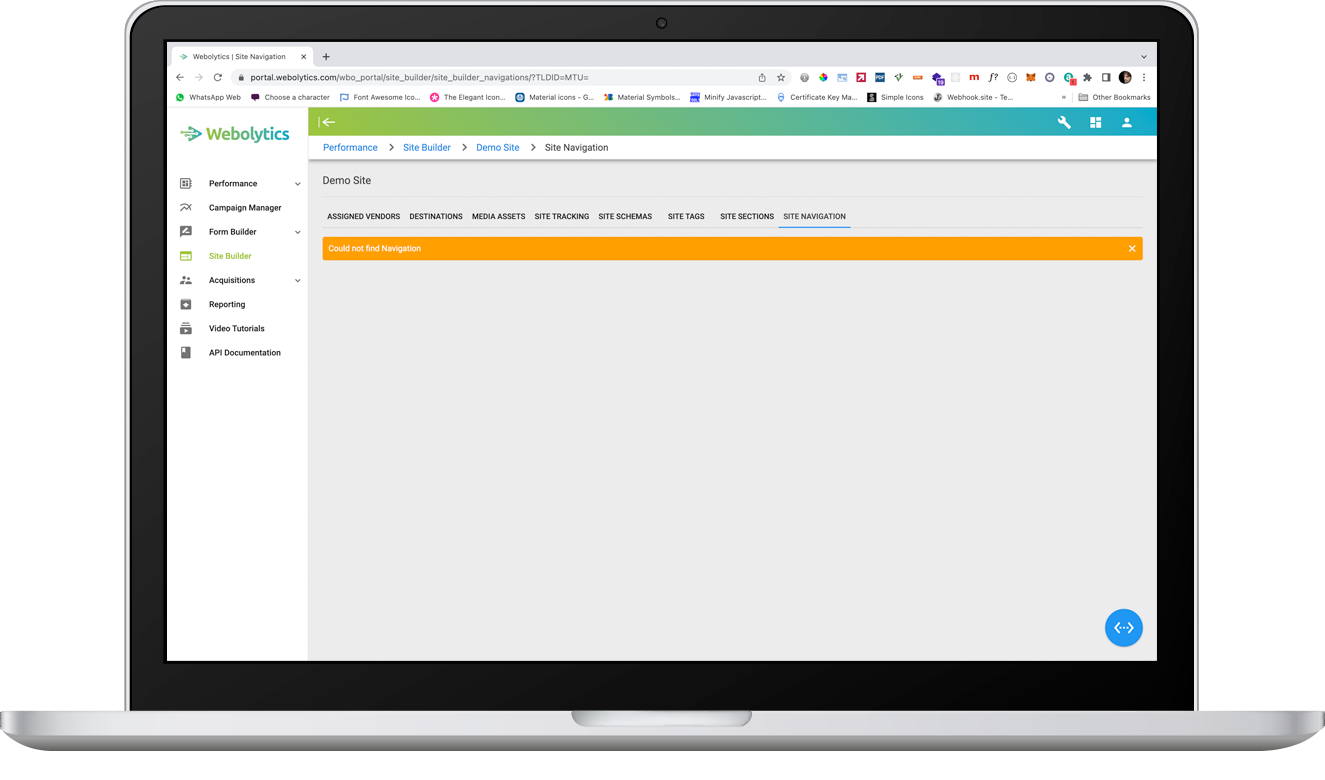
Creating a new Navigation
From your site dashboard, click the view button on the top-right of the Site Navigation block.
From inside the Site Navigation section, click the blue button to the bottom-right of the page, and click on Add Navigation
Fill in the form as appropriate.
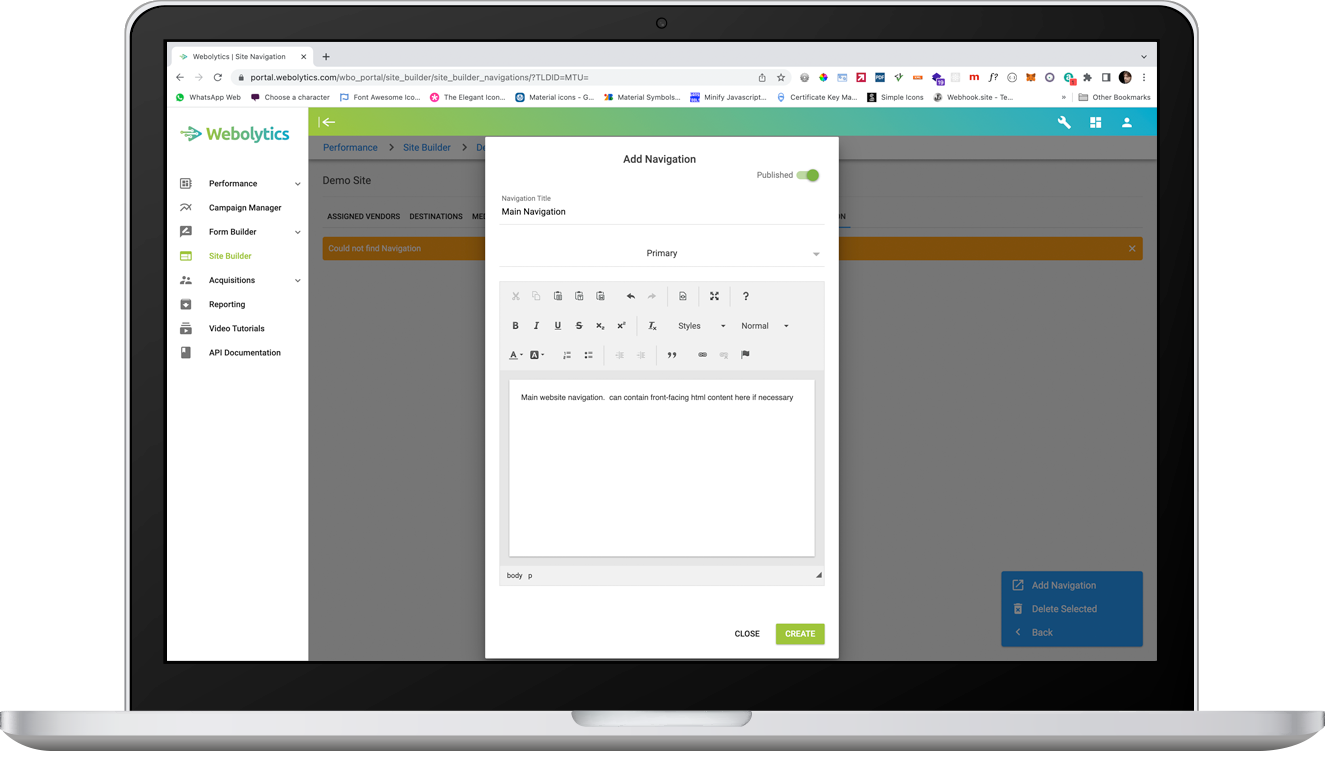
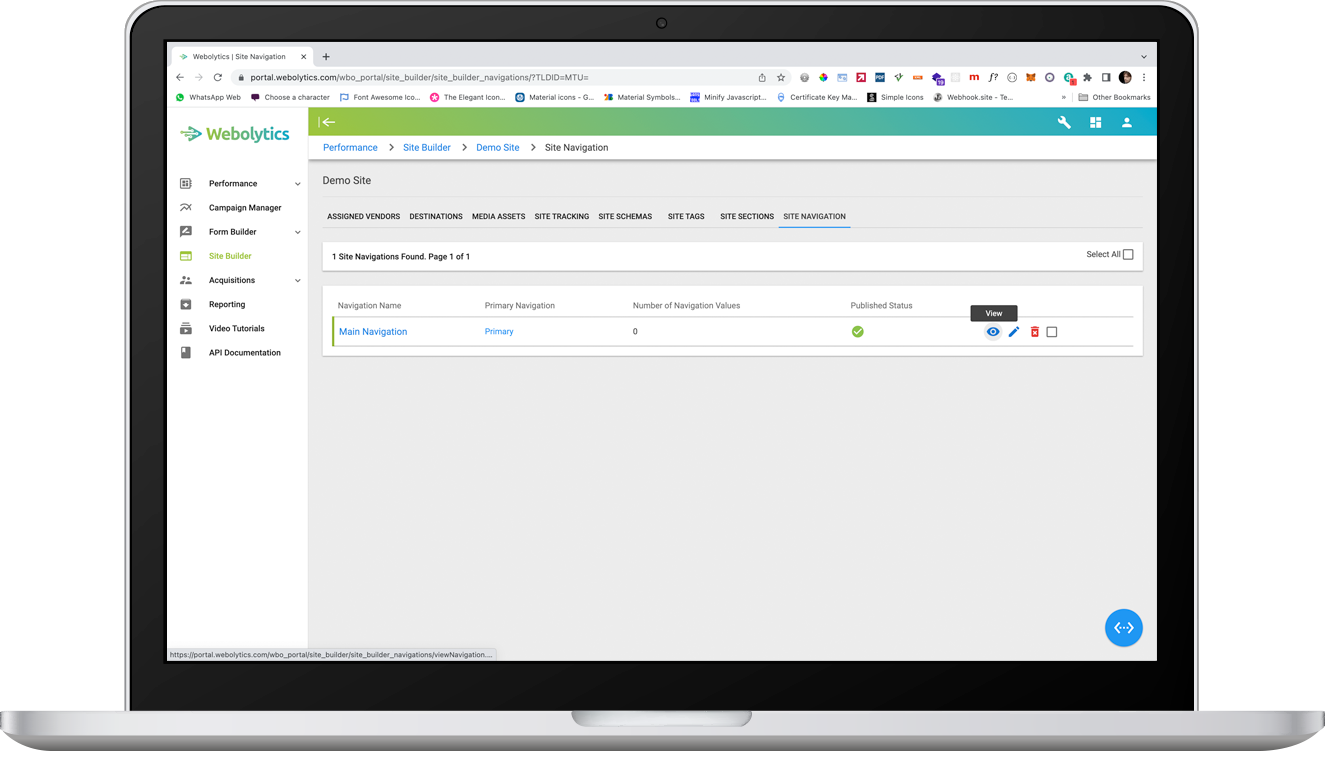
Click Create on the form to add the Navigation. You should now see the new Navigation in the list on the page.

Once a navigation has been created has been set up initially, it is now ready to be populated with relevant links.
Add Links to a navigation
From inside the Site Navigation Section, click the View icon to the right of the navigation that you want to update/amend
On the following screen, you will be presented with page information on the left, and navigation links on the right. If no links have been added, then the right will appear empty.
Click the green “+” button on the top-right of the Site Tag block. You have 4 types of navigation links that can be added
- External link - A link that resides outside of any of the Site Destinations
- Assign Page - a link to one of the pages created in the Site
- Assign Section - A link to one of the sections created in the Site
- Assign Sub Navigation - You Cana dd another navigation that has been created to enable a sub-navigation tree
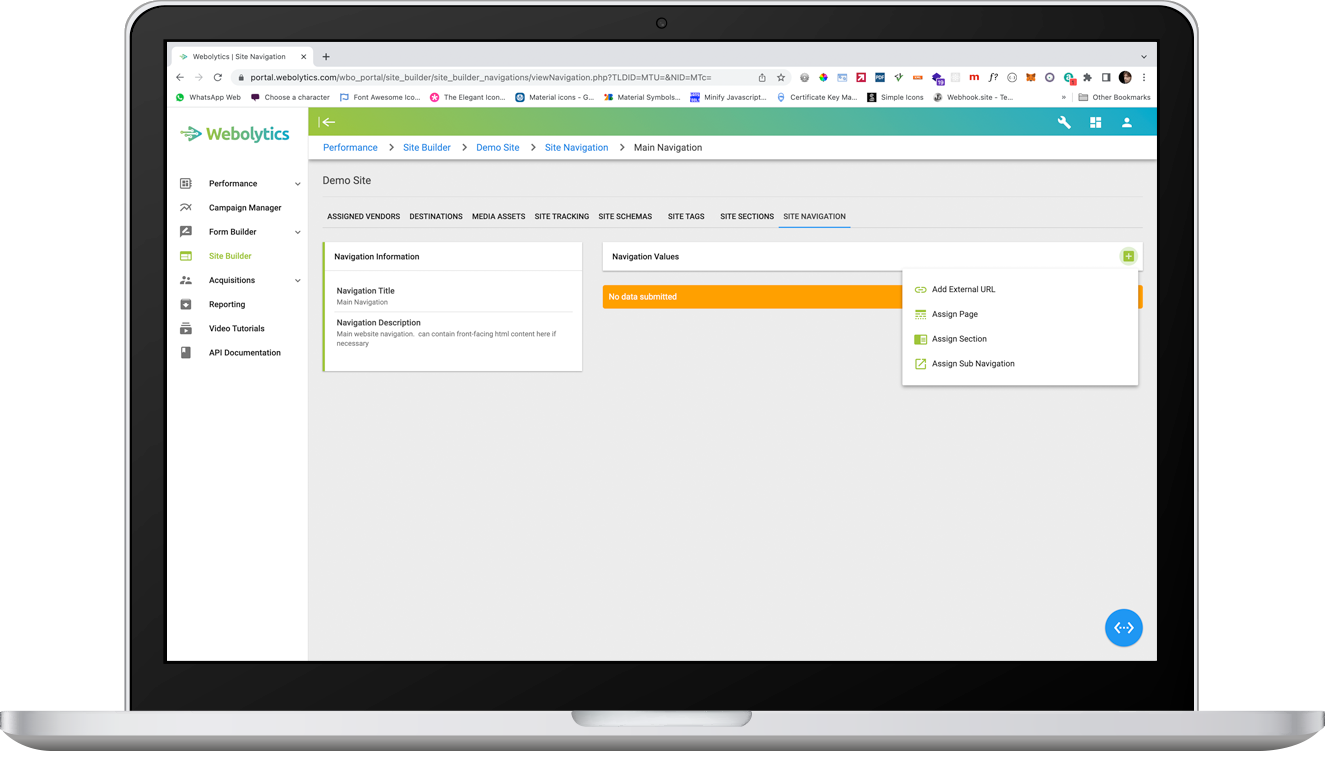
Choose your desired option and fill in the form as appropriate
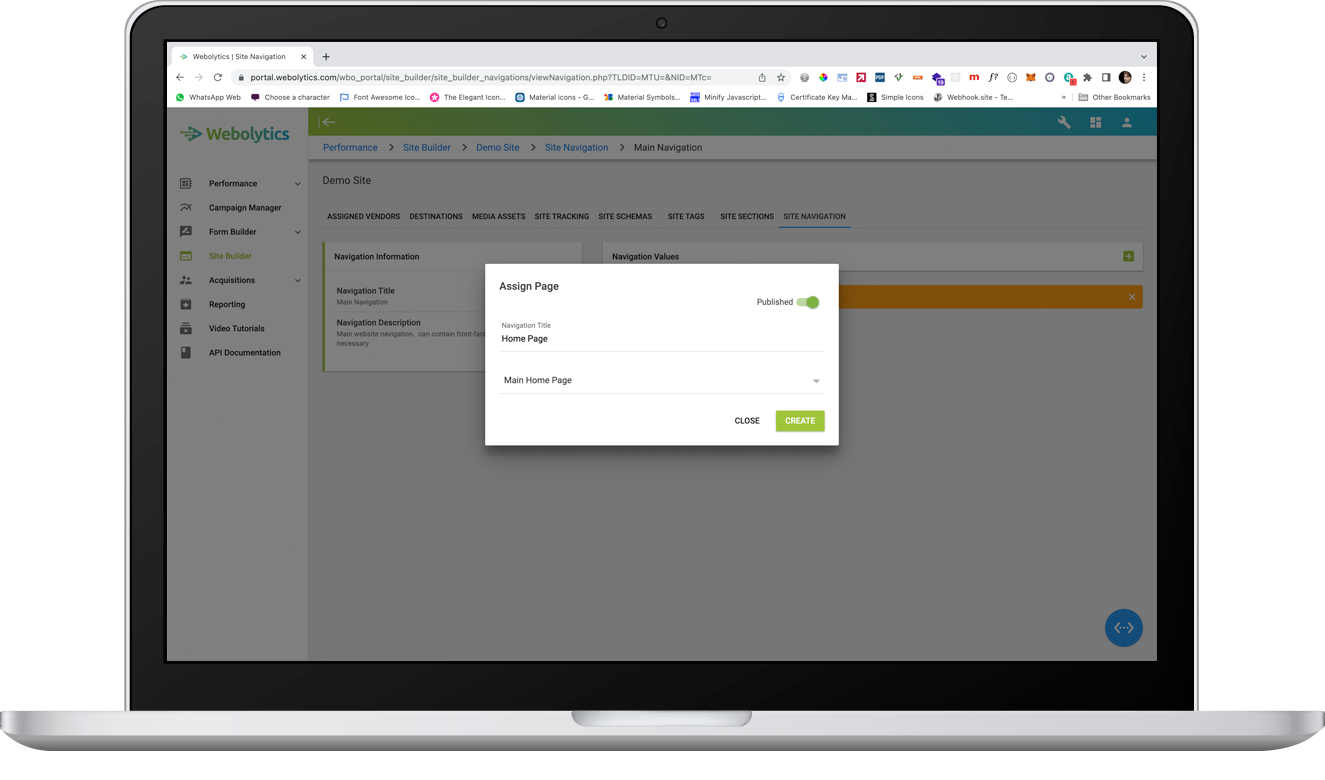
The navigation link will now be visible on the right of the page.
Navigation links can be re-ordered via drag-and-drop functionality.