Setting up destinations
A Destination is another server location, which Webolytics gains access to in order to upload and remove files and folders. As Webolytics Site Builder is a headless CMS, you will be required to set up a Destination, so it knows where to send files to.
You can add as many destinations to a site as is necessary.
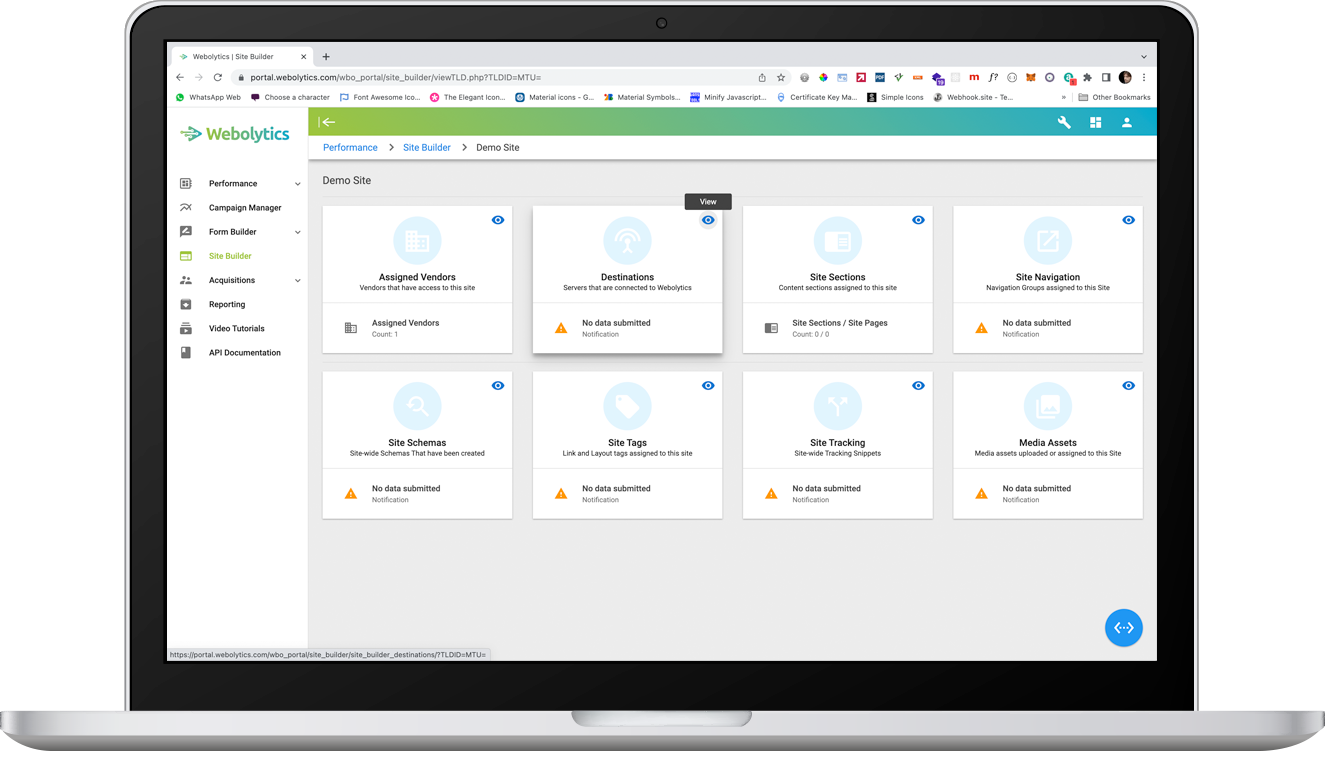
Creating a destination
From your site dashboard, click the view button on the top-right of the Destinations block
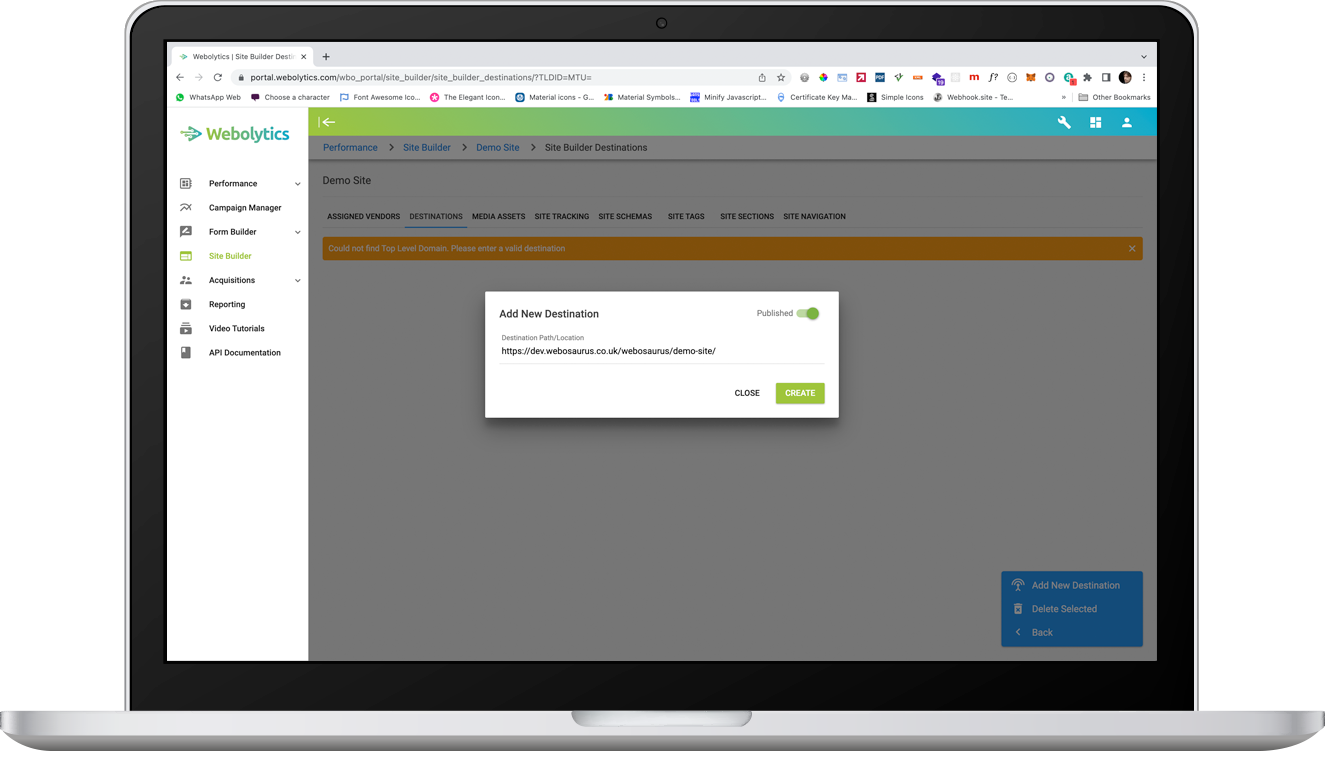
Once inside the Destinations section, you will see a list of destinations that have been created. If no destinations are listed, you will see a notification that will say “Could not find Top Level Domain. Please enter a valid destination”
To add a new Destination, click the blue button to the bottom-right of the page, and click “Add New Destination”
On the form that appears, you will be asked to add the url path for the Destination. This can be an IP address, or a URL, but it must be live. If it is not an active url, the destination will not be created.
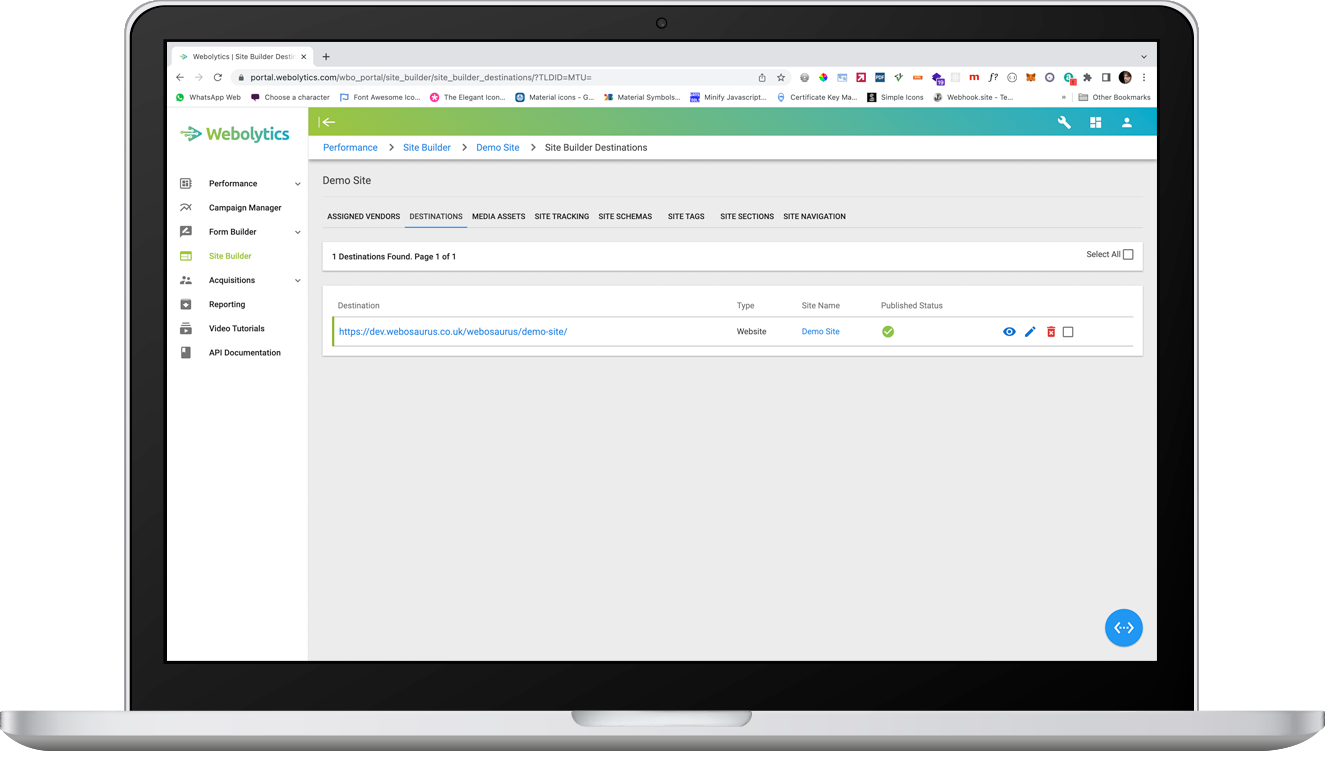
Once created, you will see the new destination appear in the list on the page.
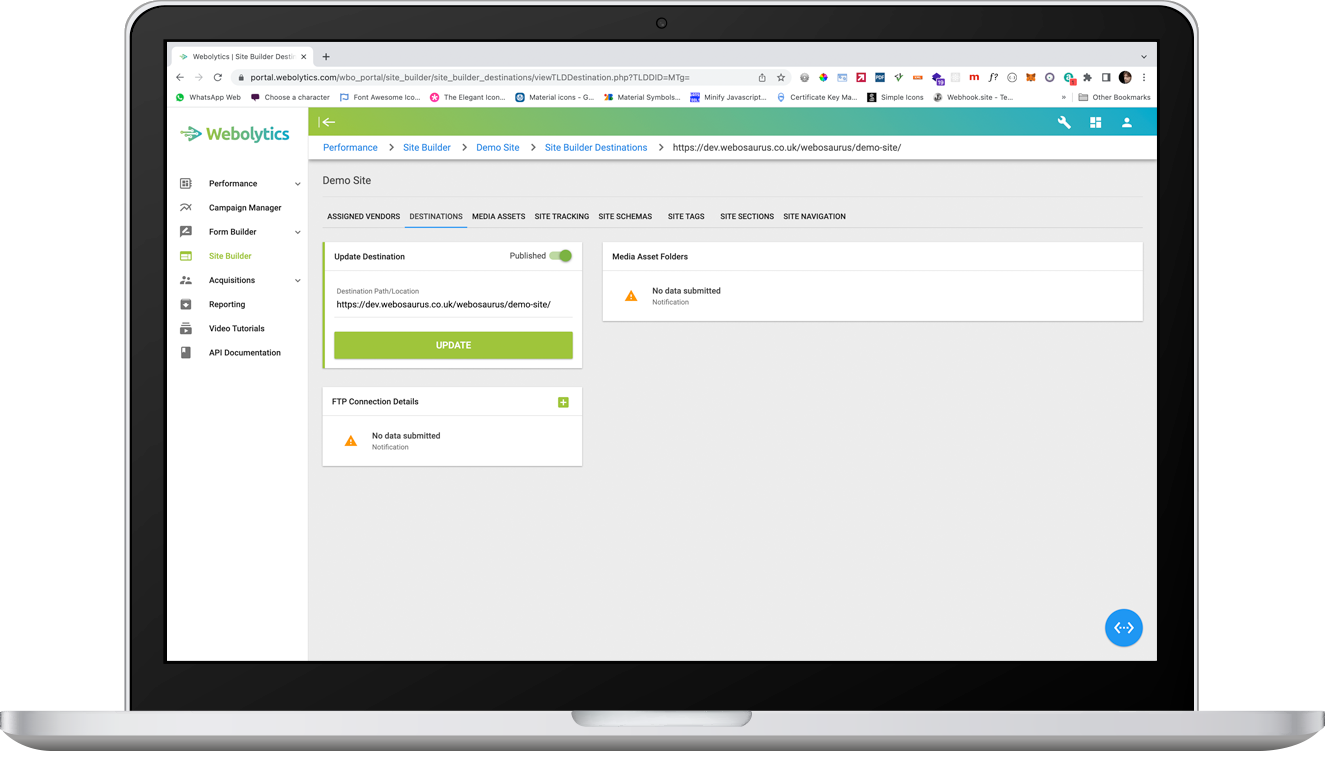
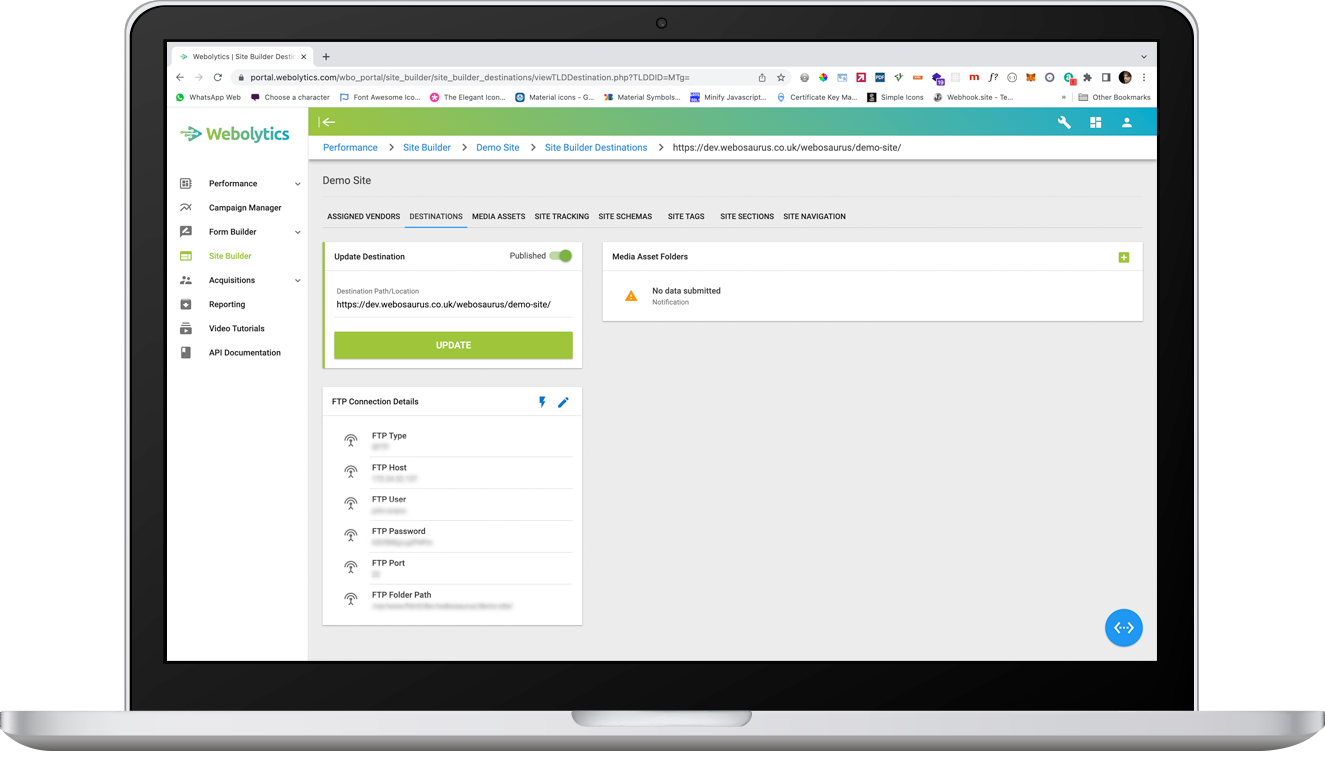
Setting up the destination
Once a Destination has been created, it will require some more information to be added to complete it’s setup.
Click on the View icon to the right of the destination that you want to edit. This will take you into the Destinations set-up area.

Click on the green + button on the FTP Connections block, to establish connection to the destination.
Fill in the SFTP details as required, and click “Create” to finish the connection.
Once set up. You can test the connection to ensure that it is all present and correct.
Adding Media Asset Folders
Once SFTP connection has been set up, media asset folder can be created for any filed that need to be added to the site both now, and for future use.To set up a media asset folder, click the green + button on the top-right of the media assets block
On the form, name your folder as appropriate and click “Create”
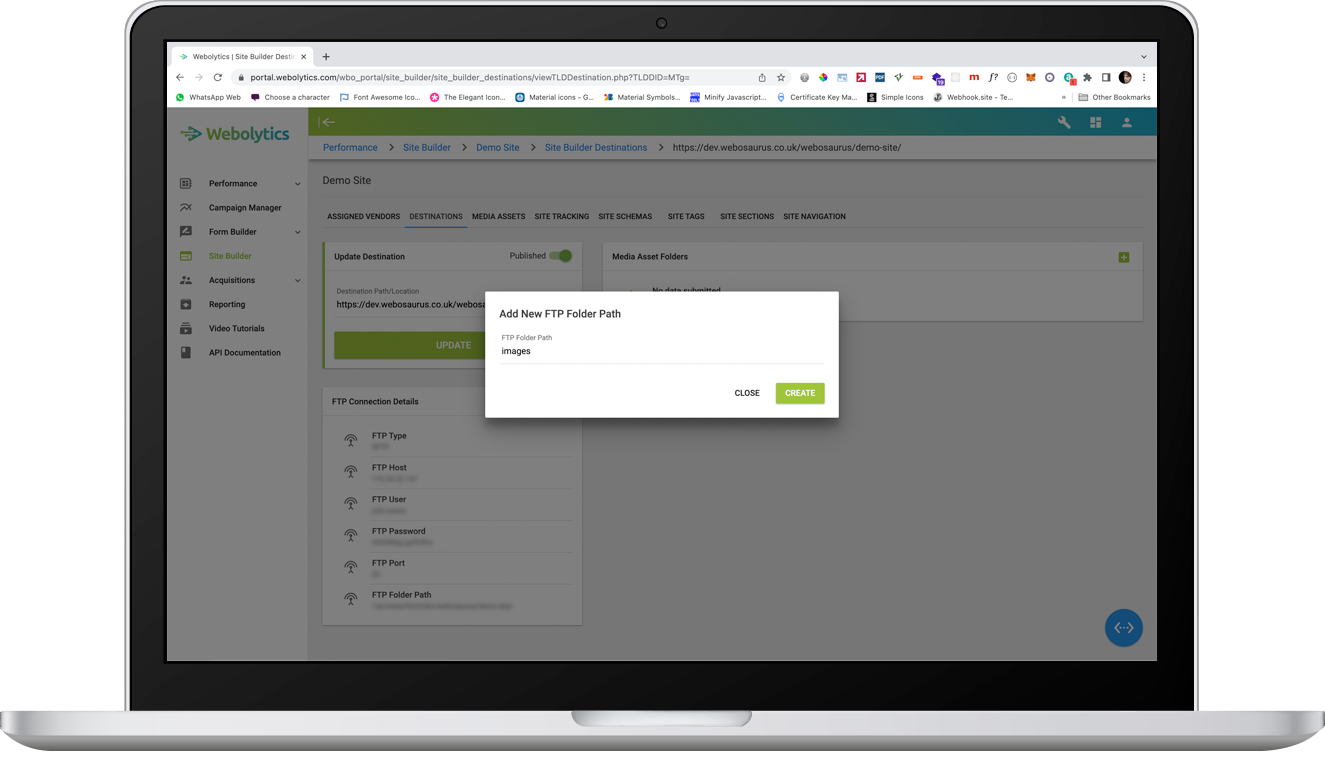
You will now see your folders listed in the Media Asset Folders block
