Set up a Hubspot Connection
Webloytics allows for direct integration into Hubspot to send leads in, and get status updates and ROI back out and into Webolytics. To do this, a safe connection to Hubspot needs to be set up against the Vendor that is connecting to Hubspot..
Setting up a Hubspot Application
Before webolytics can be connected to Hubspot, the user which will be used for the API connection will need to be defined. Create a new user, or request an admin user form your CRM Manager.
All Hubspot Connect API's need to be authenticated using an OAuth token. Once the user has been verified you will need to obtain an OAuth token by registering your extension with Hubspot's Developer Console at https://app.hubspot.com/signup-hubspot/developers.
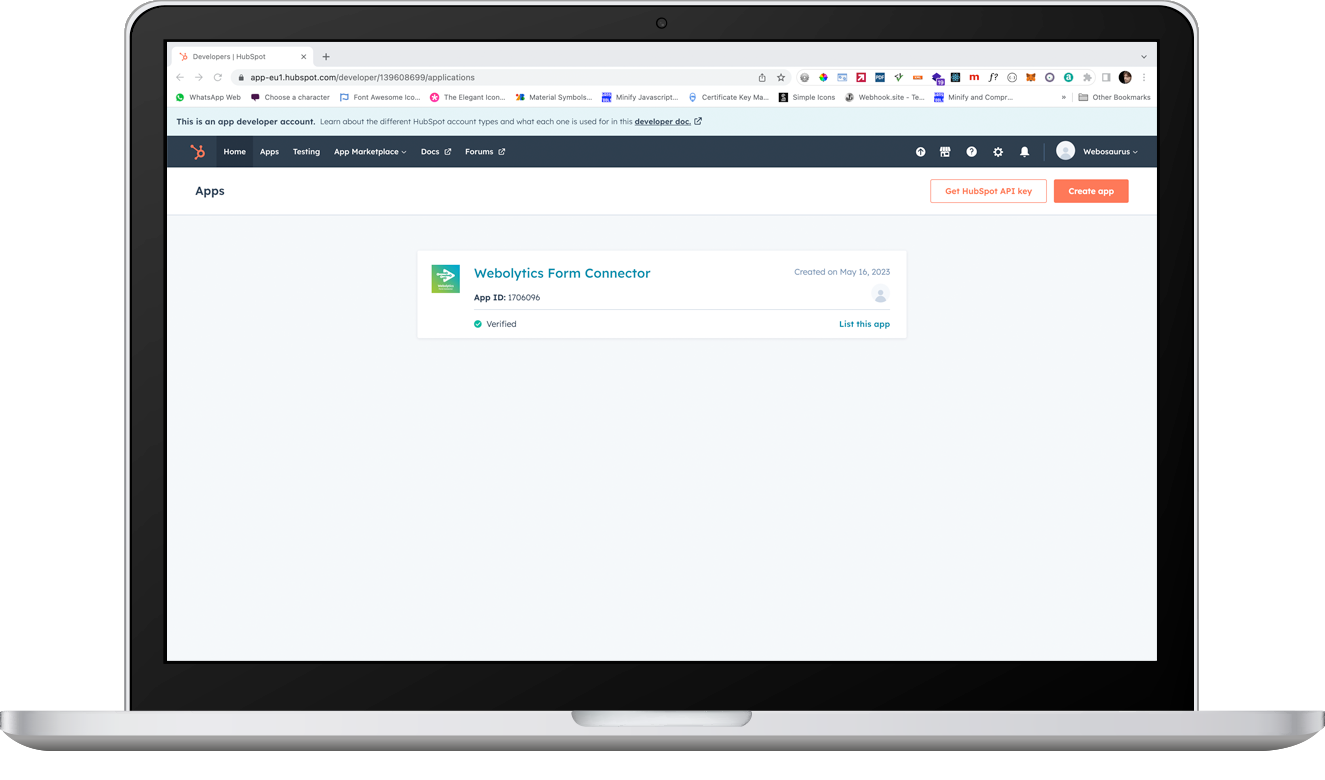
Click on Apps in the Navigation bar, and on the Apps page, click ‘Get Hubspot API Key” to the top-right of the page.
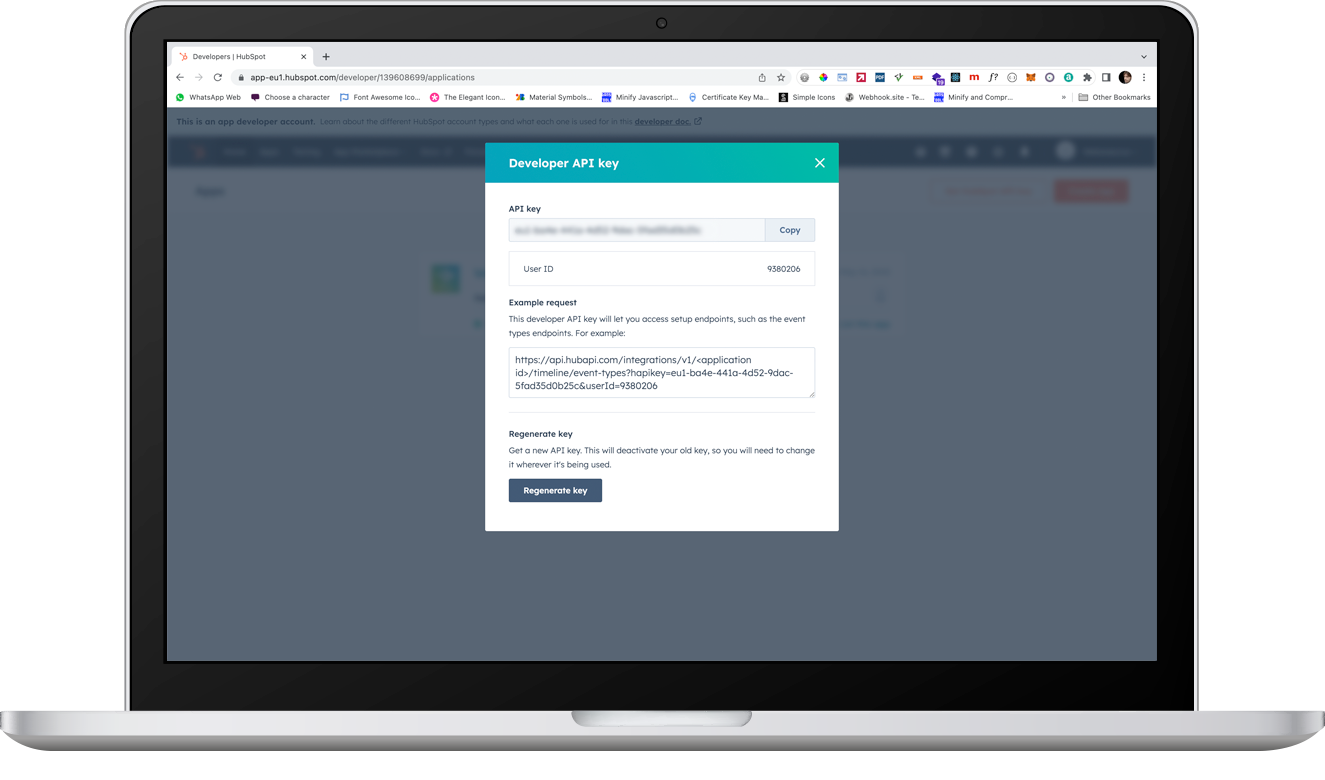
On the modal window, click “Show key” at the top of the window.

Copy your key by clicking the “Copy” button to the right of the API Key. And paste it somewhere (like notes) for later use.
Webolytics Setup
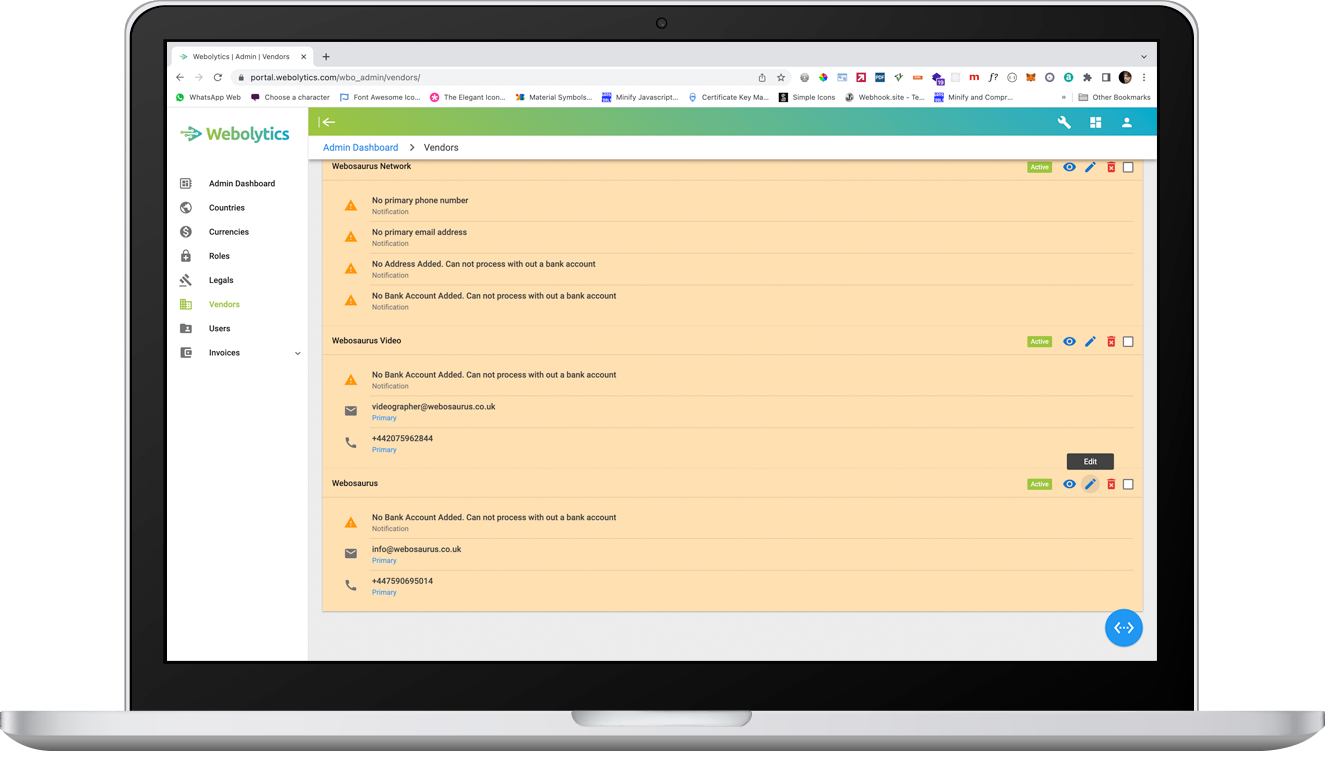
Log into webolytics, and go to the Admin > Vendors and select the desired vendor > Edit
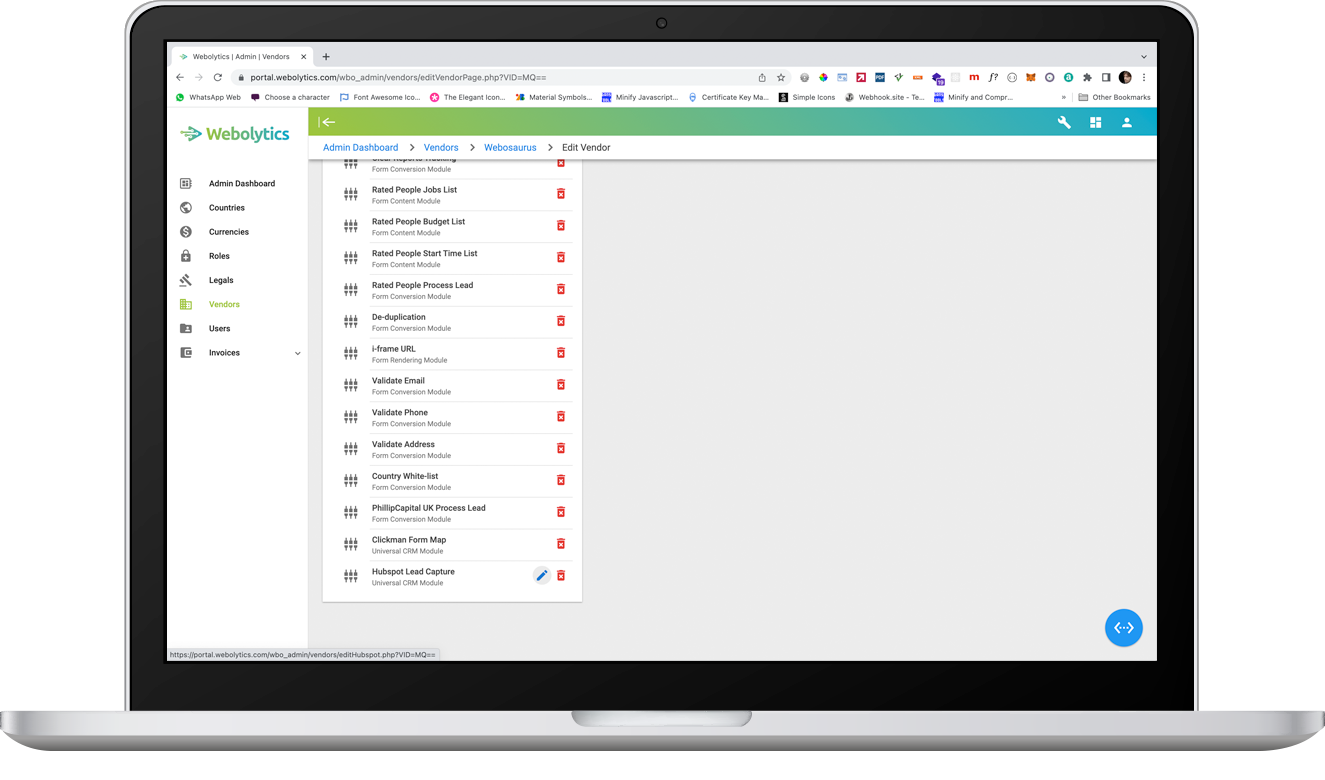
Scroll down to the Modules block, and click the green ‘+’ button to the top right of the block. On the select form that appears, select “Hubspot Lead Capture” and click the green tick underneath it.
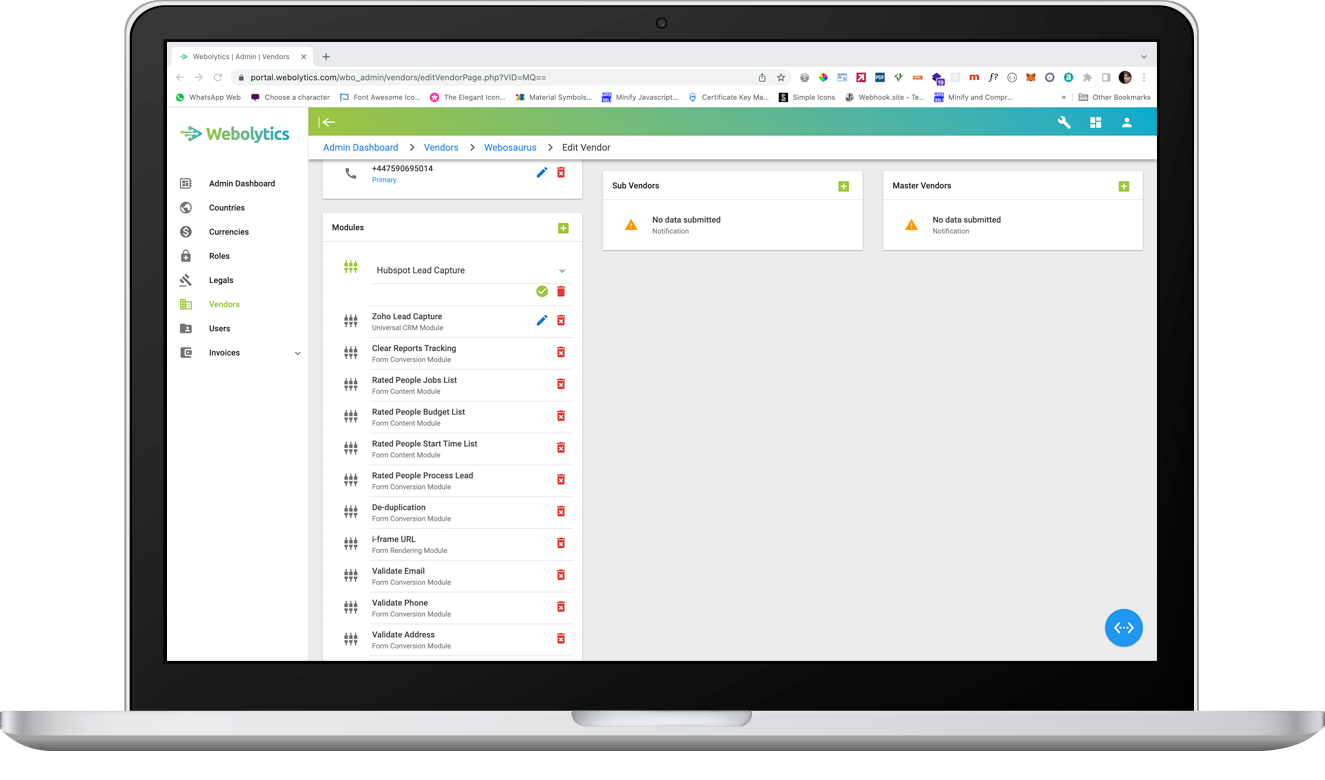
On the edit view, go to the bottom-right, and click on the Edit symbol next to the “Hubspot Lead Capture” module.
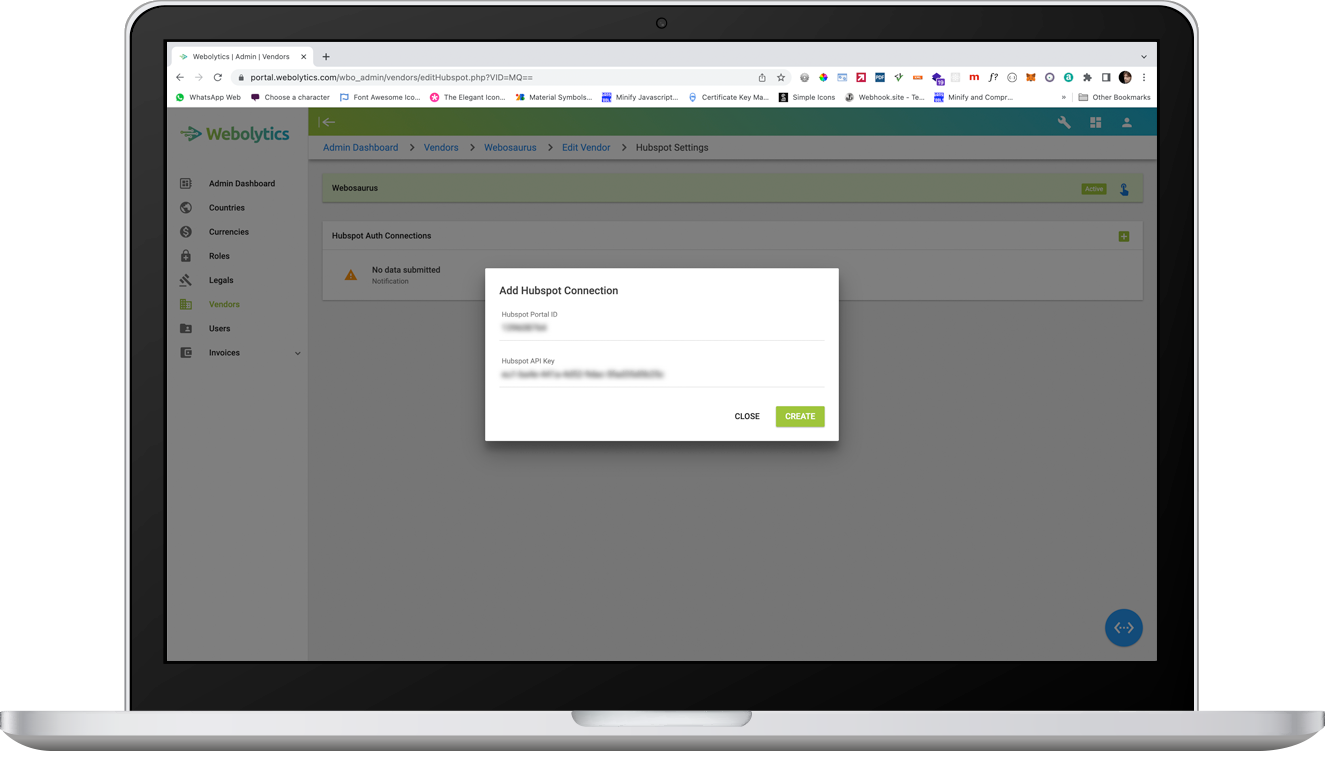
Click the free + box on the top right of the panel, and fill in the form. Once completed, click ‘Create’.
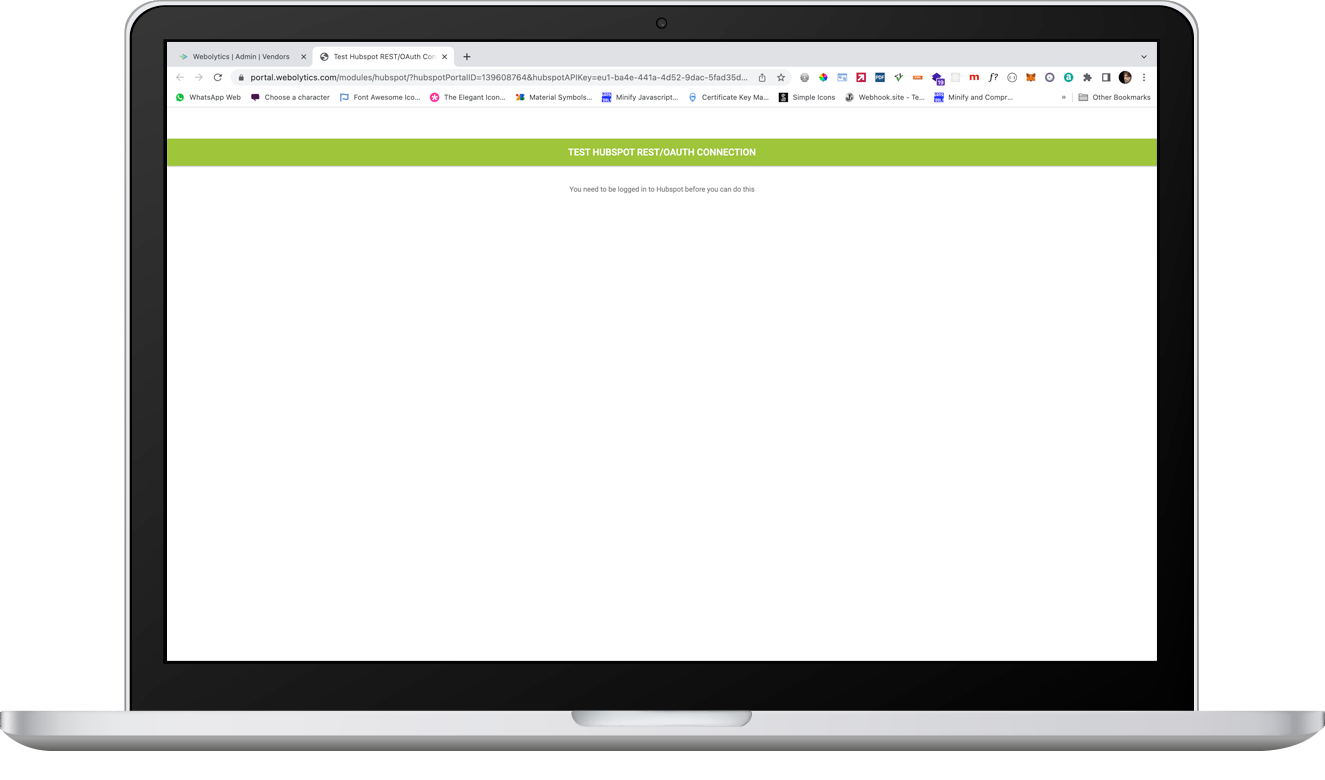
You will now be presented with your saved Connection in Webolytics. Test the connection, to ensure that everything is entered properly. To do this, click on Test Hubspot Connection icon to the right of the record.
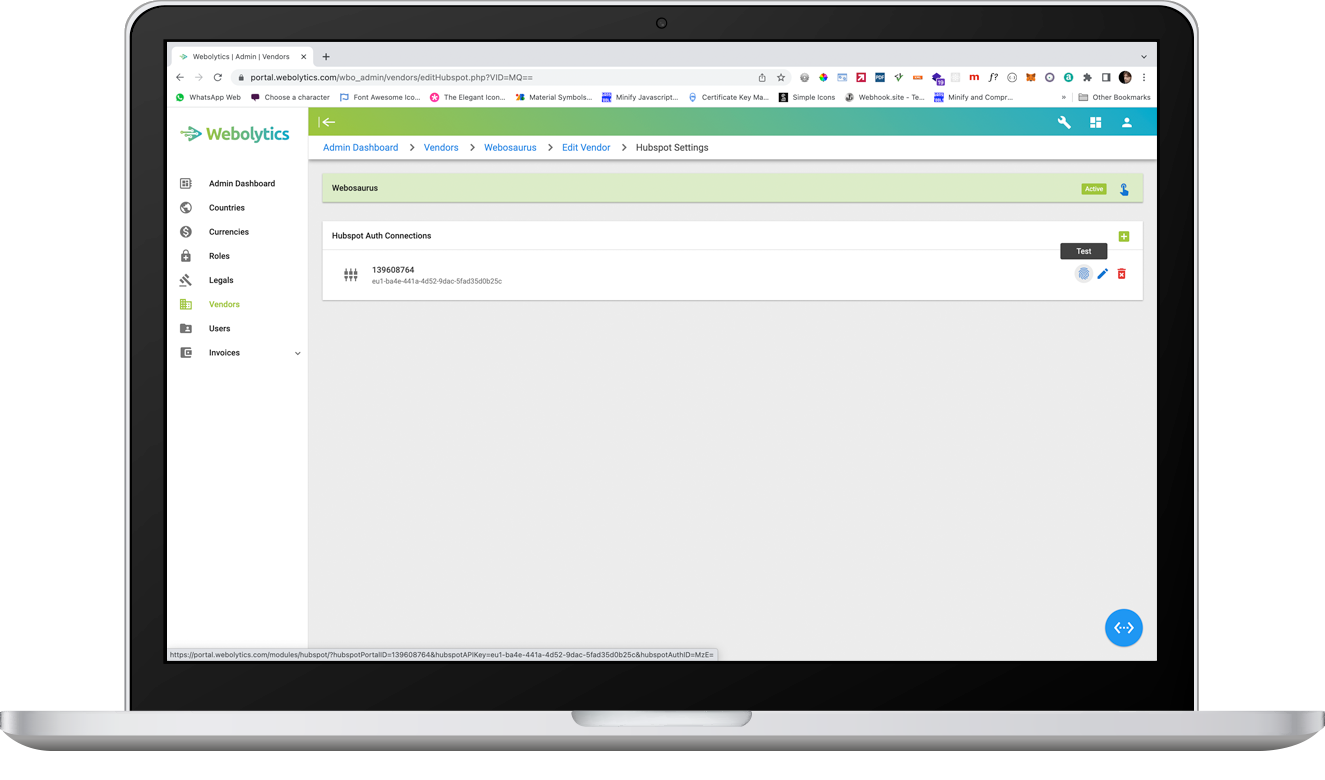
Click ‘Test Hubspot Connection” on the next page.
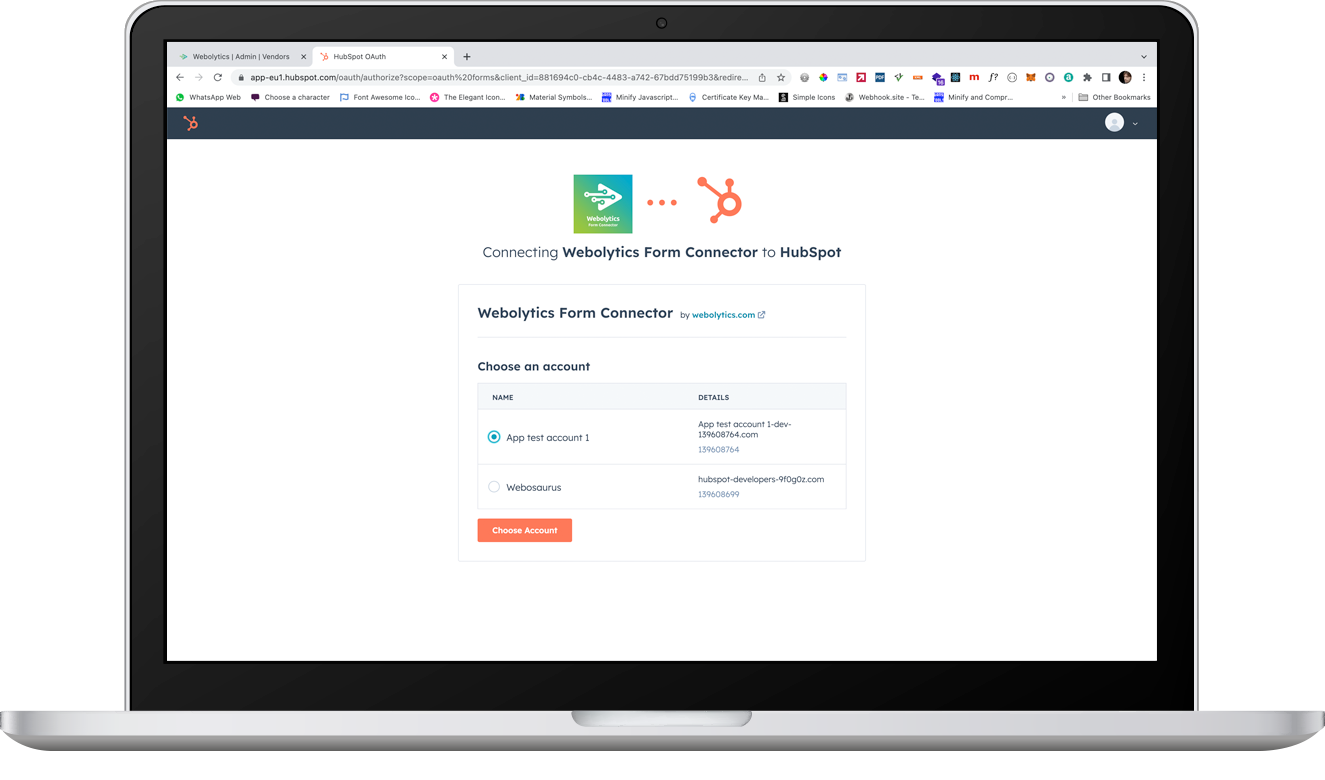
When this is clicked for the first time, Hubspot will ask for authentication against the app. Select the account that you want connected, and click “Choose Account”.
Once the connection is established, you will be able to then . map the Webolytics form values to the Hubspot field inputs.