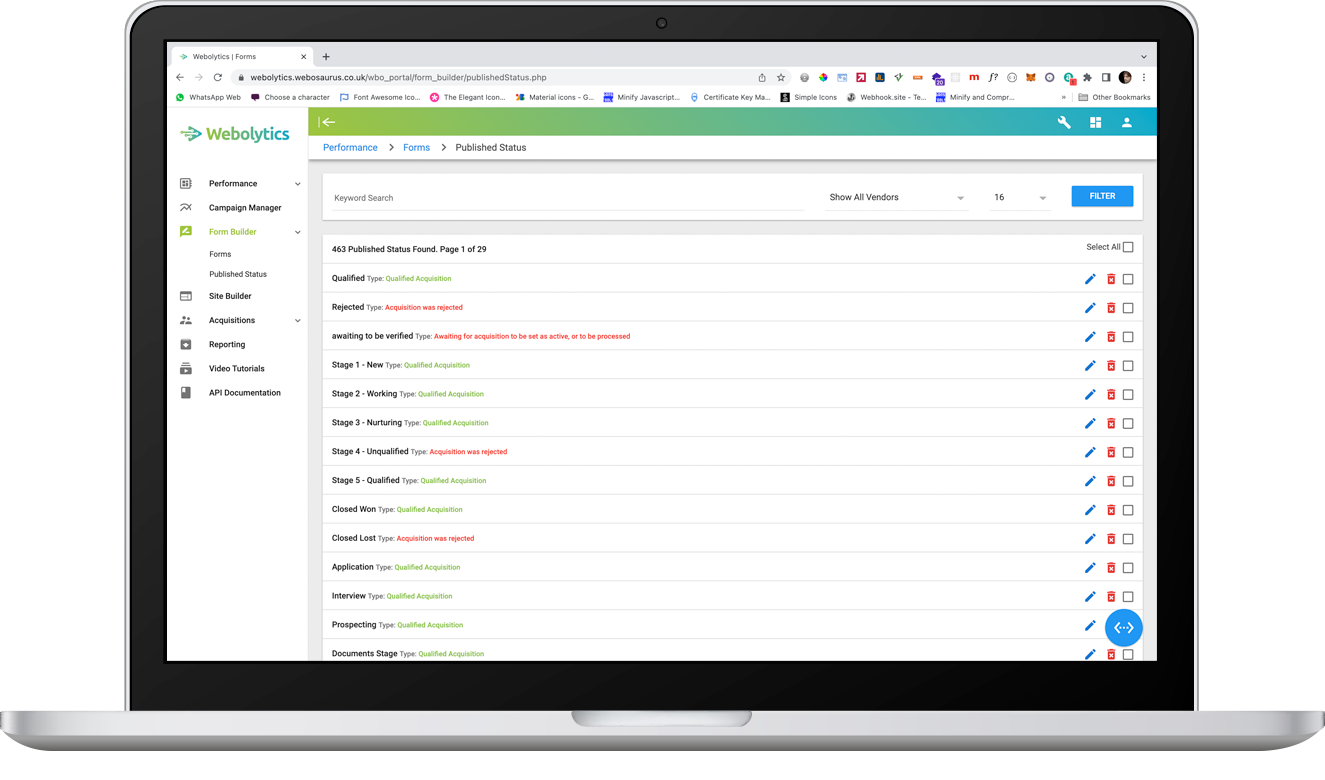
Publish Status
This is where you will learn about the Publish status section on the Webolytics
To create a publish status, click “Forms” on the left, then “publish Status” underneath.
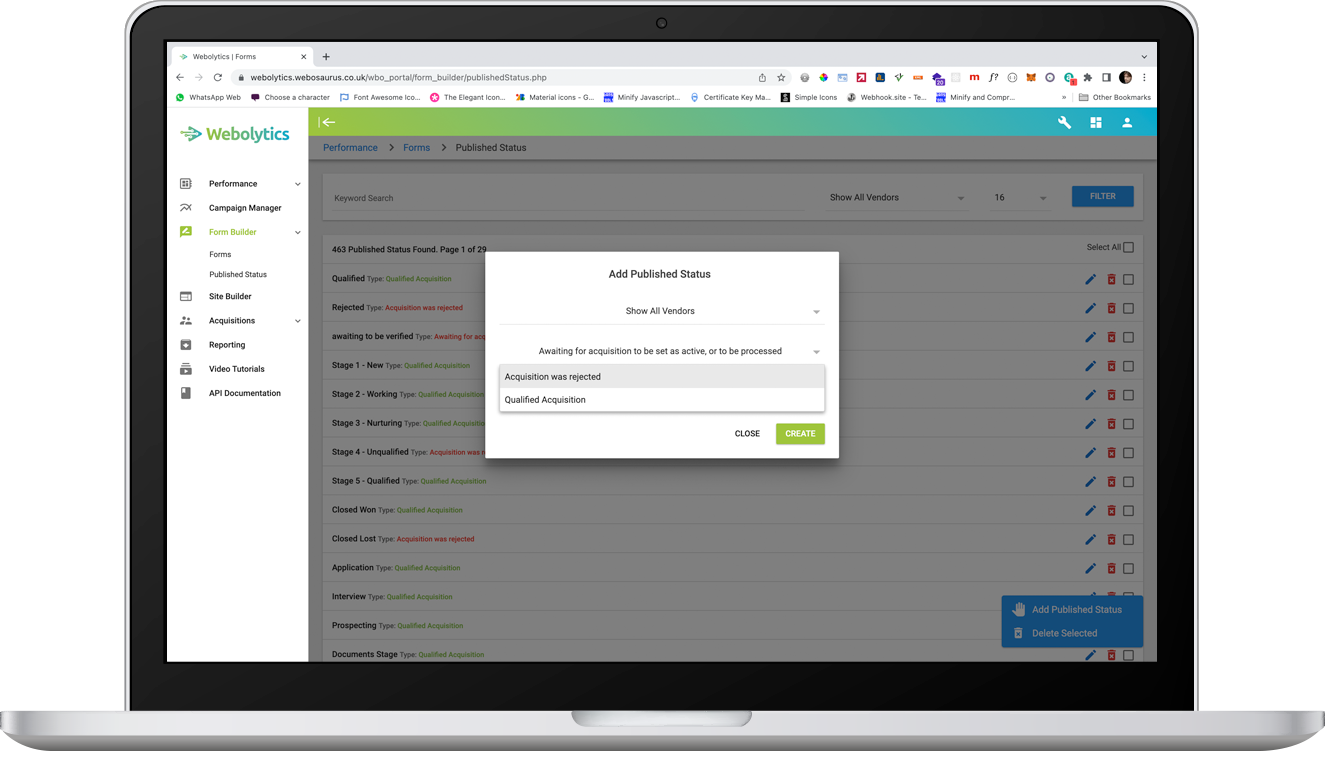
In this section click the bottom right button and select “add Published status”
Select which status you would like to create.
Add a customised name, select the desired Vendor then click create.
You can edit the Published status which allows you to change the name and status.