Publish a Vendor
Learn how to update the Vendor section and changing and editing the Tax code, Bank details, email address, Phone number, address and Social Accounts in this section.
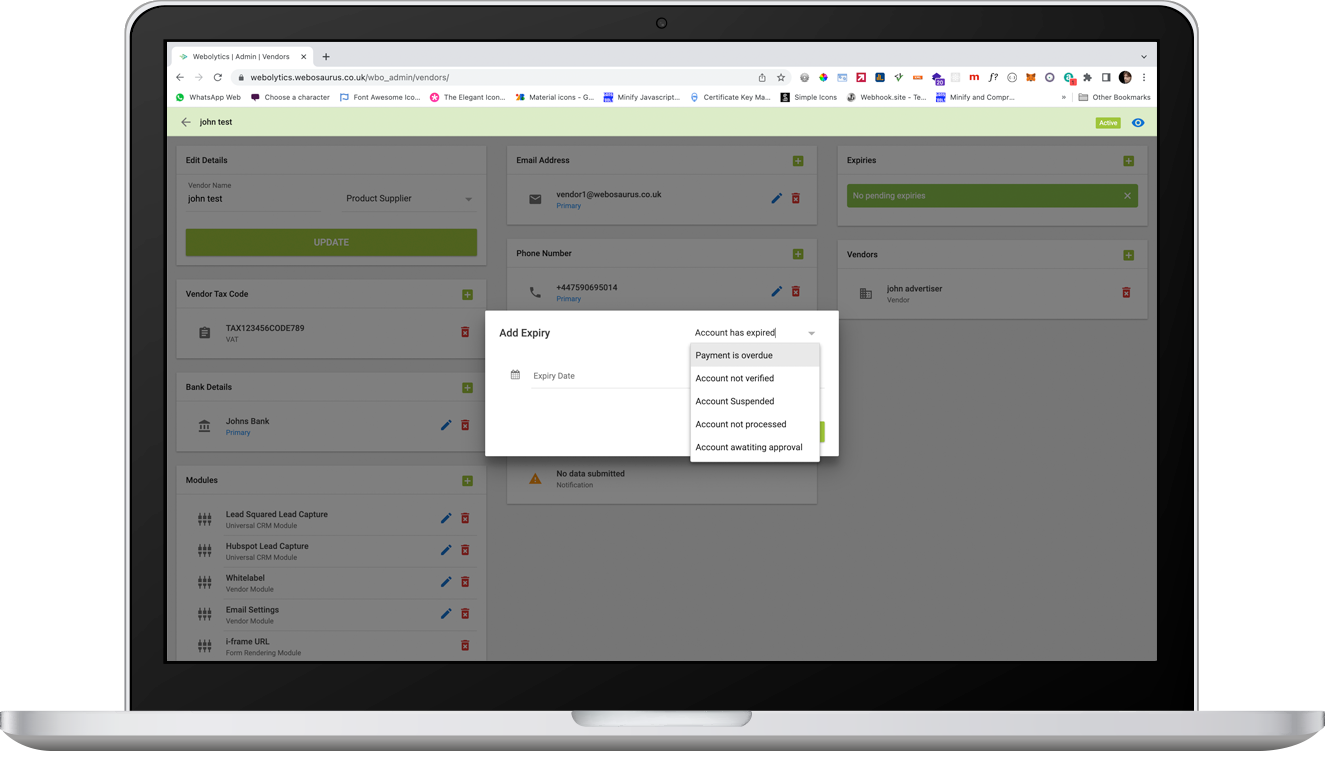
To publish a vendor, there must first be no pending expires or the account has yet to be verified.

Expiries are a useful tool. For example, you can setup a vendor account, but not allow access to it before a certain date. This is especially useful if you are waiting for a contract to be signed, but want to reduce the time in setting up when the deal goes through. If “Account not verified”, the vendor account will be unable to be logged in to.
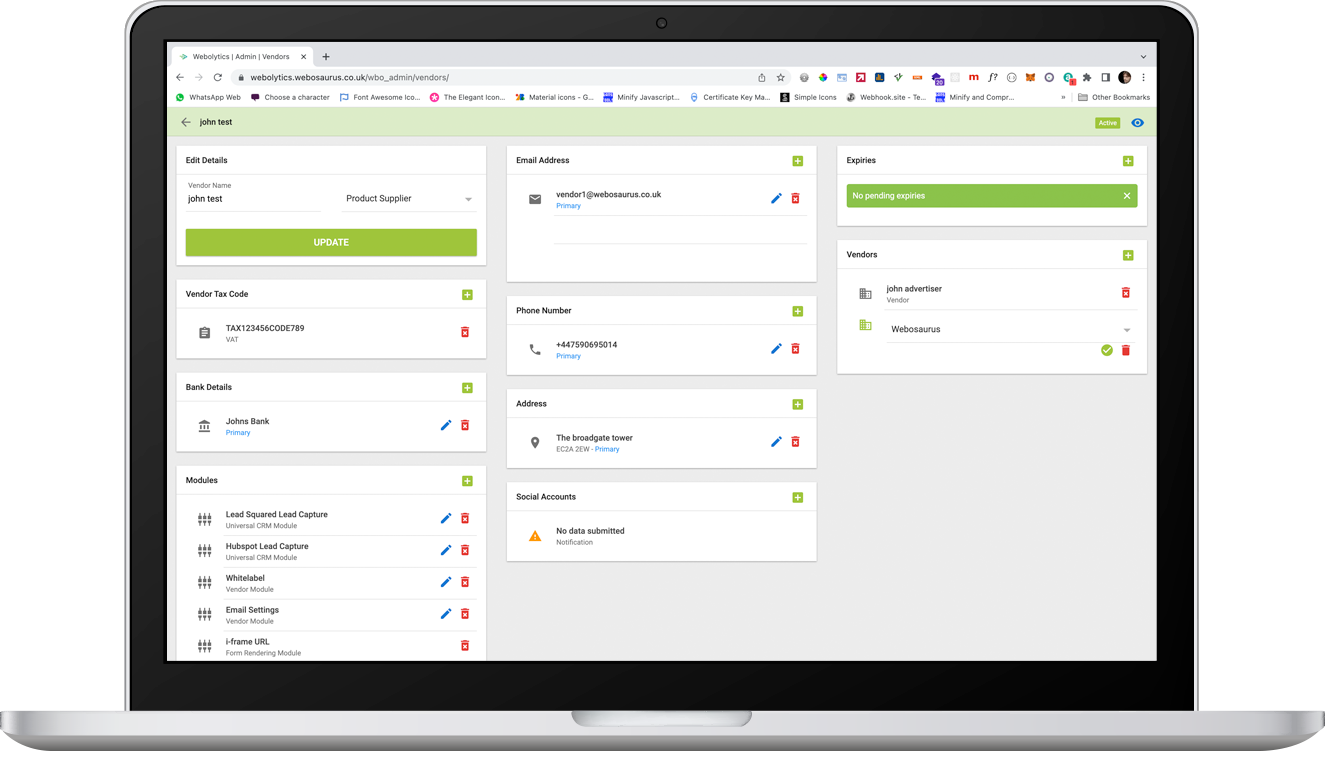
To guarantee you receive payment through the platform, you must input your tax code using VAT as well as GST.
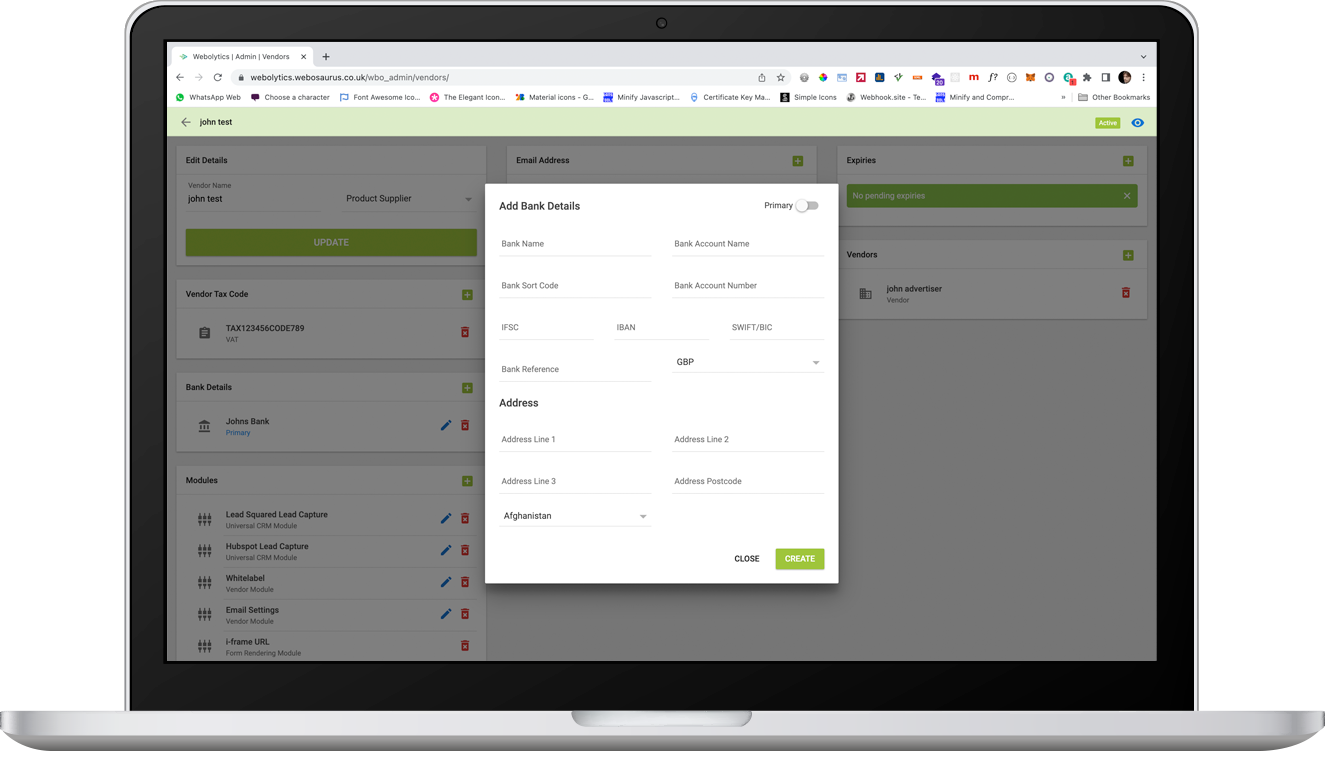
You can also add the vendors bank details to the system which will be needed for invoicing.
For the Email address you will need a business email that is separate to the user email. This email will get notifications from the Platform of any updates.

To assign a sub-vendor, simply click the addition button next to vendors, and select the vendor from the drop down menu. These sub-vendors are Advertiser/Affiliates that are to be assigned to the main product supplier.
If you have any questions please contact us by sending an email to support@webosaurus.co.uk or give us a call on 02075962843.