Page Meta Tags
The Page Meta Tag allows for placement of specific page content within the meta header of any page, or at the very foot of the page. Content, or files such as javascript functions, css style sheets or json arrays can be stored dynamically, and assigned concisely for enhanced front end functionality for specific situations.
Creating a Page Meta Tag
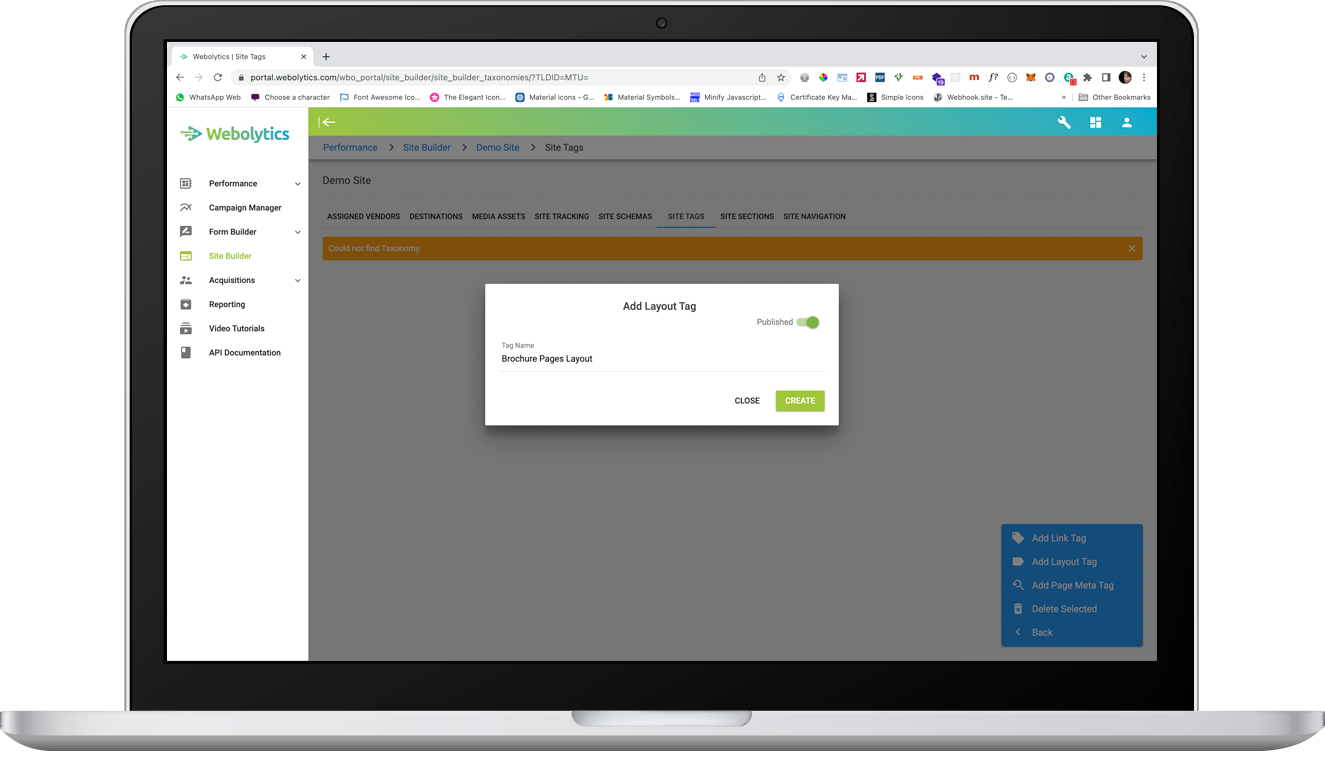
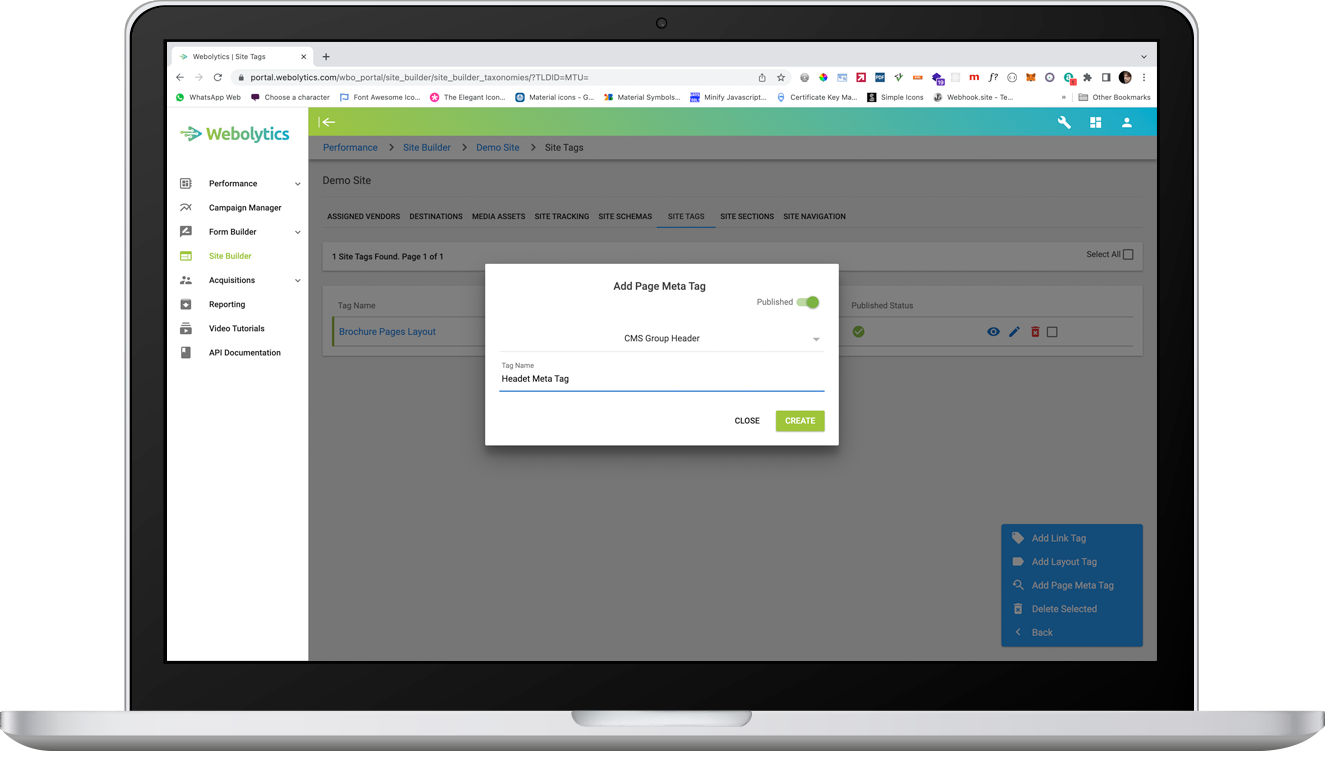
From inside the Site Tags section, click the blue button to the bottom-right of the page, and click on “Add Page Meta Tag”
On the form that appears, give your Page Meta Tag a desired named select whether it will be for the header or the footer of the page. Once done click “Create”. You can choose to set it as published now, or can come back later and edit the section. Any tags that are not published will not be available on the front end.
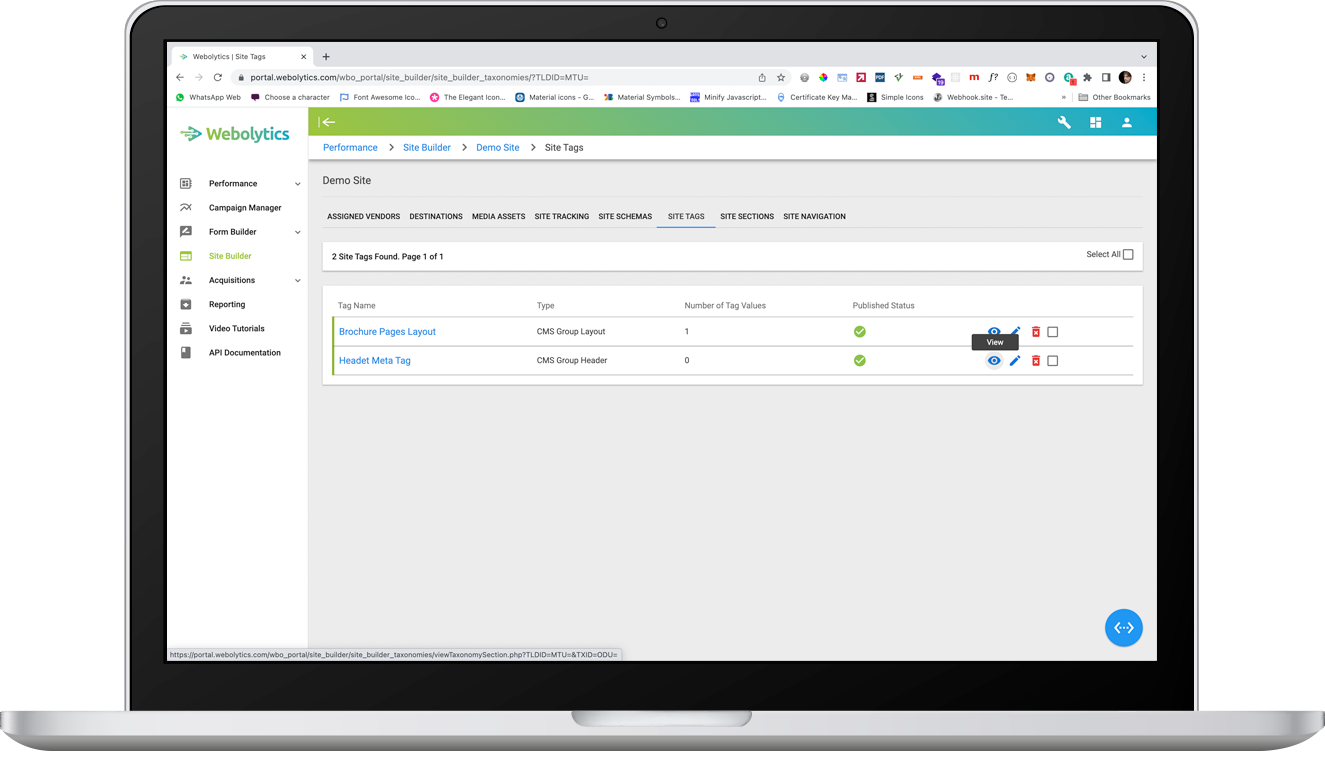
Once created, you will see you new Page Meta Tag in the list on the page
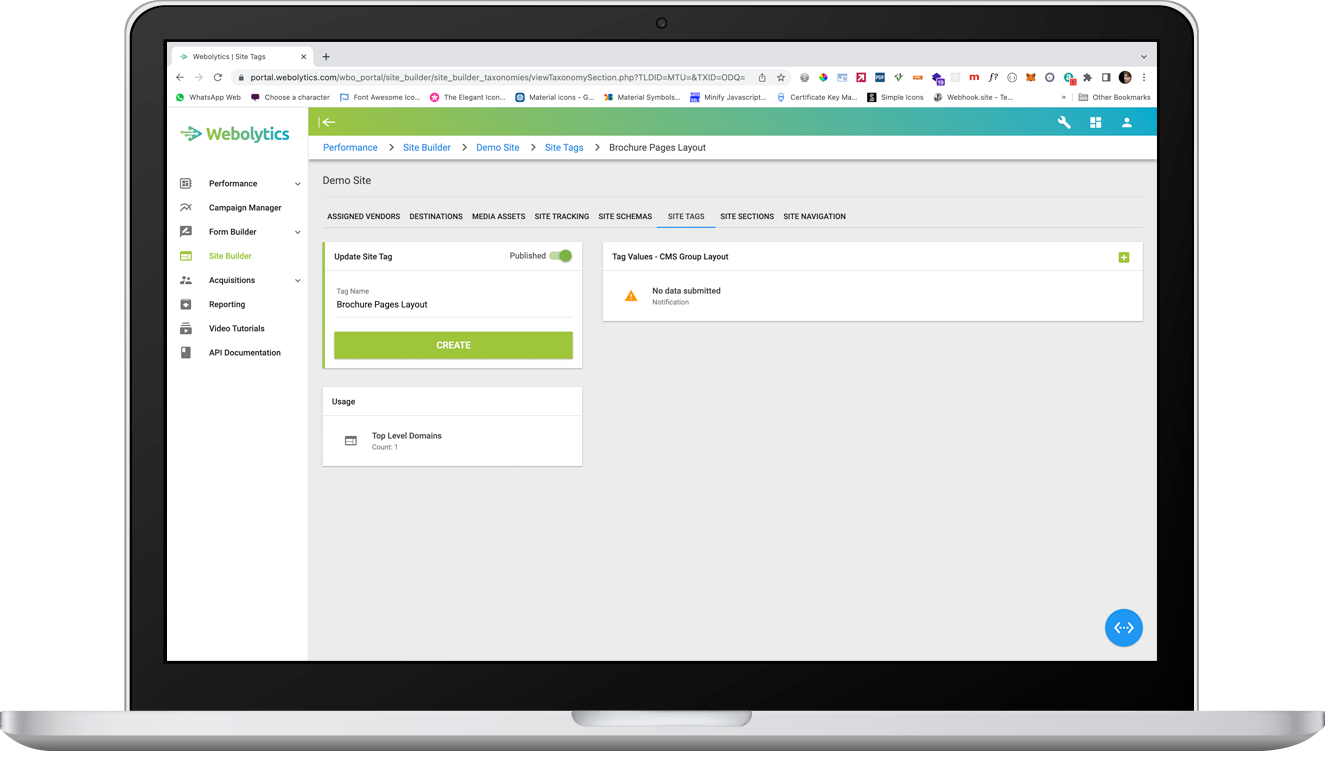
Once a Page Meta Tag has been created, you can now go into the tag, and start populating it with values that are required.
Creating a Page Meta Tag value
From the Site Tags section, select the tag that you want to start populating by clicking on the View icon to the right of the record
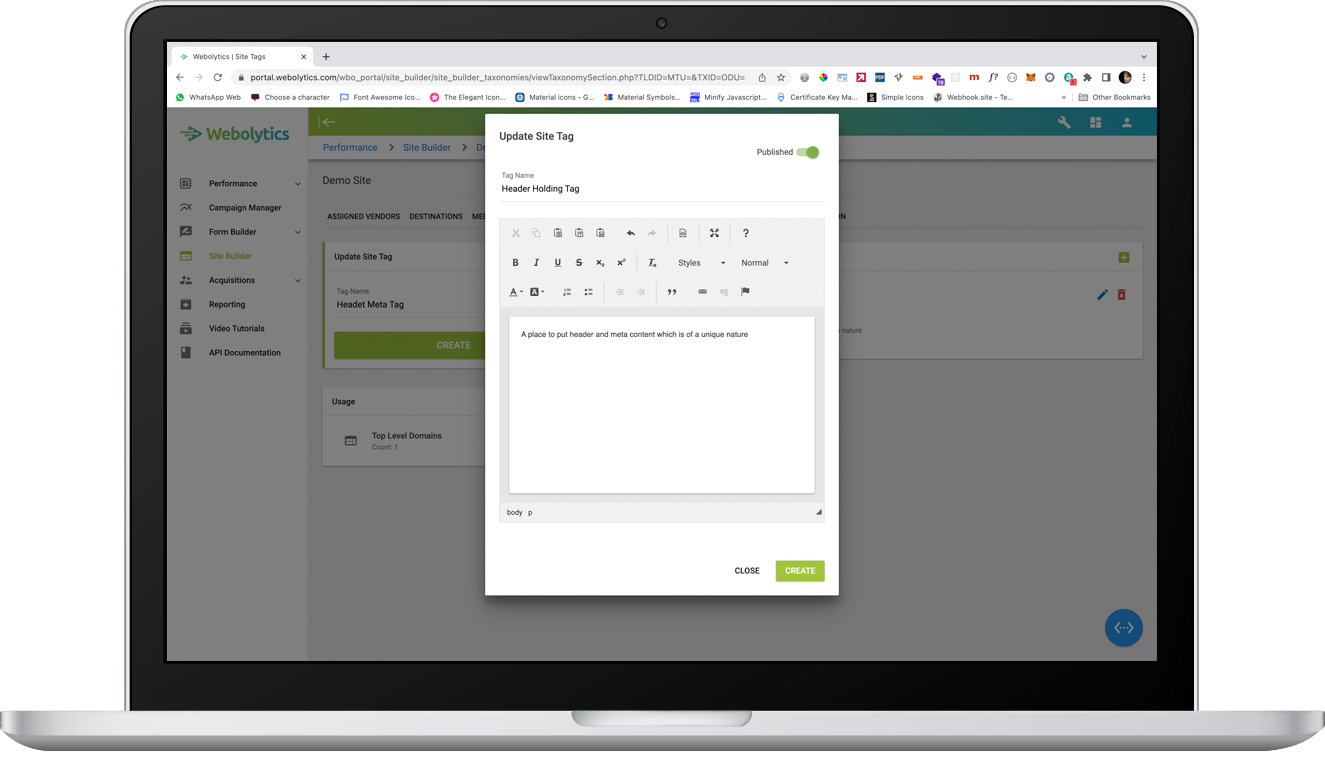
On the following page, click the Green “+” button on the top-right of the Tag Values block.
Fill in the form with the desired information. The description and Title are for your reference.
Once created, the Value will appear in the list on the right-hand side of the Tag Value page
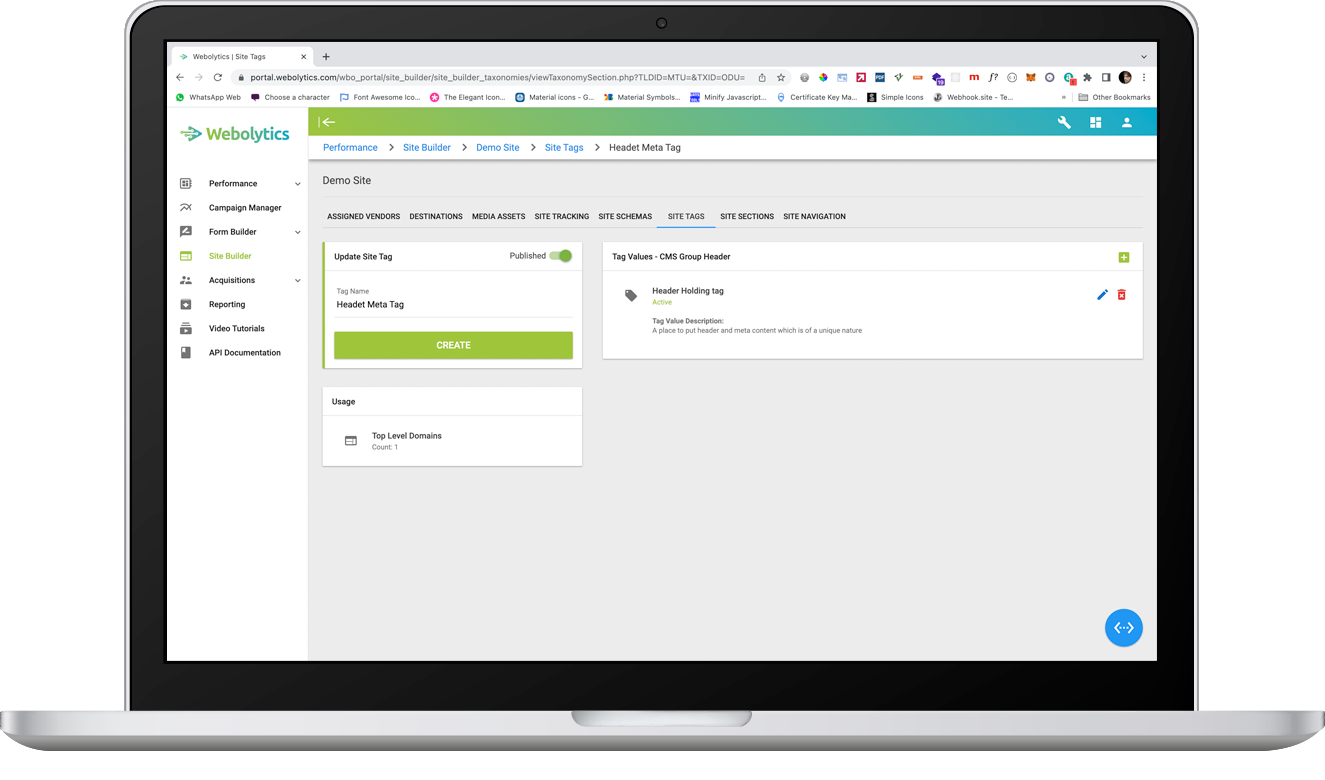
You can add as many tags as are required for your site tag.