Editing Roles
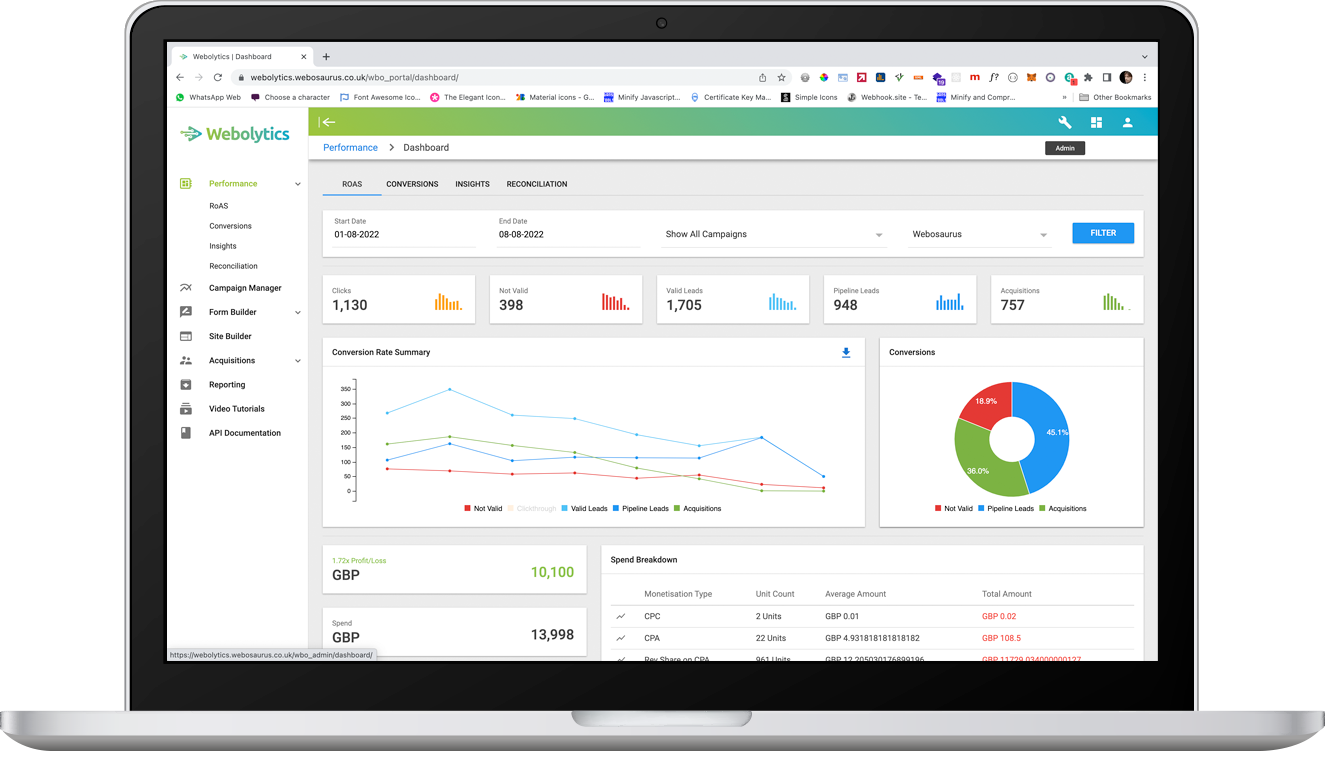
To edit user roles in Webolytics, select the spanner in the top right corner to access the admin console.
You then need to select roles. This can be done from the toolbar on the left or click the “eye” icon below the roles section on the right.
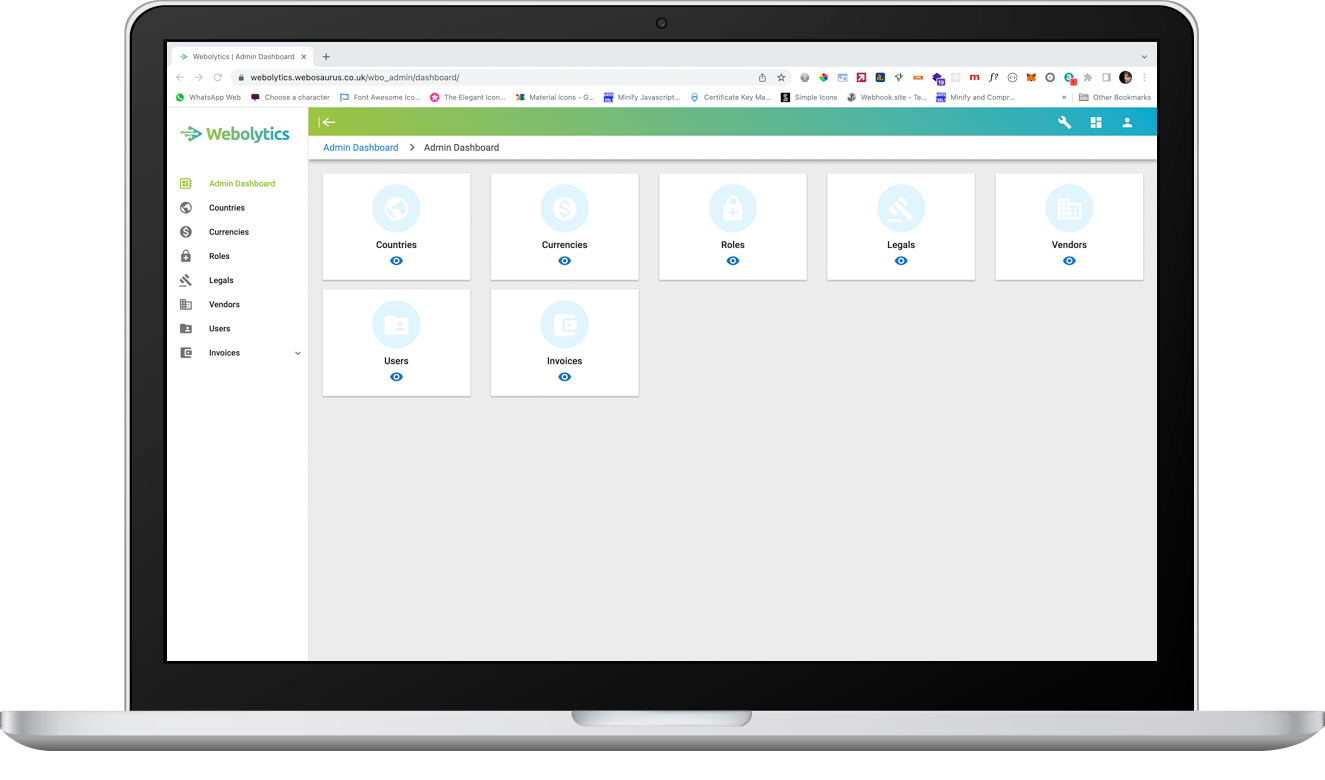
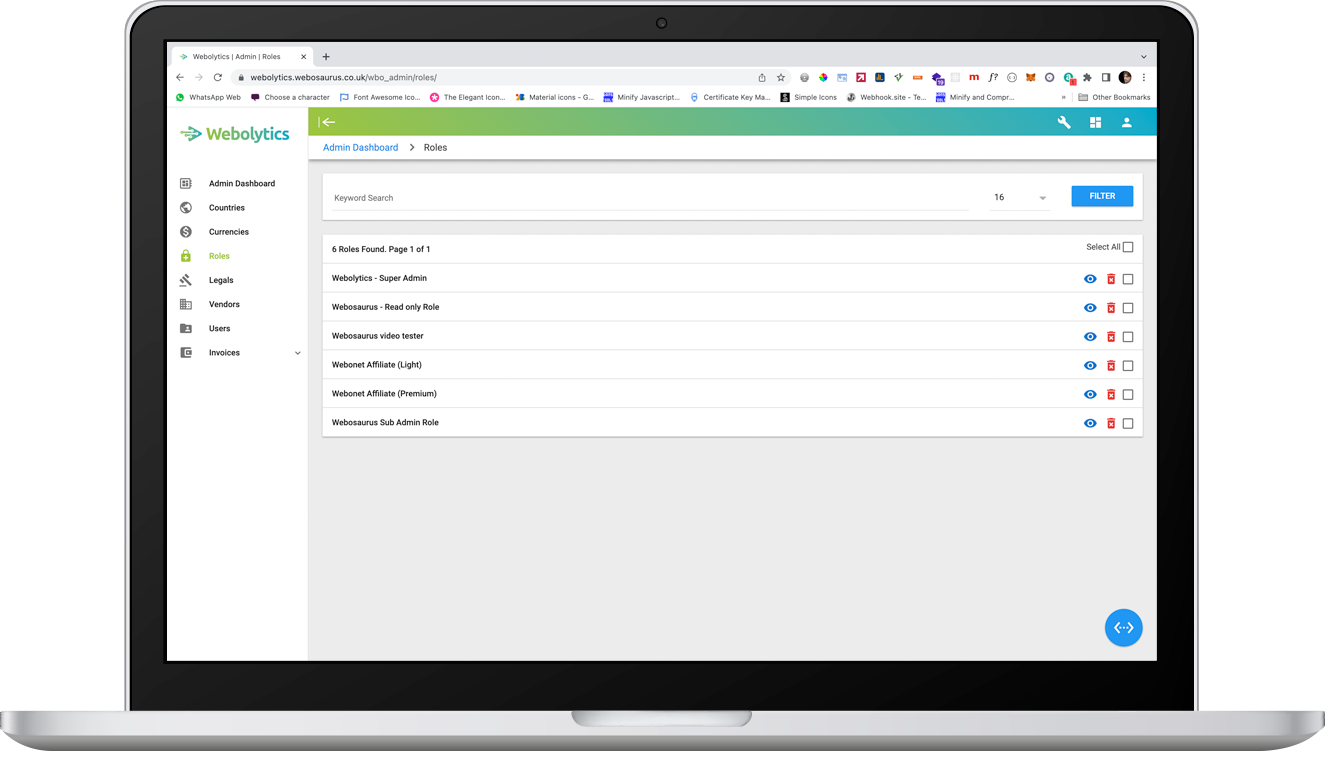
You will now be able to see every role currently available.
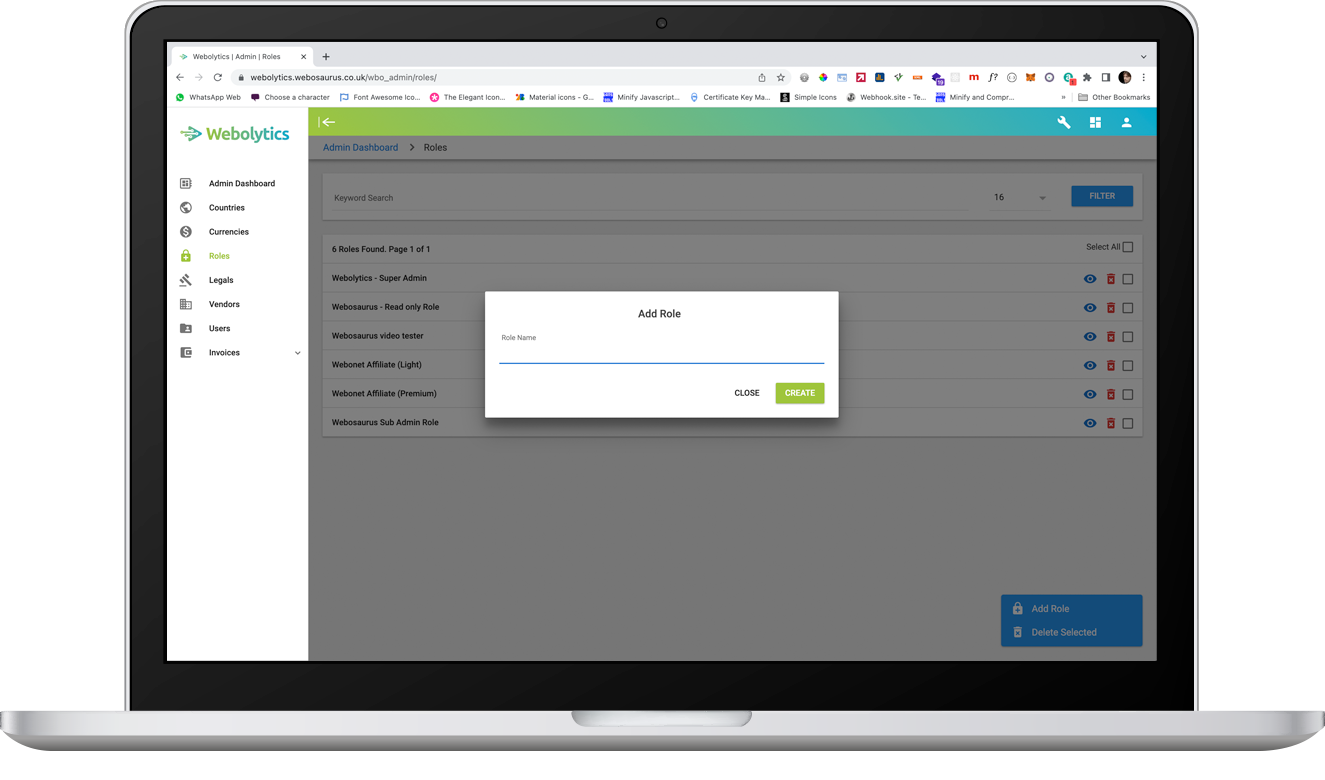
To add a new role, click the blue button in the bottom right corner and select “Add Role”. Enter a name for your new role and then select “Edit”. This will filter your current list of roles and only show the one that you just created.
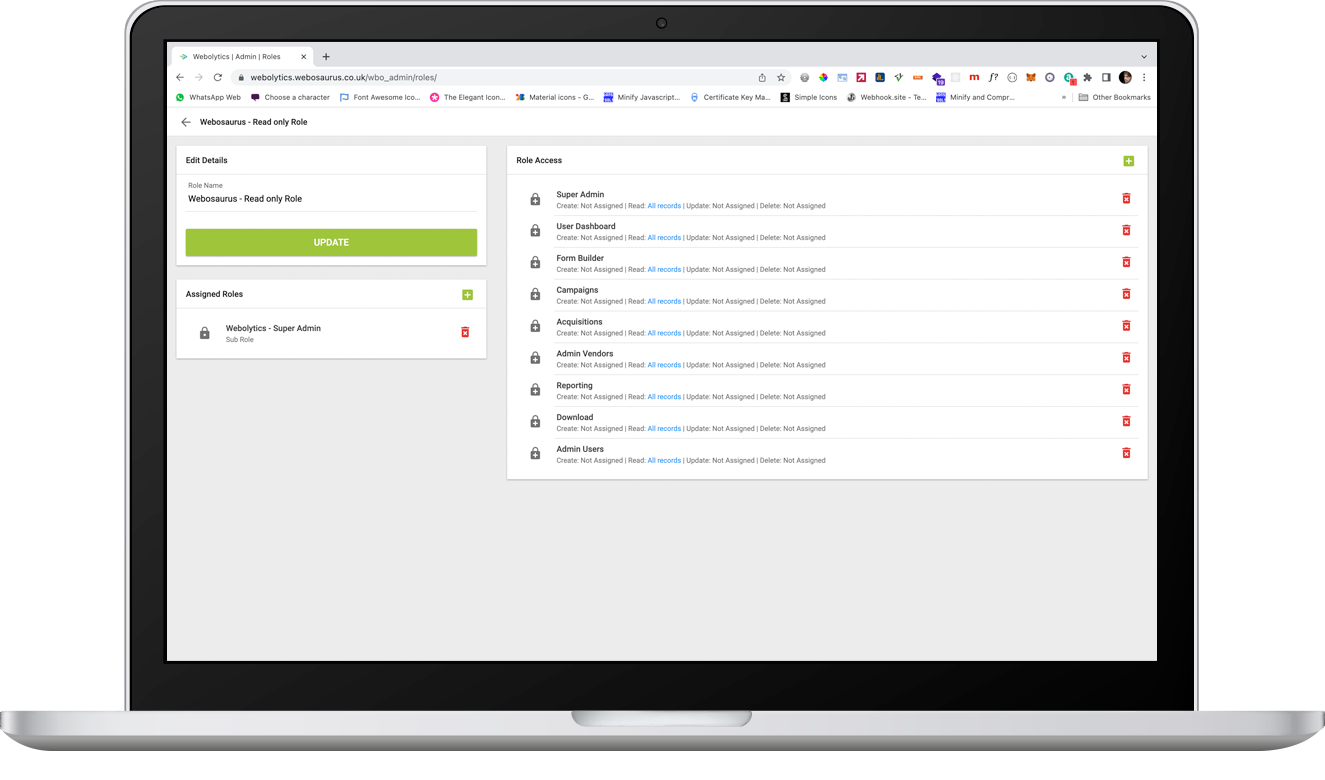
To edit it, select the “eye” icon next to your chosen role.
On this page we can do several things. We can update the role name, as well as adding custom role access. For this example, we have created a role called “Videographer”. By clicking the addition sign next to role access, we can change what permissions this role will have from the drop-down list.
In this example, we are creating a role that allows the user to create, read and update forms, but not delete them. To change these permissions, we simply click the buttons underneath and then click create.
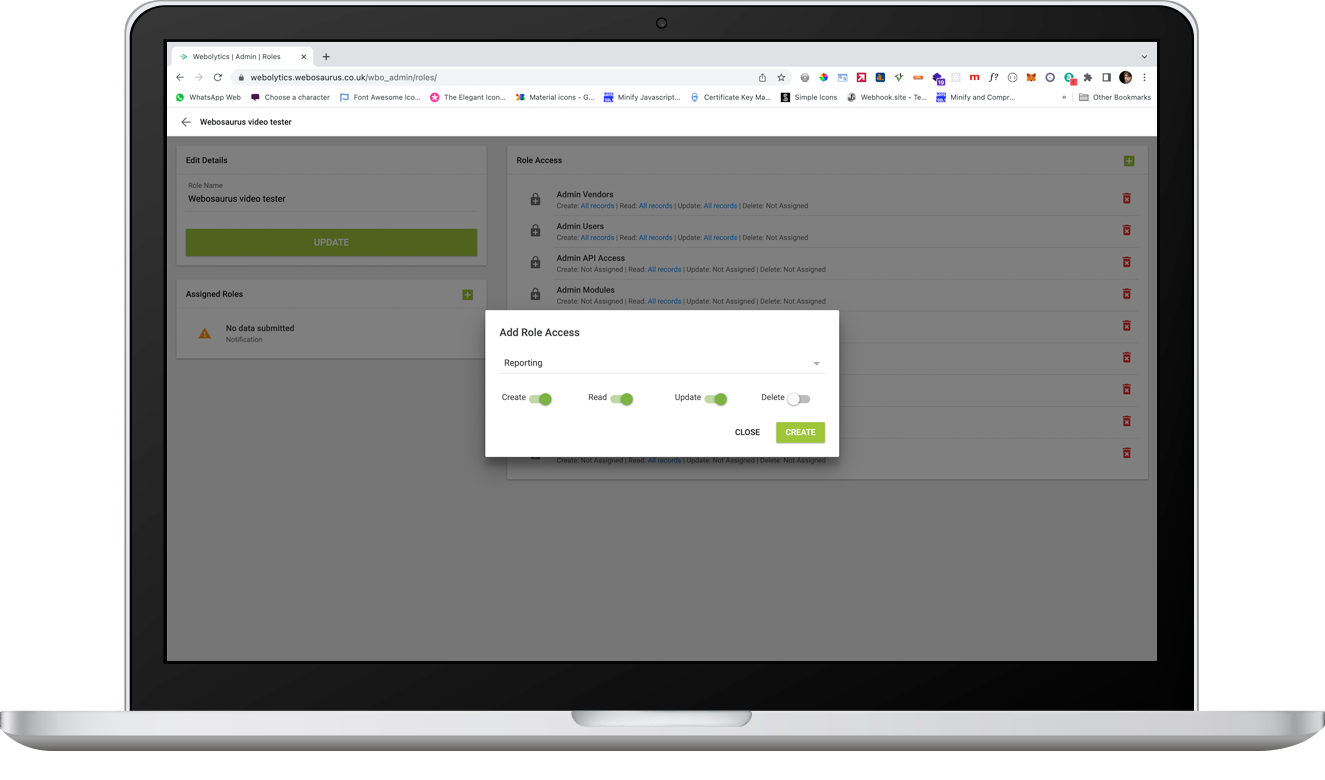
We can add multiple accesses by clicking the green addition button in the top right again and following the previous steps. Any role you create must have “Read” on the dashboard, otherwise the account cannot login.
Once you have made your changes, select “update”.
If you want to delete a role, simply click the red dustbin next to the selected role and it will be deleted.