Adding Margins to Campaign Monetisation
Webolytics allows you to add a margin against any monetisation criteria that has been added to a Campaign Group. The margin will apply to the assigned vendor against the campaign group.
For example, a CPL rate of £10 could have a margin against the assigned vendor of £5. This would mean that the affiliate will receive £5 for every £10 CPL generated.
Creating a Margin
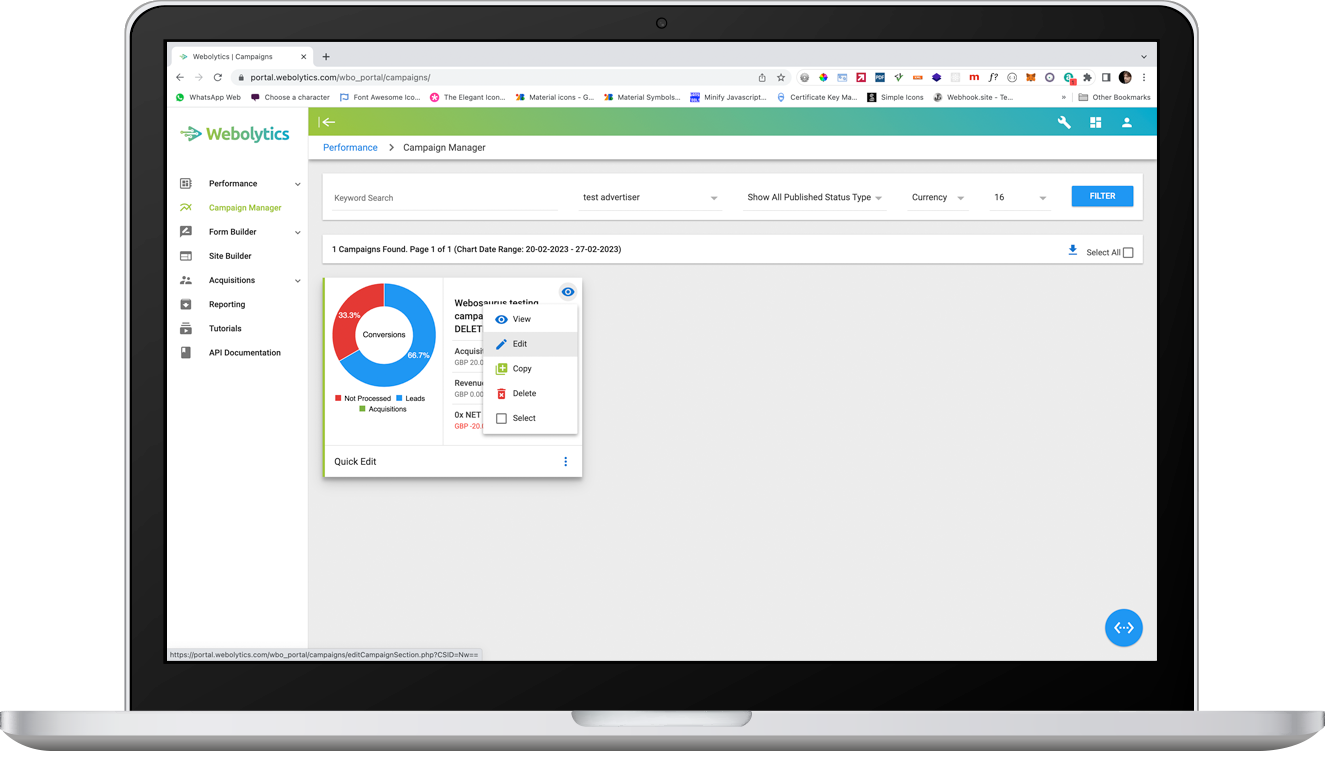
Go to the Campaigns, and select ‘Edit’ for the campaign that you want to add the margin against.
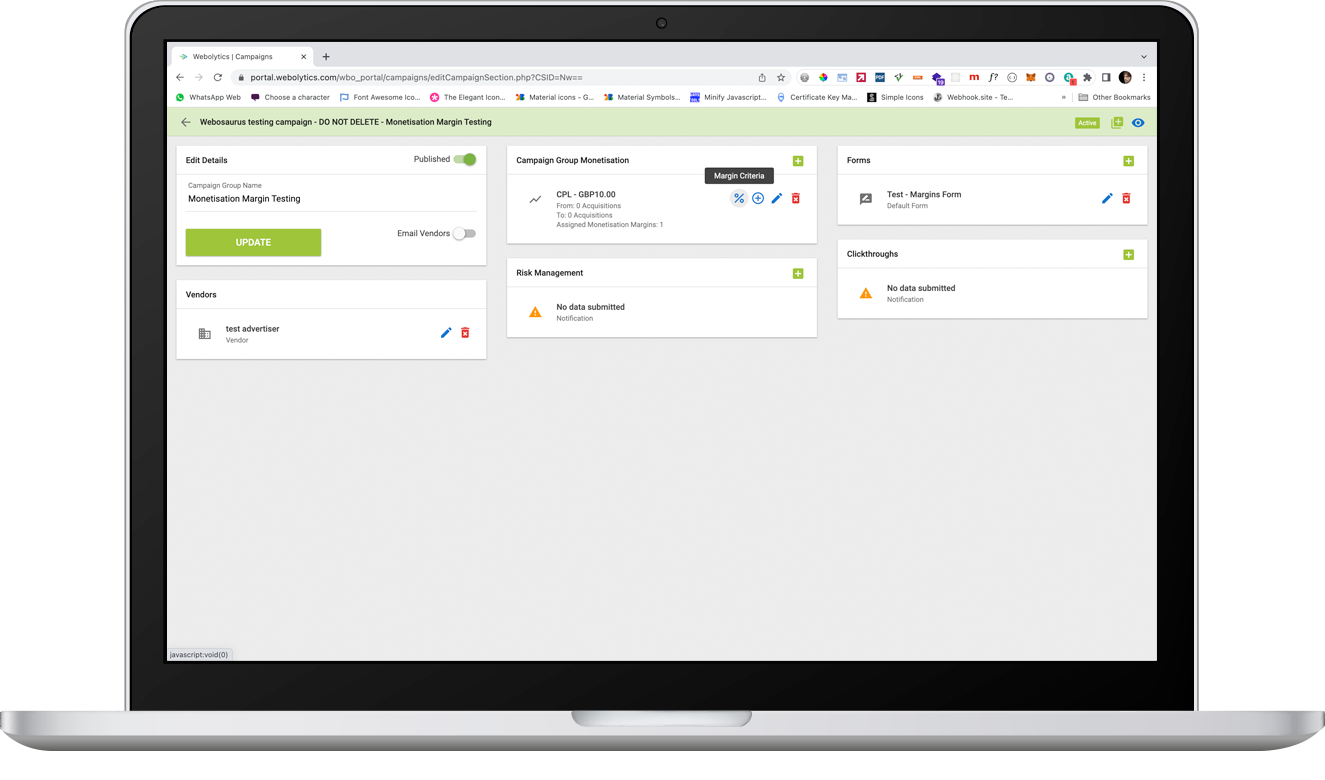
On the Edit Campaign Section page, scroll to the Campaign Group that the Monetisation that you want to add a margin too, and click the Edit Icon.
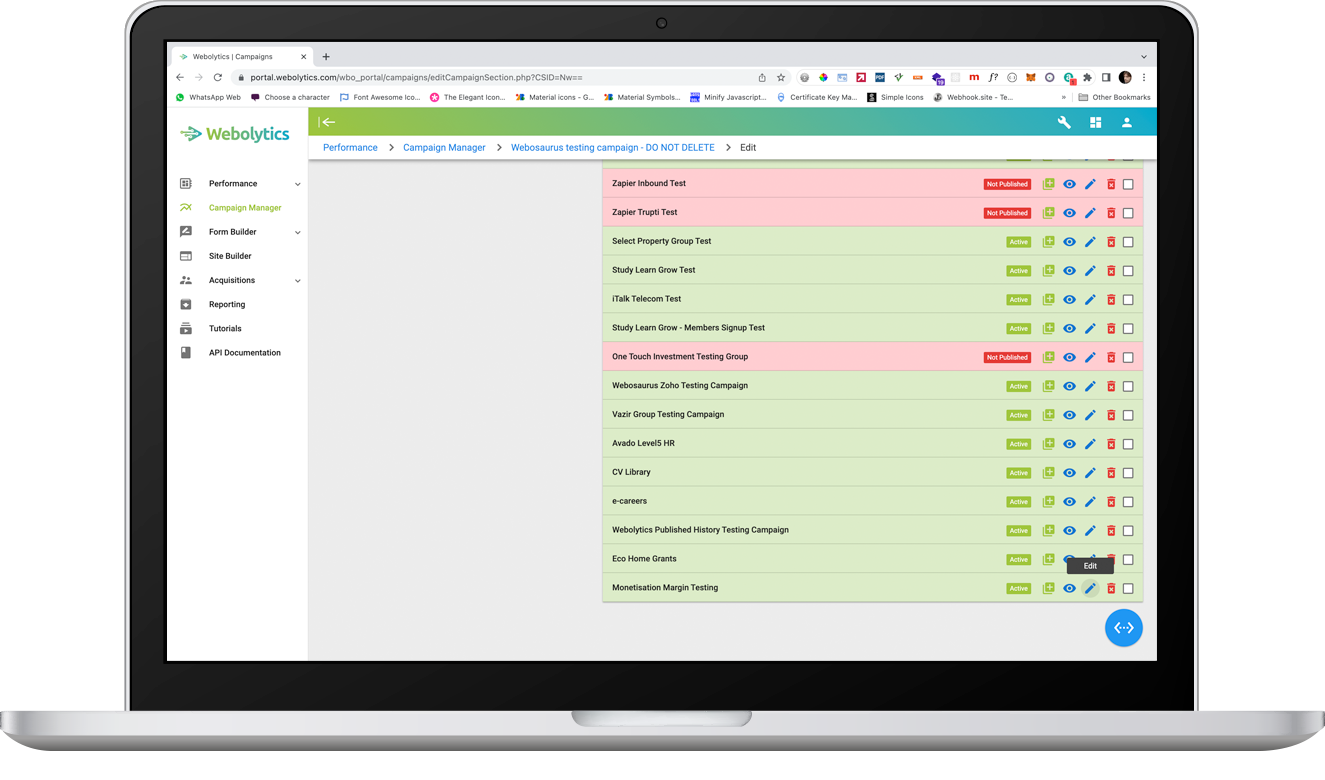
On the Edit Campaign Section page, scroll to the Campaign Group that the Monetisation that you want to add a margin too, and click the Edit Icon.
Once inside the Campaign Group, click the green ‘%’ icon next to the Monetisation that you want to add a margin against.

On the modal that appears, there are 2 inputs that needs to be filled in for the margin to be added:
Margin Type - This can be either a Fixed amount (eg: £5) or a percentage of the Monetisation value which the margin is being assigned too (eg: 50%)
Value - From the examples above, this would be either 5 (for £5) or 50 (for 50%)
Once you have set up your Margin, click create in the bottom right to create the Margin
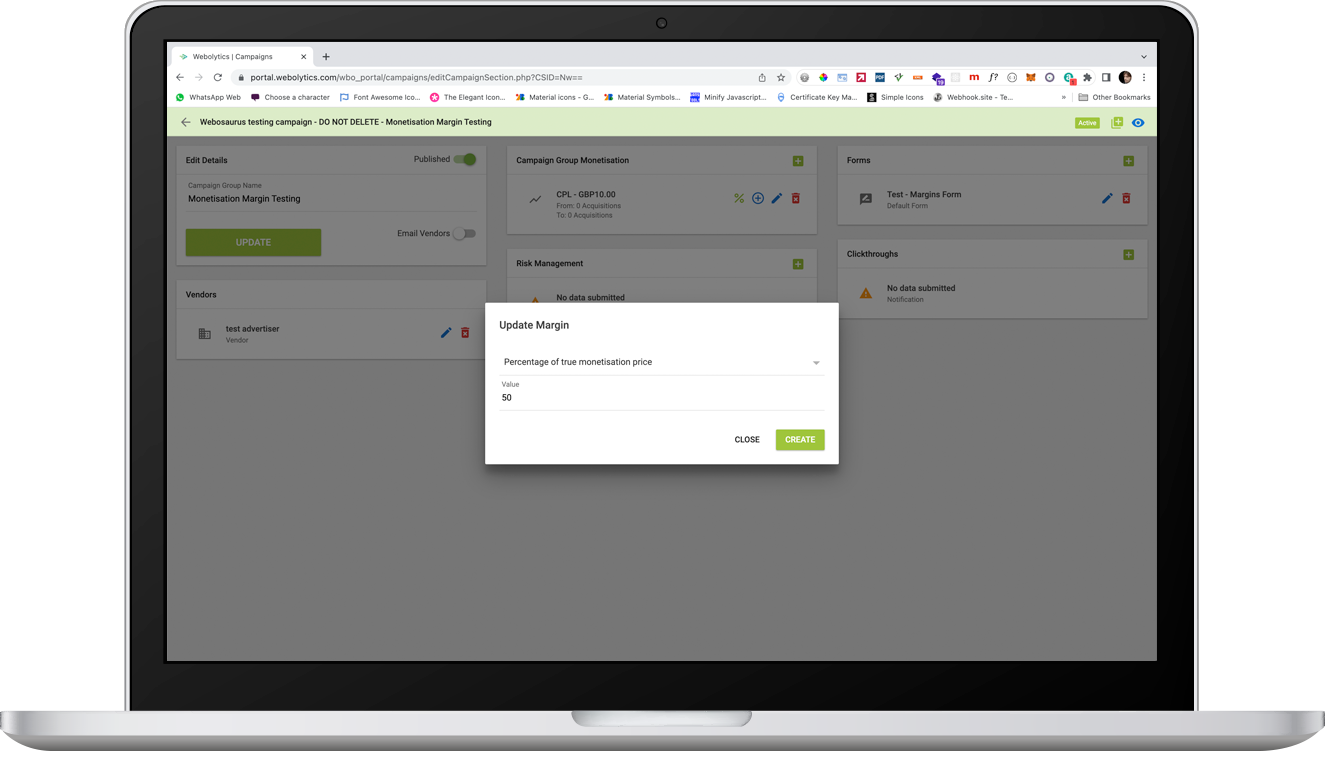
Your margin will now be assigned against the Monetisation in the Campaign Group.

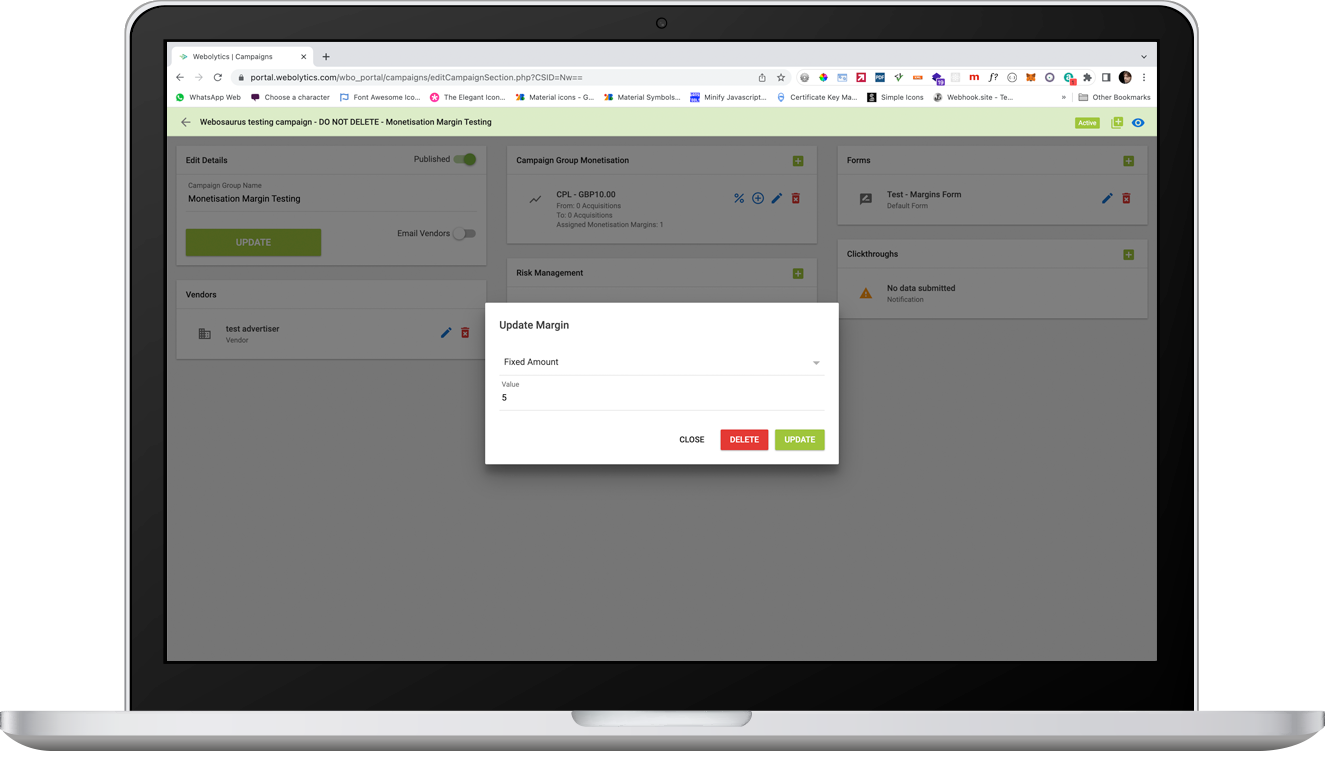
Editing the Margin
If you wish to amend the Margin or remove it completely, this can be done by clicking the blue ‘%’ icon next to the Monetisation.
On the modal that appears, change the criteria as necessary, and click “Update”. If you wish to delete the monetisation, then click the Red Delete button to the bottom-left of the modal window.